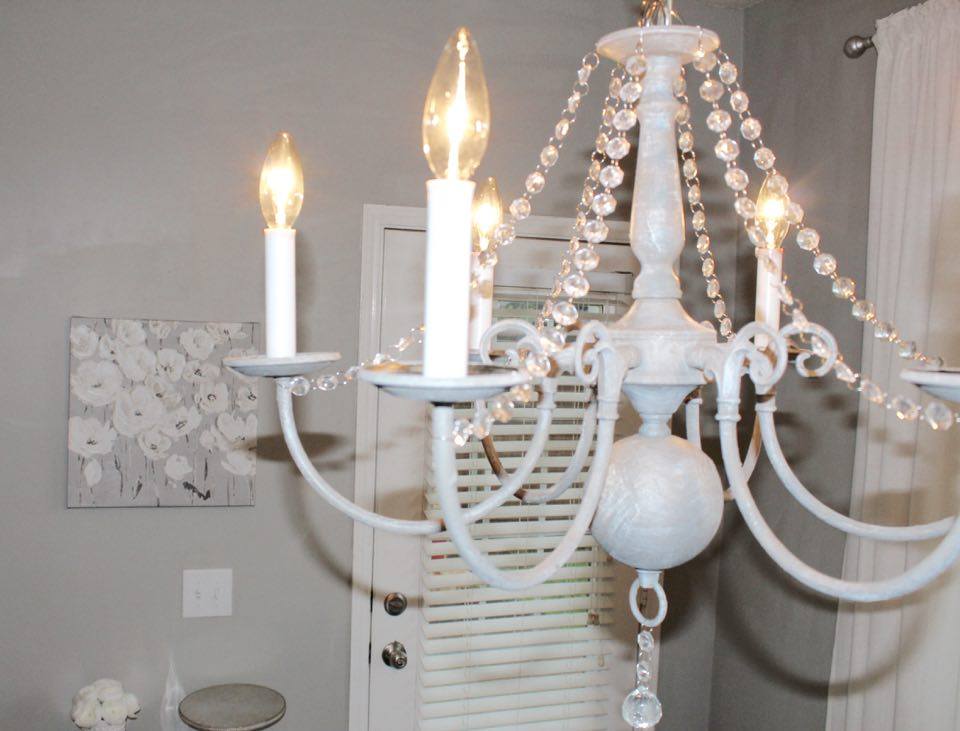
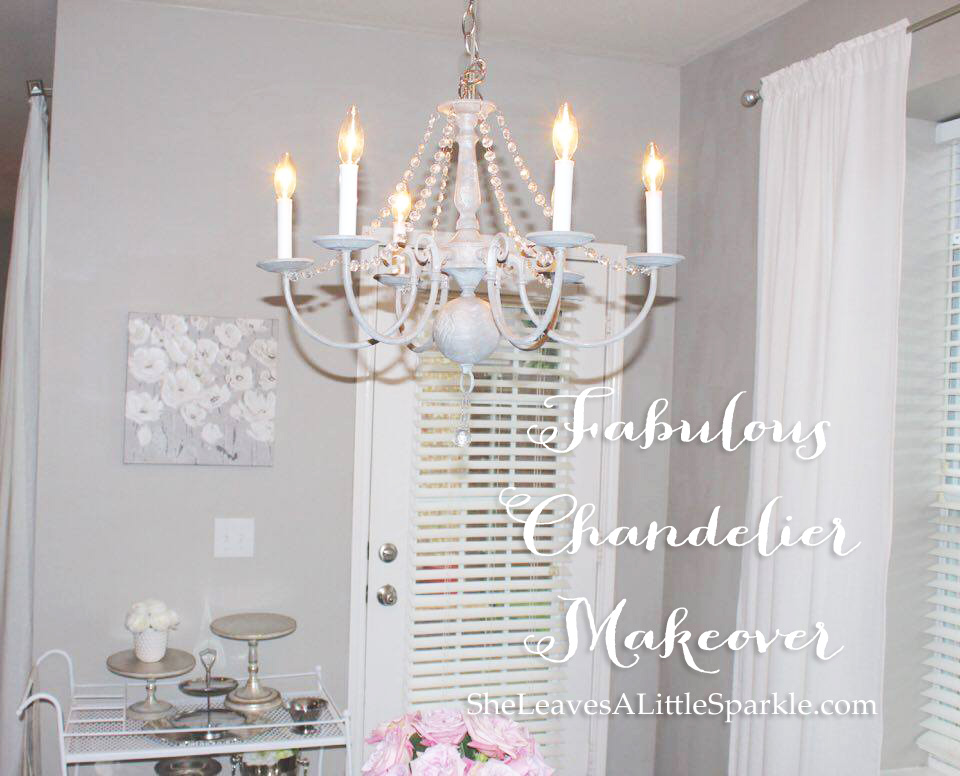
It may be a rainy, cloudy day in Dallas but it is BRIGHT and cheery inside this home! If you’ve followed me for any amount of time, I am SURE you know how much I love a pretty chandelier (aka chandy, as I often call it). Upon moving into this rental, which is our home for the next 1-2 years, I moved chandeliers around, sold some, bought new ones and tried to decide what kind of chandeliers worked in each room in our home. Yes, each room….or almost. 😉 This fabulous chandelier makeover is exactly what this space needed and it didn’t cost much at all! >>*And for those of you NOT interested in a DIY project, I’ve chosen a bunch of fabulous similar chandeliers that you can shop at the end of this post!<<
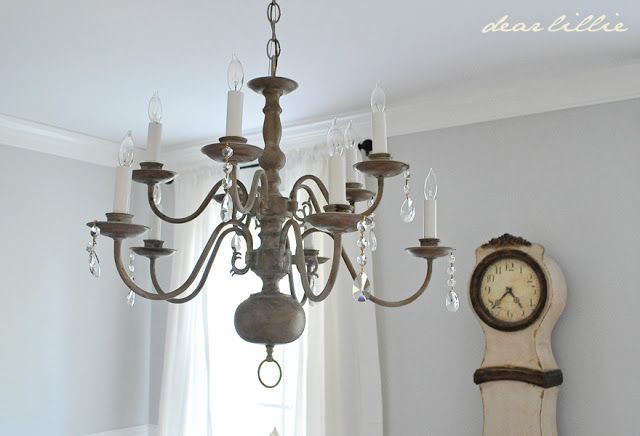
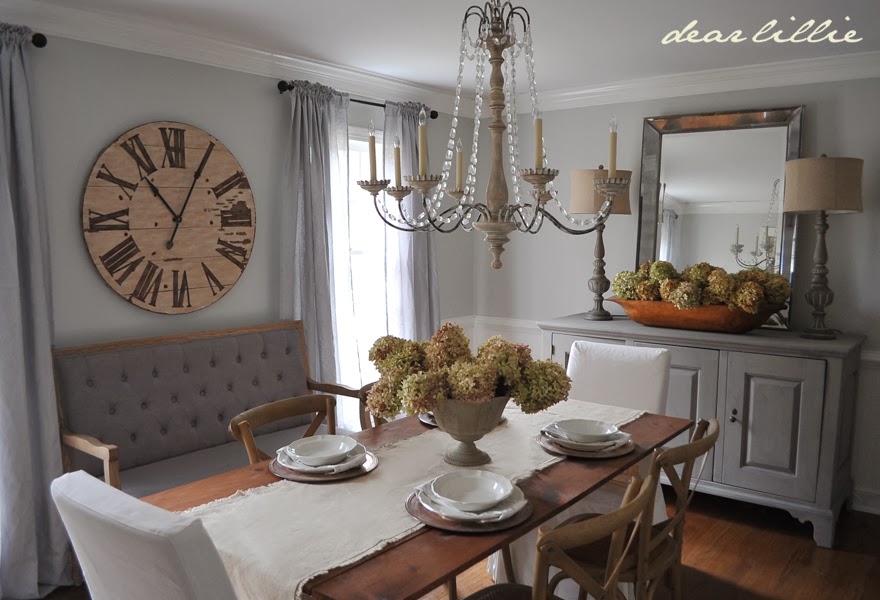
First off, I want to show you my inspiration for this project when I was shopping for chandies and just not finding what I wanted (or wanted to spend) on this kitchen nook since I may not even want the same thing in our next {permanent} home. I loved Jenni’s from Dear Lillie that she bought a couple of years ago and decided that I loved that vintage, textured look of the chandelier body and arms but I loved the crystals as well. I didn’t want anything shiny in this space.
But I also loved this one she used chalk paint on to give a makeover as well (more the shape of the chandelier I found) several years ago. So I combined the two!
 Now, let’s examine the “before” photo of the ad I saw on Craigslist (please forgive the photo quality)t:
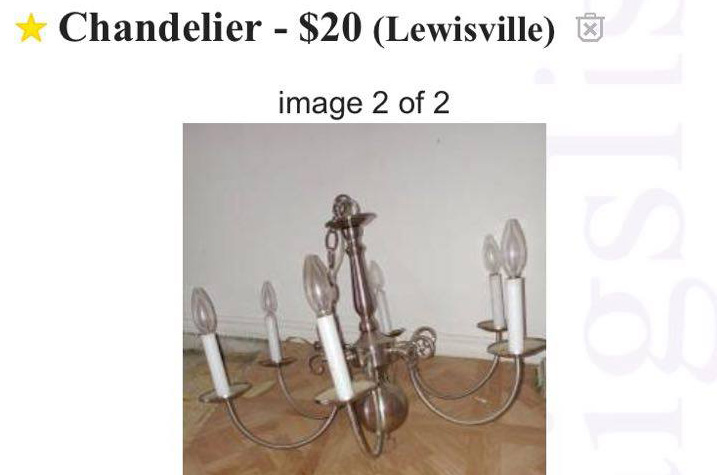
This chandy is exactly what I was looking for. Popular in the 90’s and early 2000’s, it is now very outdated but NOT to be thrown away! Find something like this on your local Facebook neighborhood “for sale” pages or on Craigslist (remember to be safe and meet them in a public place). I talked this lady down to $15 and (I tried $10) and it’s in excellent working condition. Here is another old 80’s brassy chandelier that everyone on Craigslist is trying to get rid of and easy to find. You might even find it under the free section often:

If you’ve found something like these above, you’ve struck gold! Ok now, on to the easy instructions to turn this old piece into something new and lovely……
 Take out the light bulbs and take off the candle covers OR you can just tape around the bottom if you wish, as I did since there is no spray painting involved. I use my favorite painter’s tape to cover that electrical area and also the very ends of the wires. You may want to cover the entire chain/wires also, unless you intend to paint them or make a chandelier cover for it.
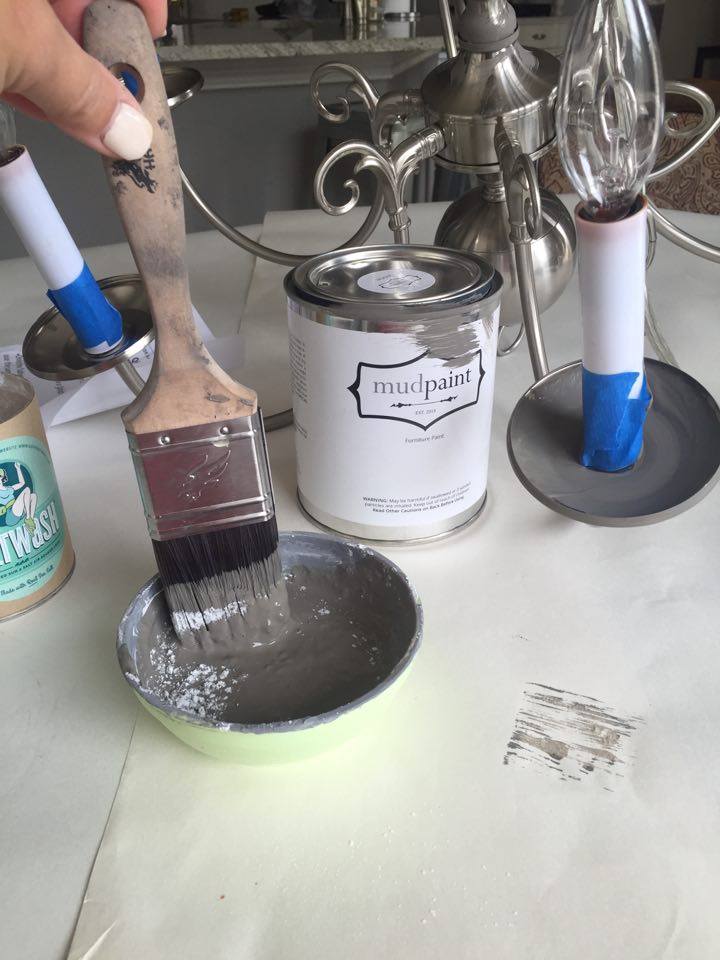
 Grab a good paintbrush (yes, a better quality brush always makes a difference) and the chalk paint you choose to use as the main color. I know there are a lot of ASCP (Annie Sloan Chalk Paint) fans out there and I do love it. BUT, I’ve found a newer company called MudPaint™ and I’m looooving their chalk paint! It’s less expensive and every bit just as good as ASCP. They recommended I use “Stone” which is close to the ASCP “Paris Grey” and you can buy it HERE!
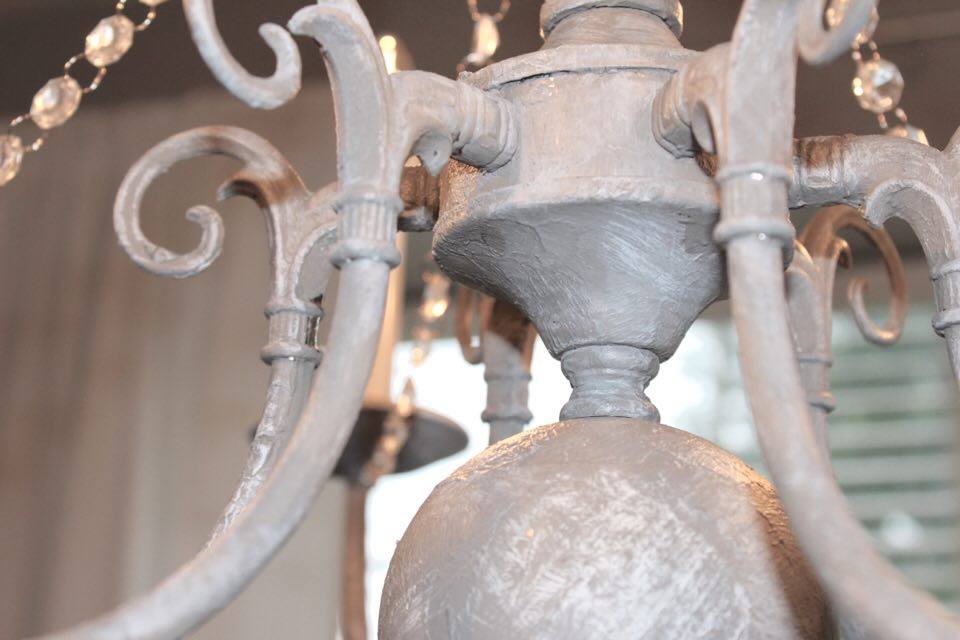
 This next product is the key to this vintage french country look of the chandelier….It is called SaltWash™ and you mix a little into your chalk paint or “glob” it all over (pour just the amount you think you’ll use in a separate container or bowl so that you are not mixing the entire paint with the SaltWash) to give it that chunky texture and it is sooooo easy! HERE is the quick and easy video tutorial and then you’ll just paint that all over your chandelier and let it dry as instructed. I am absolutely OBSESSED with this product! I can’t wait to paint other pieces with these 2 products!

 About an hour later when it was mostly dry, I went back and added very little chalk paint to the brush and dry-brushed it on all over the chandelier very very lightly so that you only see brush strokes. (This picture shows chandelier swag but it was not on at this point.)
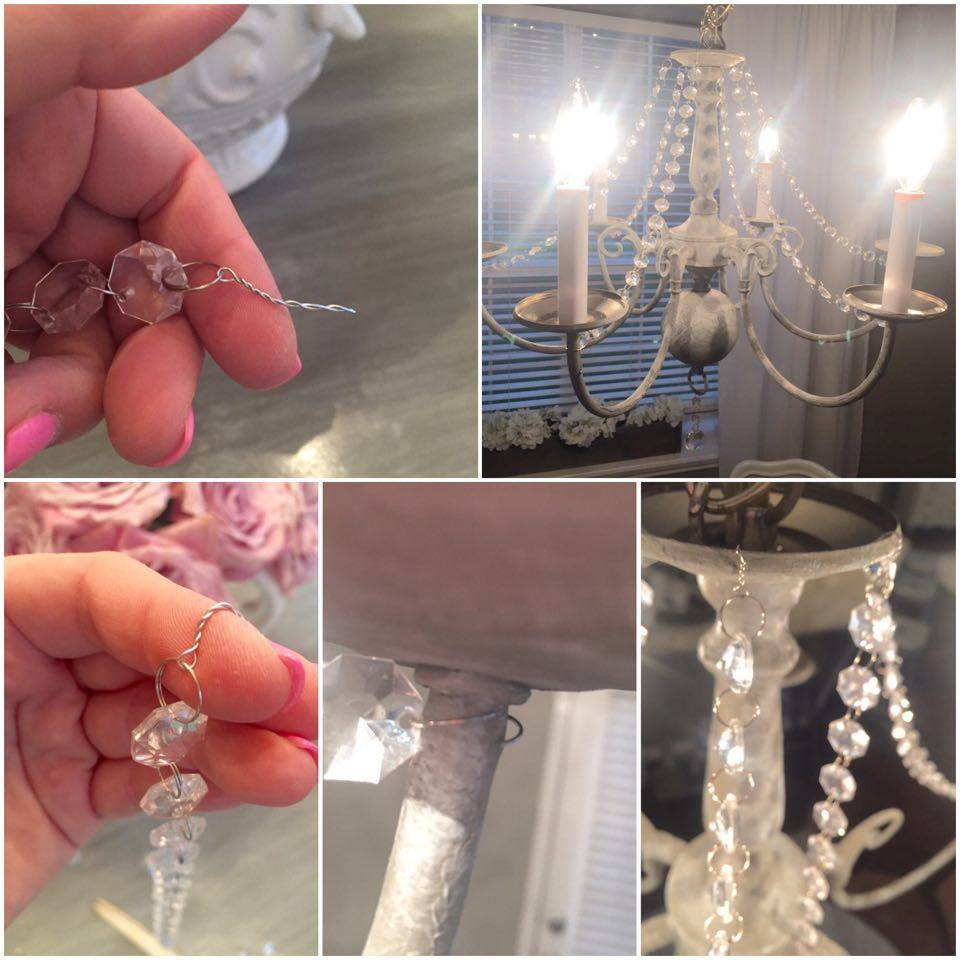
 At this point, it is optional if you want to add a clear wax but isn’t necessary. If you do, dab it on lightly with an old, soft rag or t-shirt. Then, you can grab some crystal chandelier swag and measure and decide how long you want each swag to be. I used 16 prisms for my length. I already had a lot from other projects that I’d bought for almost nothing at yard sales and antique stores. You can also order them from Etsy or Amazon at a low price. Open one end and attach around the base of each bobeche.

 Take a small piece of paddle wire and twist around the other end’s split-ring and then bend over your finger and “hook” onto top of chandelier. This will stay! AND it makes it easy to remove from the top if you want to spray it with water and dust/clean it with a cloth every now and then. Oh, and I happened to have a round chandelier prism so I dropped that from the bottom as well. It was the perfect touch.
 Your last step is to install your chandelier (soooo easy, I can do it myself) and enjoy! This truly looks like an expensive piece from the popular home stores! And with enough materials leftover, you could do several chandeliers. Make them for other rooms of your home in different colors or make them as gifts or to sell!
Note: You do not have to add crystal swag. If you are looking for a simpler or more rustic look, just skip that part! It would still be lovely. Y’all know I can’t resist a little sparkle though! 😉
*If you aren’t interested in the DIY but you DO want a chandelier like this in your home…
![]()
Whether it’s a DIY chandelier or one you bought above, I hope all of your chandelier wishes come true! 🙂
xoxo, Summer

[…] pieces with modern elements and decor. *To see how I updated this vintage chandelier above, read here for […]