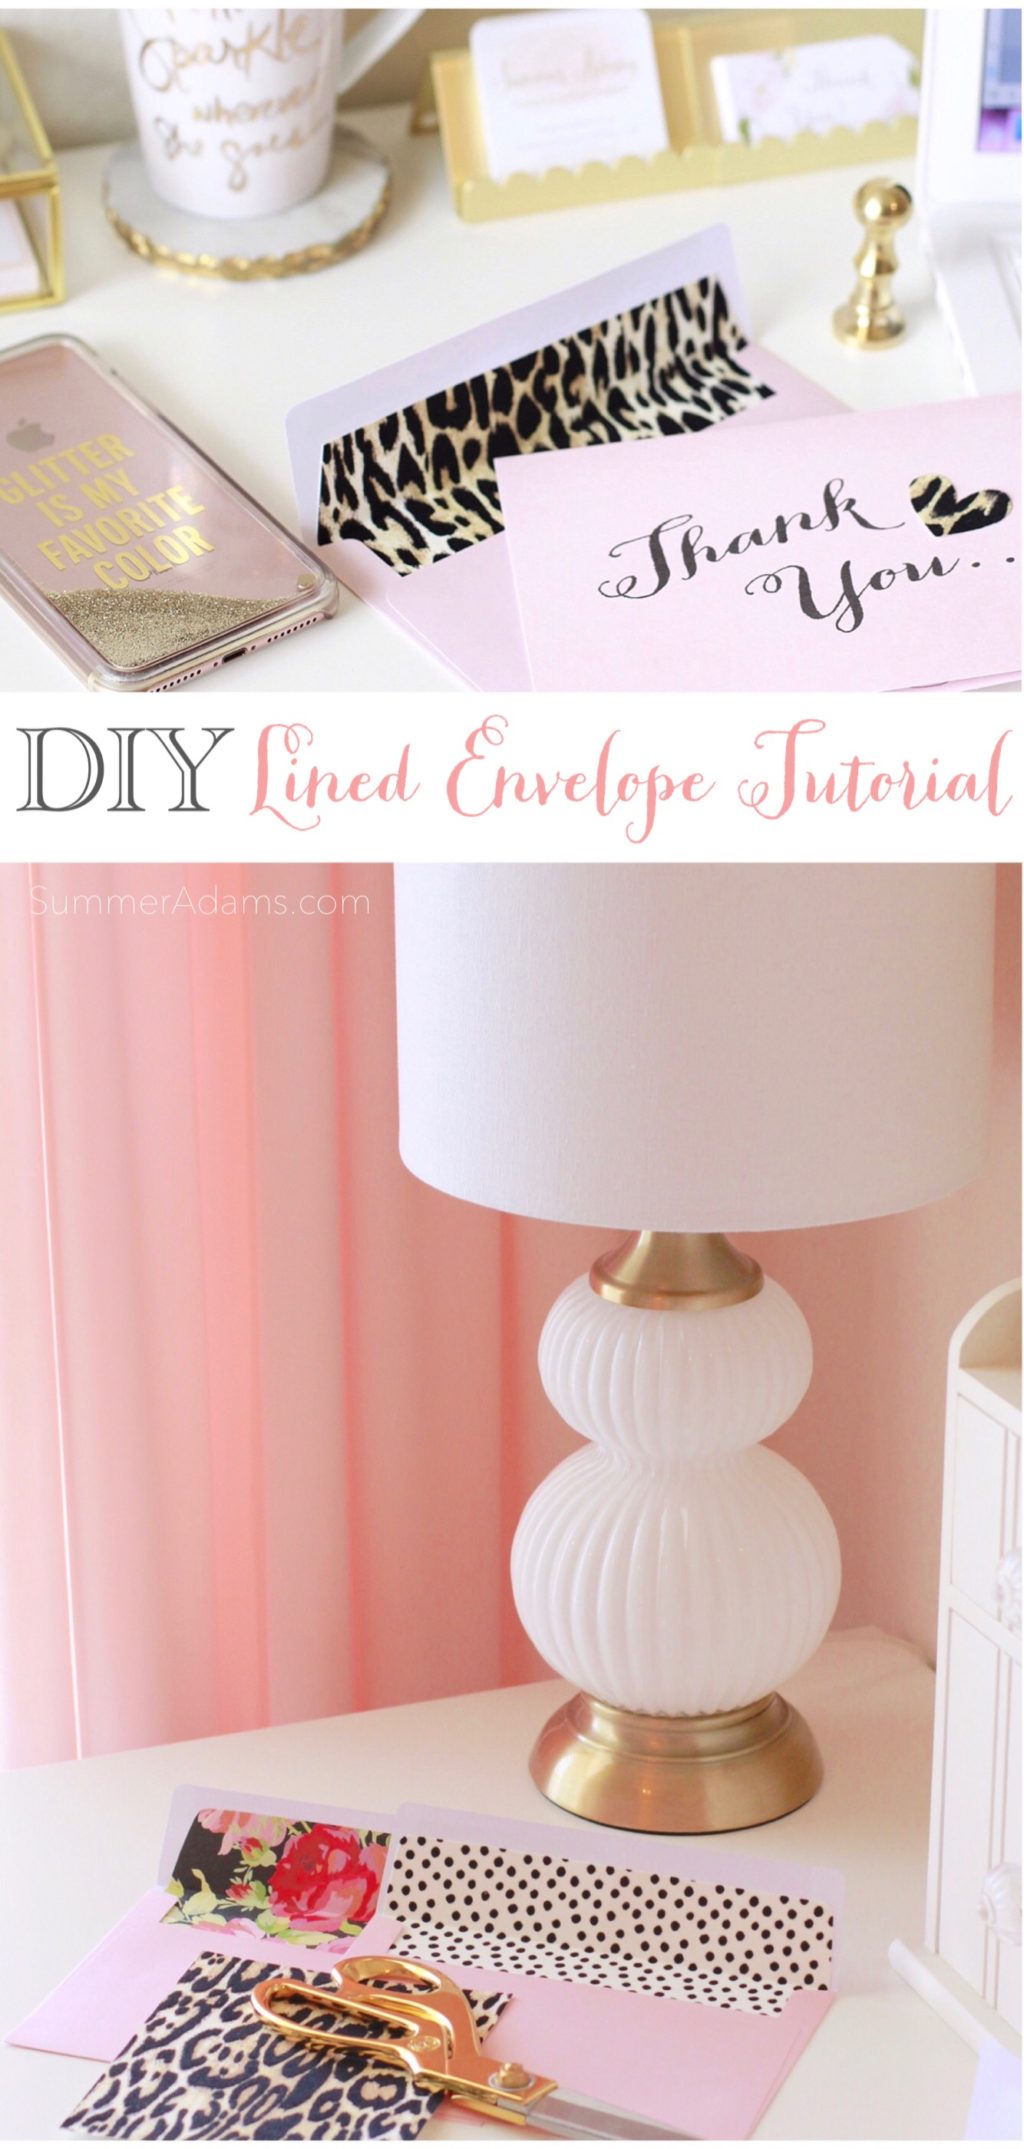
I love stationary! I especially love receiving notes or cards in the mail. It makes me sad to see hand-written notes become sort of a lost art. On some Sundays, I’ll sit and write a card to someone that’s been on my mind to say “thank you” or “I’m thinking of you” or “I’m so sorry to hear about….” or “Excited for you…” because everyone loves to know they’re thought of. After buying a LOT of expensive stationary over the years, I decided I could quickly and easily create those lovely lined envelopes myself that are just like the ones I’d been spending a fortune on. So today, I thought you’d enjoy this chic DIY lined envelope tutorial as well and figured I’d share the fun.
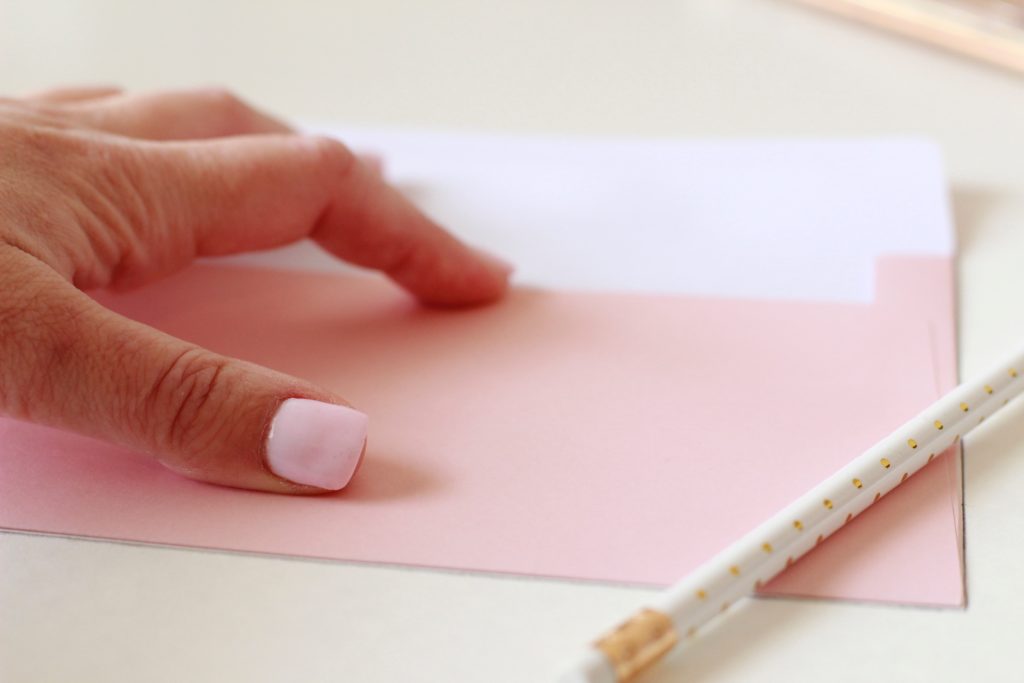
First, use a pencil (in case you accidentally mark your envelope) to trace around your envelope on to the paper of your choice. This might be scrapbook paper you already have! Get out that stash of scraps or paper you never ever use! Or, you can go to your local craft store and buy a bunch of fun papers you like, for any occasion or season (depending on what you’re making this for).
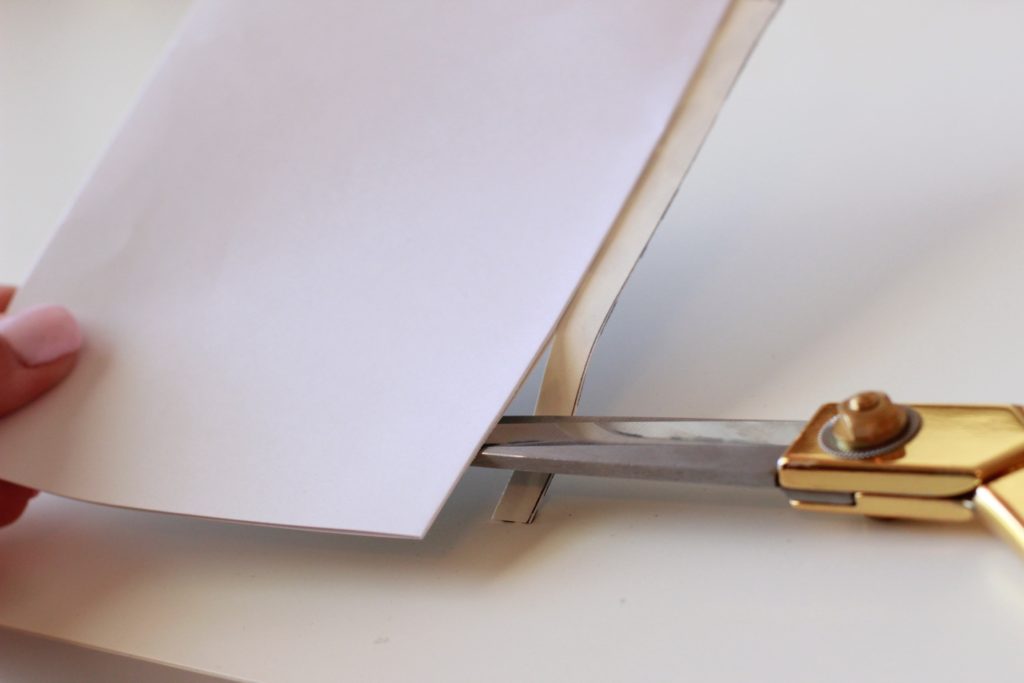
Second, just measure 1/8″ towards the INSIDE of that paper shape and cut all the way around the sides and bottom and 1/4″ along the sticky edge part of the top flap (see pic above). You want the paper to be smaller than the envelope. Insert into envelope and make sure it looks right. Cut accordingly if more is needed.
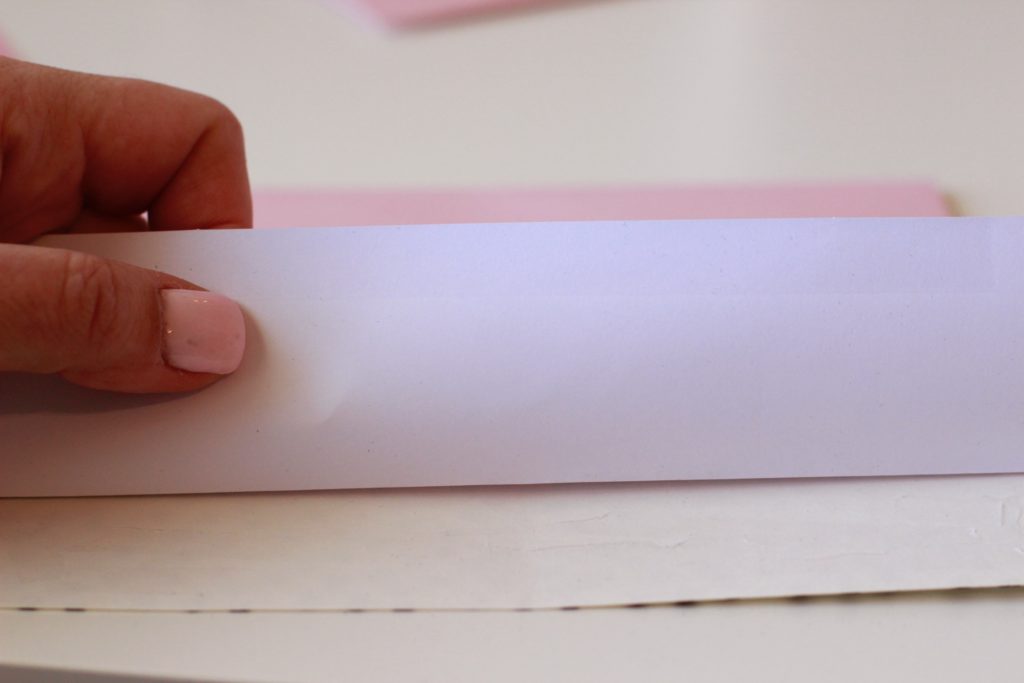
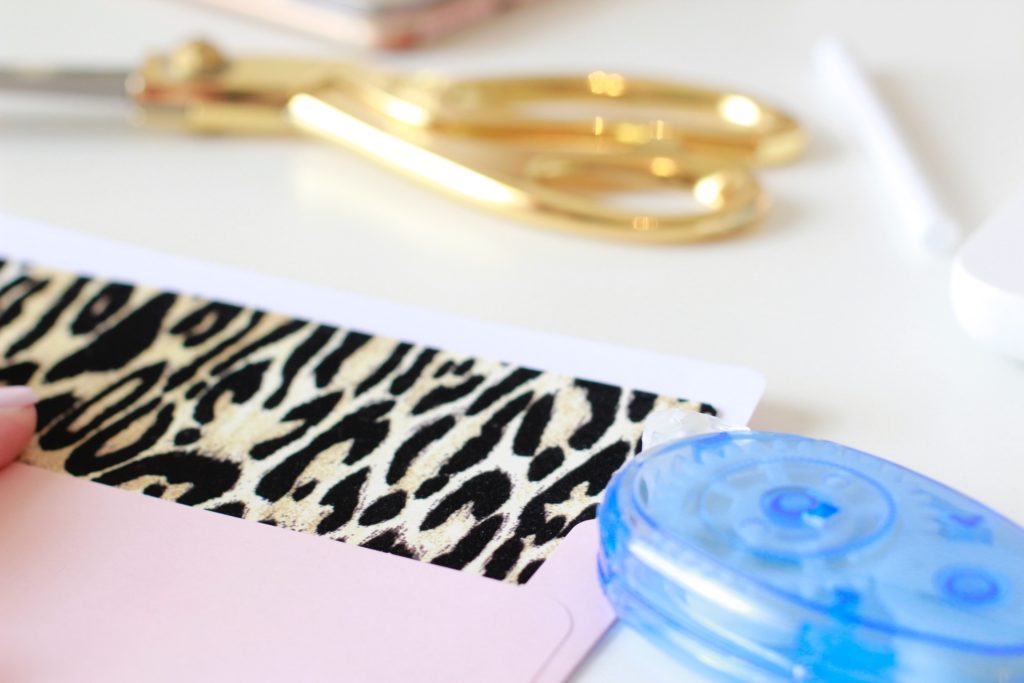
Third, turn over and just use a permanent glue tape runner to glue just the top part to the flap.
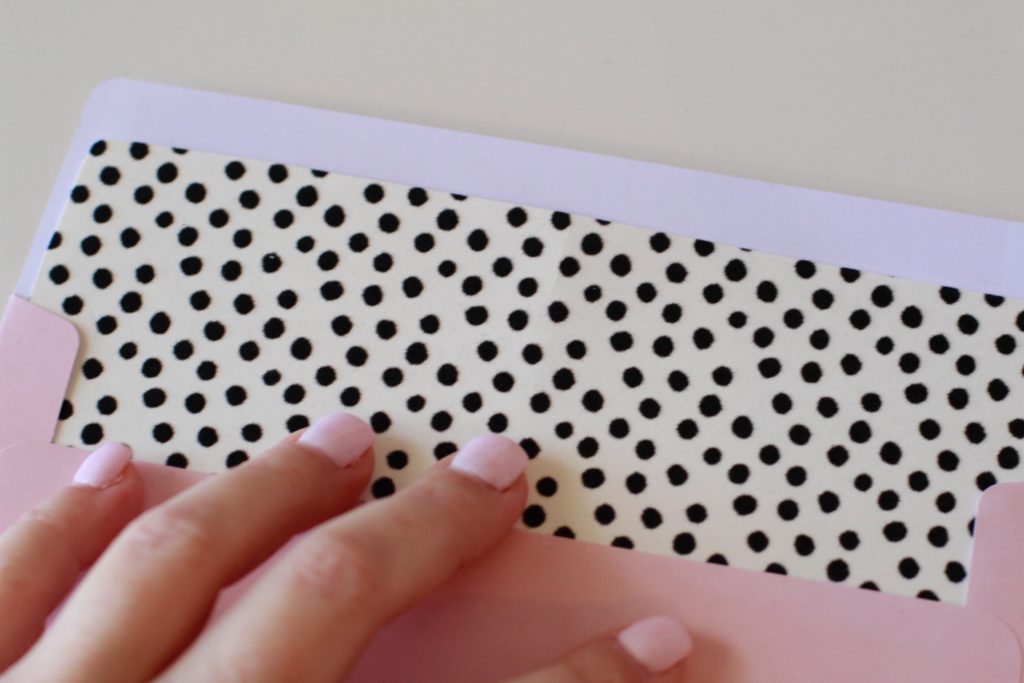
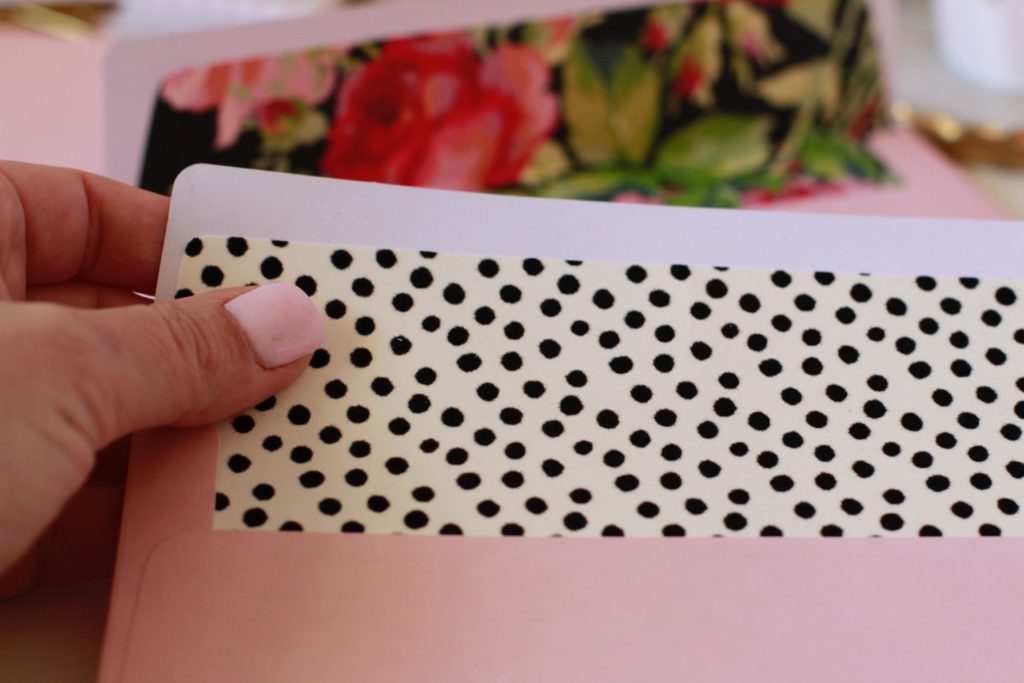
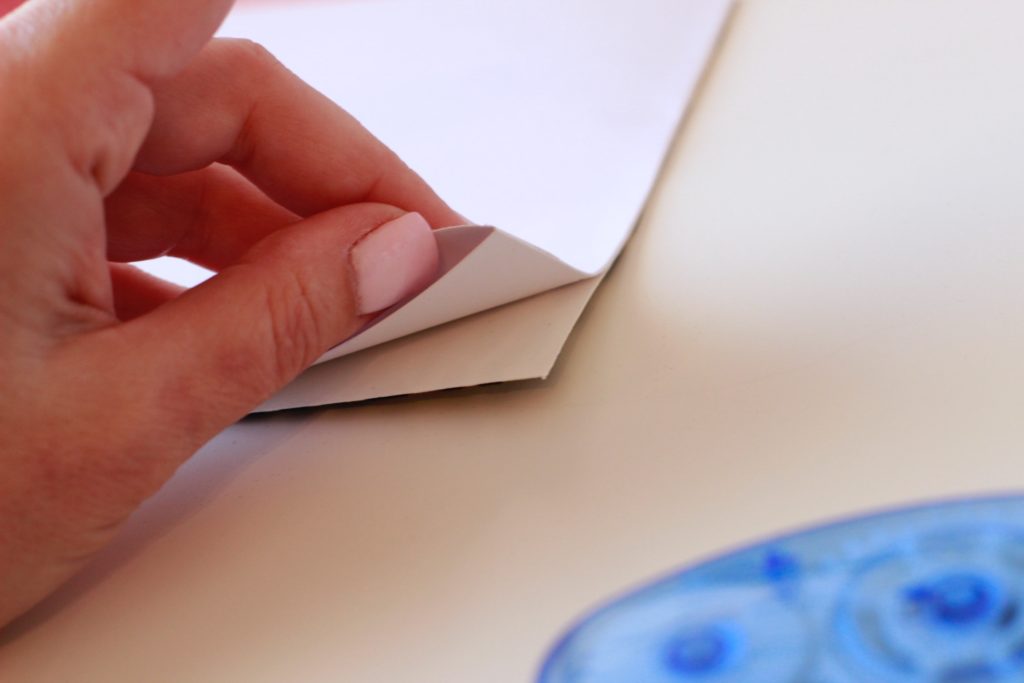
Do you see how I trimmed more on the top to show the sticky part (or part you’d lick) and less on the rest of the edges? Turn it back to the right side up and just press the paper onto the inside of the envelope. Voila! Easy right?!
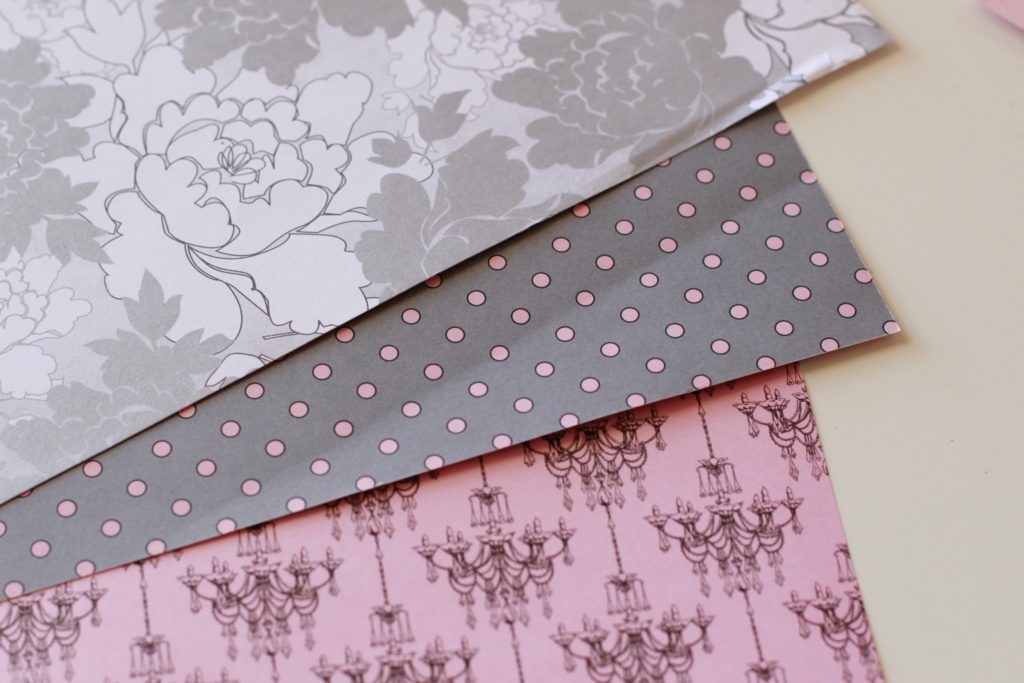
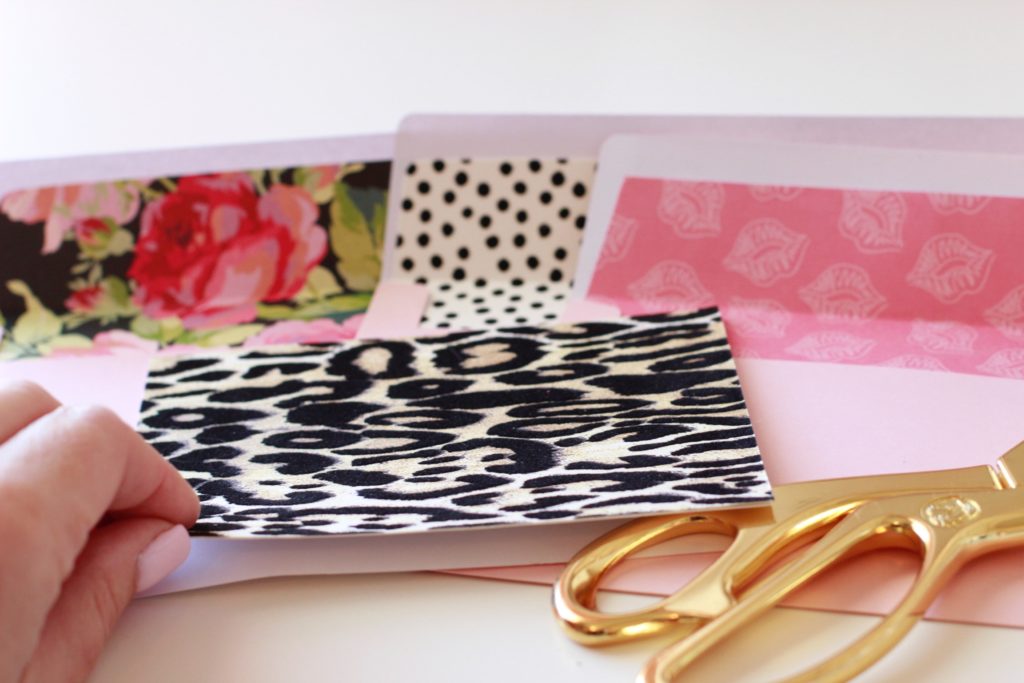
It’s so fun to find coordinating papers! This dot one (found at Hobby Lobby) had these fuzzy dotted papers and I loved the texture it gave.
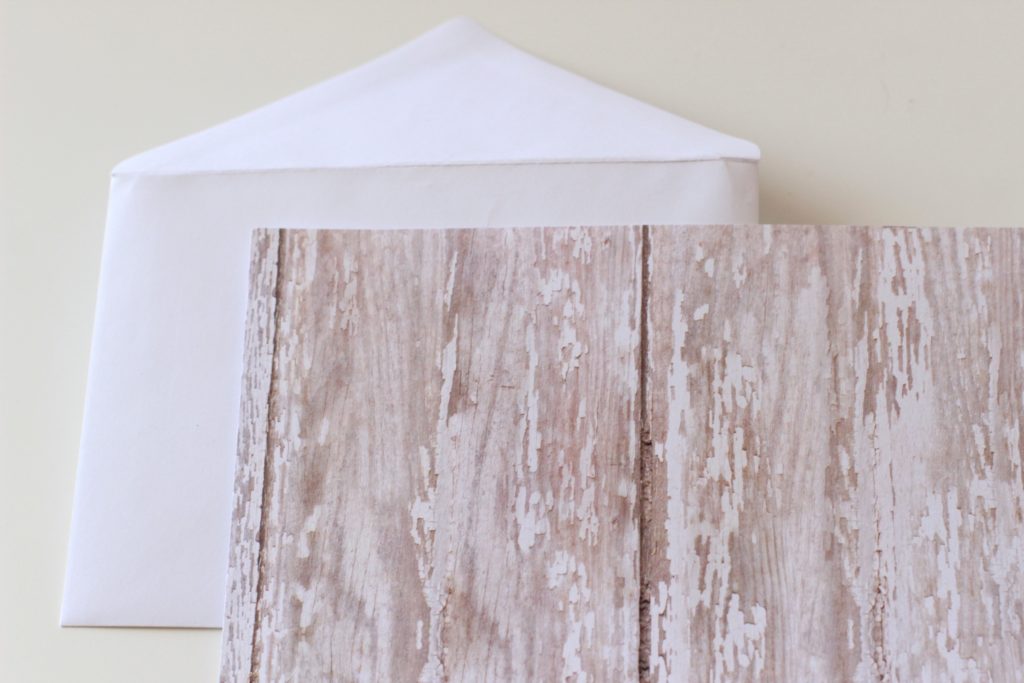
If you like a less chic look and more of a rustic look….
…maybe you’d like this faux-wood paper? You could even make a cute card to go inside!
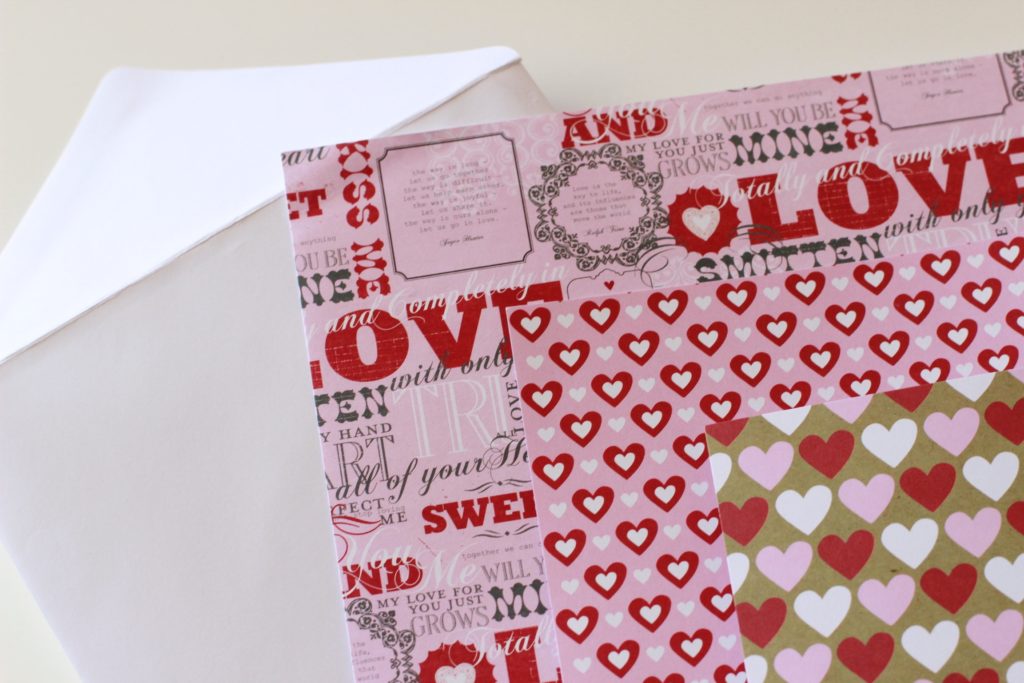
I didn’t take pics of the finished envelopes, but these are the papers I used to make fun little Valentine-themed envelopes and sent real “Valentines” in February to a few loved ones.
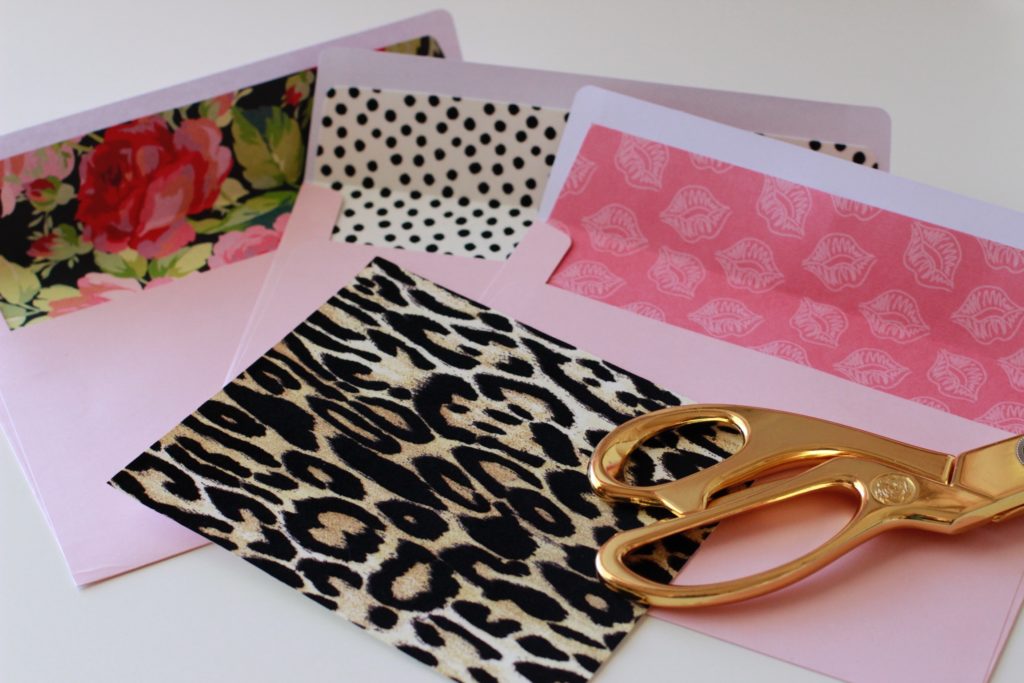
You can find all different colors of solid notecards and matching envelopes at your local craft store (I bought a white pack and a blush pack for now) and play around with paper you have at home that needs to be used OR buy some new fun coordinating papers! I found a TON of papers, like these above, in my stash at home that I thought would go well together!
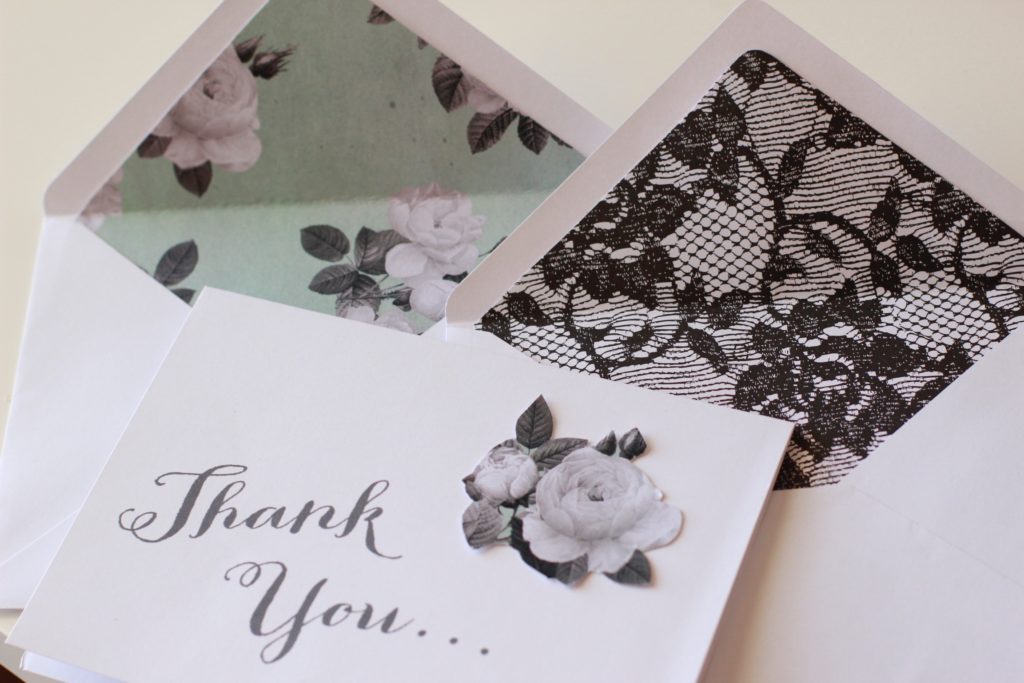
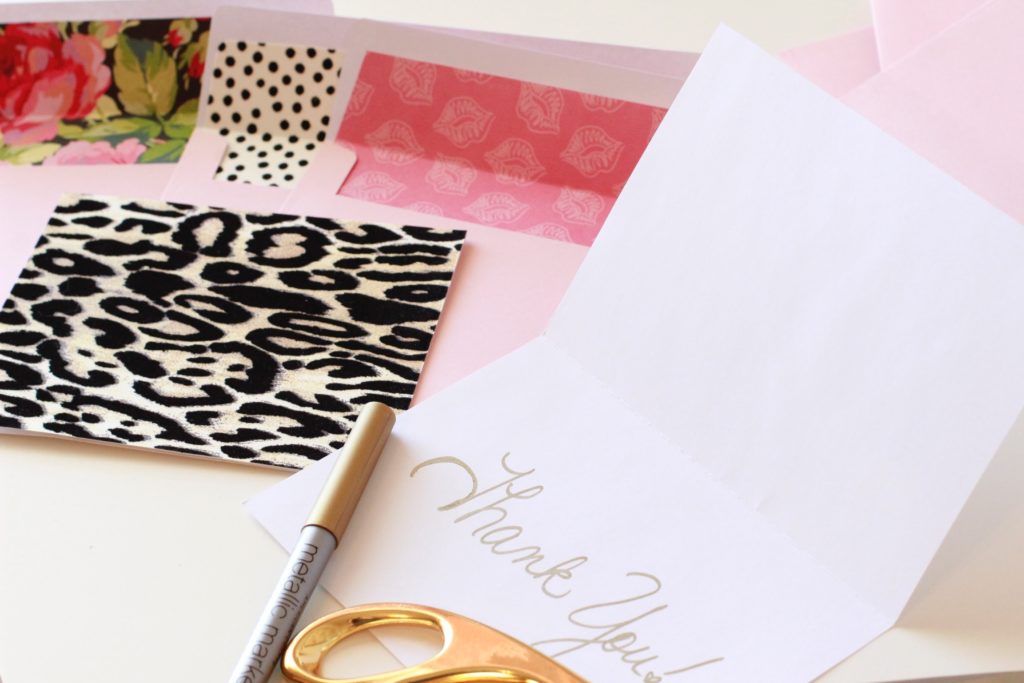
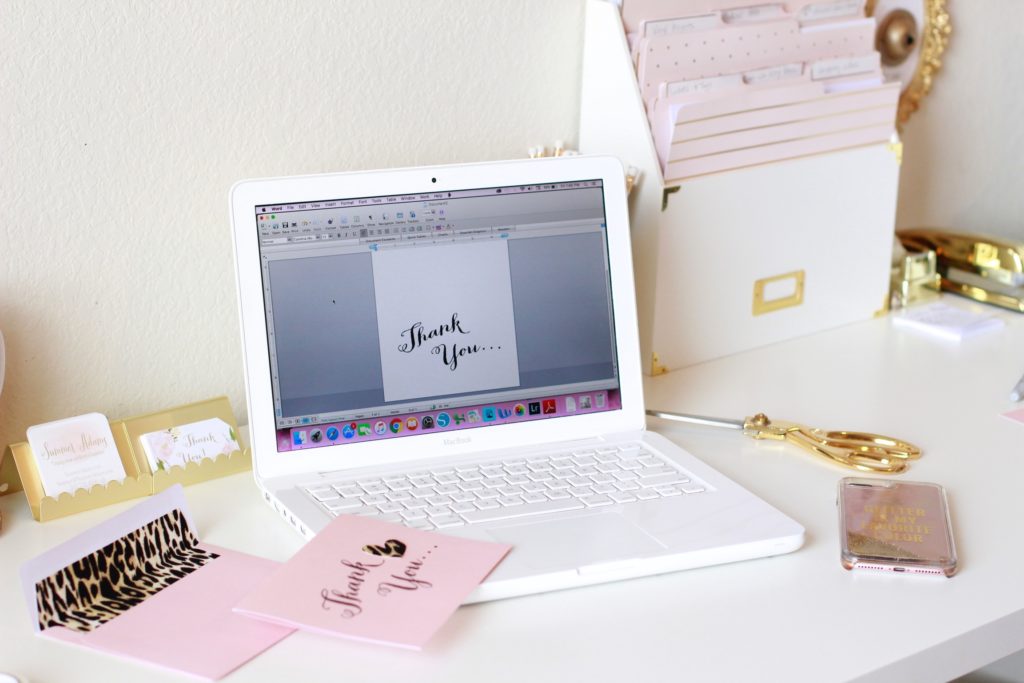
I even printed out the words “Thank you” in a pretty font using MS Word on to my card (more on this toward the end of the post) and then I just cut around some flowers on the paper and glued it on the card. Simple but cute right?! More paper above from my stash.
Then, I decided to take some of that leopard paper and glue it to just the front of a plain notecard and trim it to fit.
I went back and glued the corners better so it felt like one card.
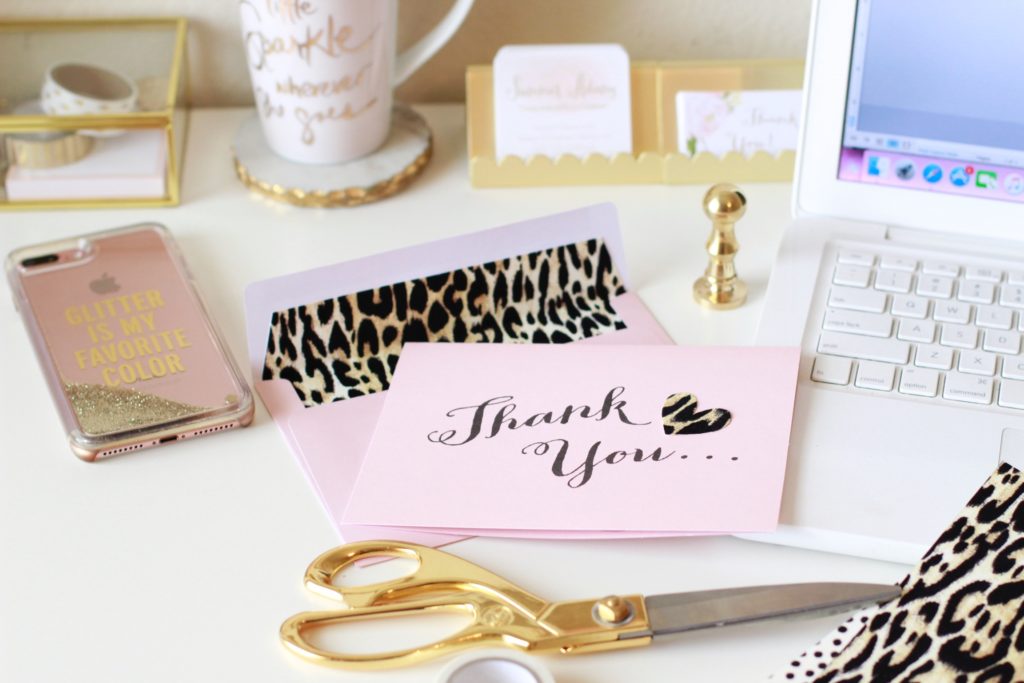
I turned it into a very chic but simple plain notecard! It can go with anyone of these lined envelopes I made!
You could even grab a fun metallic marker like I did and write your own note inside. Or any pen or maker will do!
NOTECARD IDEA: I also took a bunch more of those plain blush notecards, measured the size (all the way open) of the height and width, changed the paper size to custom and adding that measurement.
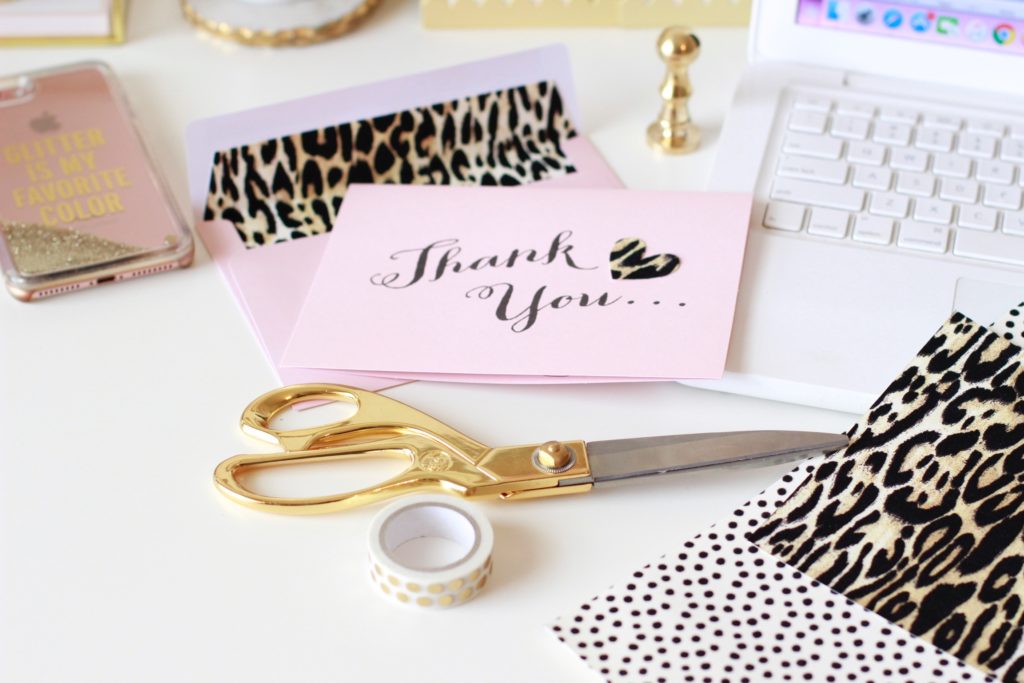
Then I just added a png file I made in Photoshop that said “Thank You” (also shown in that pic earlier in the post) to the bottom part/front part of the card, and printed it out and folded it over. I’m sharing that png file for free with you above! Just right click and save to your computer! This “png file” doesn’t have a background (it’s transparent) so you can place it on top of any color paper of print and it won’t print any white.
Pretty cute isn’t it?! I even cut out a small heart for fun and glued it on top of the card.
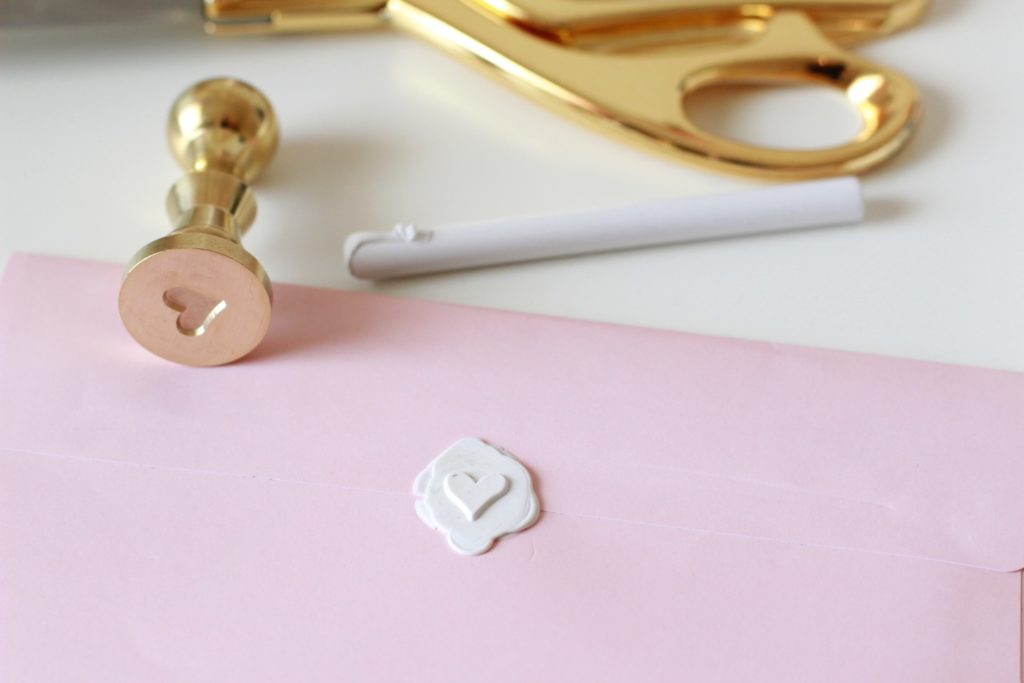
And to get a little fancier and add some more fun, I used THIS melted wax seal to close the envelope. Sometimes I add a cute round label or some washi tape, depending on how I’m giving or sending the card,
Isn’t this so fun?! Now, pin this to Pinterest so that you have it for later (hover over the pic and you’ll see “PIN IT” appear) and go grab your supplies and get busy! Have a blast and feel free to leave me a comment below and let me know what you think!
Here are some affiliate links I’m linking below for your shopping convenience! They’re things you’ve seen here in the post as well as some of my favorite things in my office that you don’t see here. (Office reveal coming this week).
I would love it if you subscribed at the top of the page in order to receive my weekly emails of all my latest posts. You can also follow me on Instagram, Pinterest, and Facebook to see what I’m up to in creating a home and lifestyle of inspiration!
xoxo,



Absolutely adorable Summer! Love this idea
Thanks sooo much, Mysha!! So glad you stopped by!! Xoxo
So pretty Summer!! Love this post… You’ve even motivated me to pick up a pen 😉
Hugs!! xx
Oh, I’m so glad Kristy! I love quiet parts of my Sundays where I sit for a few moments and write notes of gratitude and send them off. Thanks so much for stopping by, friend! xoxo…
Summer, these are absolutely ADORABLE!!
Thanks, Kel! All I need is your collection of markers and I’m set…ha! xoxoxo
This is so brilliant! Not only are you doing something to make someone’s day a bit brighter by keeping in touch with a special friend in such a lost art, but you get to do a craft too. Win, win! I just found beautiful wrapping paper at TJ Maxx that looks like a painting. I have an old pained window I planned to use the paper in and now I can use it again.
Hi Jenn! Oh, I just love that! There are so many fun things you can do with wrapping paper or scrapbook paper. I love your idea! Stay tuned for an idea I am sharing next week (wink wink). So glad you stopped by! xoxo
Summer you are SO GOOD!! I love tris idea so much!! I need to make them! I just love your creativity!! Xoxo
You’re making me blush! Thanks so much my friend! Glad you stopped by! xoxo
Summer this is such a beautiful idea! I am so trying this one!! I love all your gold office supplies too!
Oh Kellie, thanks so much friend! Isn’t it funny how such a small thing makes such a big difference and makes it even more personal?! Glad you could stop by! Xoxo
I love this tutorial. Thanks for sharing your creativity with us at Waste Not Wednesday. Hope to see you back again.
OMG! I love love all things paper. I have a craft room full of scrapbook paper, pads, notecards and stationary! I still make my own cards and mail out short notes to friends. I love getting mail vs. email. I too, line my envelopes and also put confetti in birthday cards (hehe). Great post. Please tell me where you found that cute lamp pictured! Thanks Summer.
Hi Lisa! I found it at home goods one day. Wish I could find more of them. But I went to some similar in this post! Thanks for being so sweet and stopping by xoxo