Raise your hand if you do NOT love your entry way? {I’m raising my hand with you.} I had this little alcove that was limiting, awkward and quite frankly, obnoxious when it came to decorating. AND…it wasn’t even functional….See?!!!
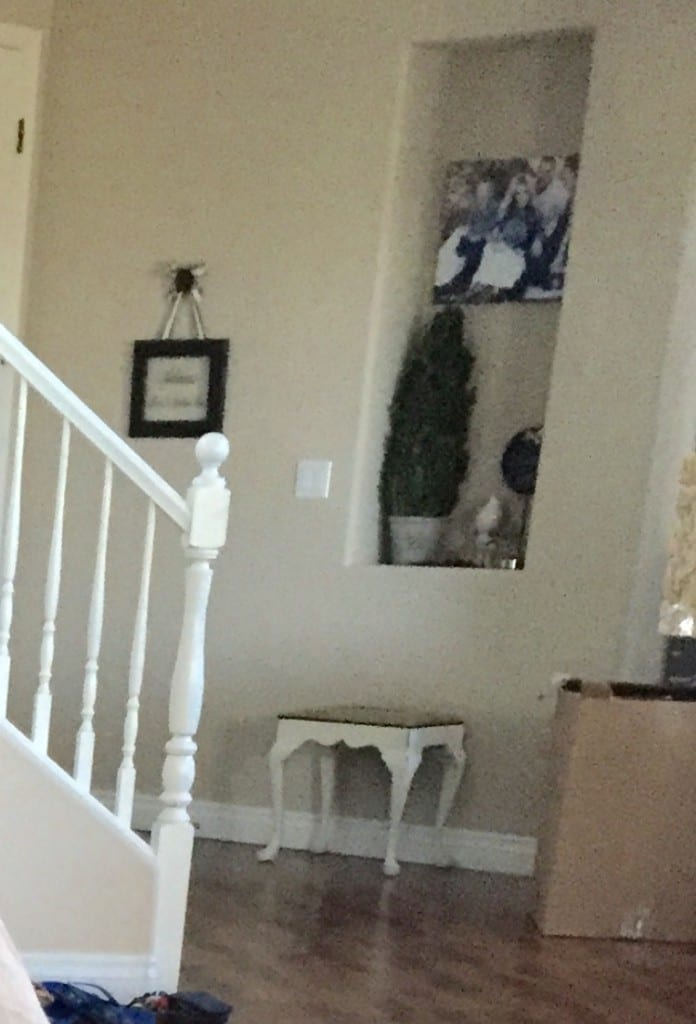
So, I decided a hall tree was an easy and excellent solution. It would give me little extra storage from the bench, it would be functional, and nice to look at (not gonna lie…my favorite reason for doing it). So here is what I used and then I’ll show you steps….
Supplies:
Dark Walnut AND Grey Stain
Small bottle acrylic paint in white or ivory and bristle paint brush for quick dry-brushing
(5) 1/2″ x 5.5″ x 8′ white wood (pine is more expensive but feel free to use it or whatever you have on hand)
(1) 1/2″ x 5.5″ x 6′ white wood cut into 3 pieces, using your own saw or your home improvement store will do it for you:
·(1) 3′ piece you’ll use
·(1) 2′ piece you’ll use
·(1) 1′ piece that you can put away and save for a sign or other project
(1) 1/2″ x 2″ x 6′ white wood, cut into (2) equal pieces
(2) Rod Iron corner brackets, no longer than 6″ deep
(2) Decorative hooks
Drywall screws 1 3/4″
Measuring Tape, Stud Finder, Drill/Hammer/Automatic screwdriver
Instructions:
(Note….I bought enough wood to cover the 34″ space I wanted to hide and so the wood measured 37.5″. You can do the math and make it wider or narrower. Just adjust the length of shelves and anchoring wood.)
1. Stain all your wood pieces. I use one coat Dark Walnut and then one coat of Grey. You can use whatever stain you like best or even paint the wood. Let dry COMPLETELY. I let mine dry overnight.
2. Determine where you want to put the hall tree and use your stud finders to mark studs. It’s best to screw into studs so that it is stronger.
3. Equally place thin wood, now cut into (2) 3′ pieces, somewhere near the bottom and top of the height of wooden planks. Use 3-4 screws (drywall anchors if needed) to attach to wall. Make sure to level so that they are both straight and directly above/below each other. Mine did not equally straddle the alcove because there was a light switch directly to the left, in case you’re wondering 😉 Couldn’t cover that!
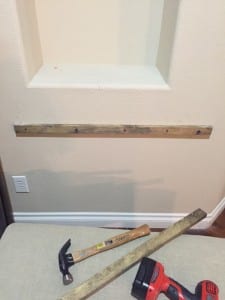
4. Piece by piece, screw each plank of wood from left to right, putting one screw in the middle of each plank and drilling into the top piece of wood anchor and also the bottom piece. (Note: This method is not only sturdy, but allows you to unassemble and take with you. Using nails will cause damage as you would have to pry it off the wall later.) Continue this method until all planks are attached. I rested my planks along the ground, as opposed to attaching it off the floor and inches up the wall. I felt it would be safer and I wouldn’t have to worry about the weight.
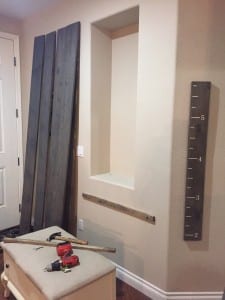
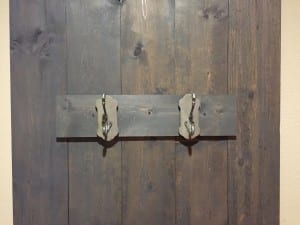
5. Determine where you want to put your hooks. First, take your 2′ piece of wood and screw against the wood planks. I put mine eye-height. Then, I attached 2 hooks to that. I like the layered look and it also makes it sturdier. I really LOVED these hooks I found at Hobby Lobby and when they went on sale for 50% off, they were only $5 each.
6. Determine how high you want your shelf to sit. Put it at least 8″-12″ above you hooks so that you can easily hang and remove items. The shelf shouldn’t not sit directly above. Give it a little space. I put mine a bit higher because I had to make my hall tree really tall to cover that alcove. I can always remove it, take it with me to another home and even cut it down if needed. Measure and level your corner brackets and attach them first. I came in 2″ on each side. Then, add the 3′ piece and attach to the top of the bracket. Note: I used a little white, or ivory, acrylic paint and dry-brushed it a little to lighten it up on the top of the hall tree. I didn’t want it to be too dark and heavy. Dry-brushing took 2 minutes to do all sides and maybe 3 minutes to dry. Easy peasy!
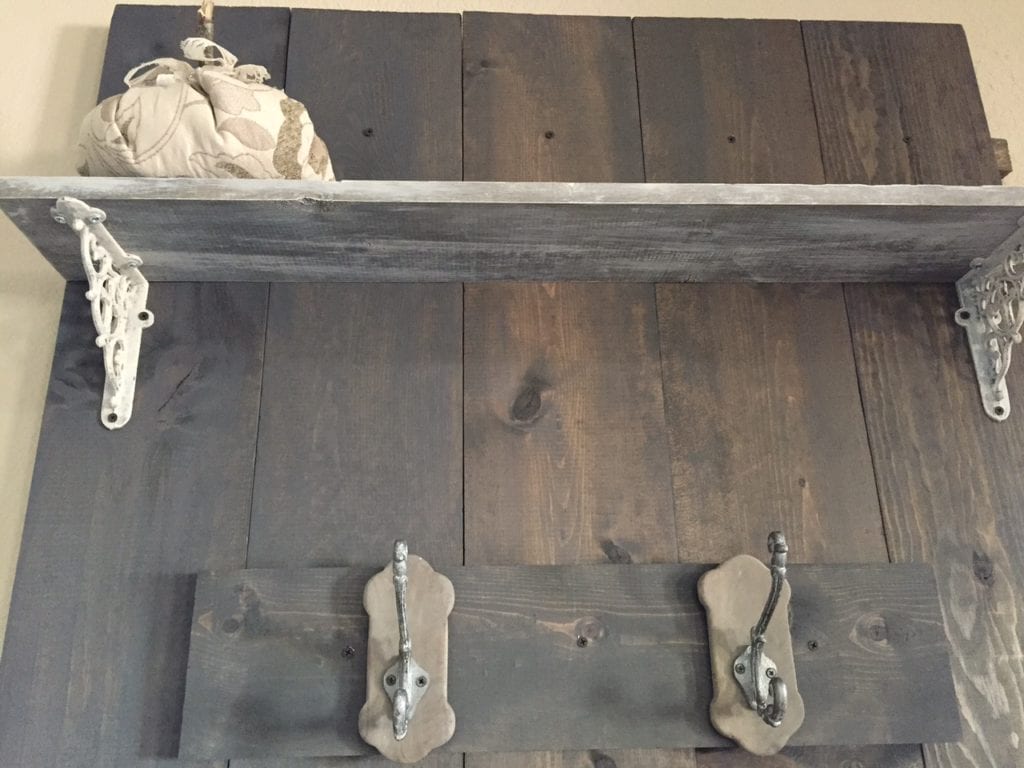 THAT’S IT! YOU’RE DONE!!! Just add (or make) a bench. I found mine just junkin’ in Waco, TX when we lived there a few years ago. I painted and recovered it in linen. I just LOVE the way it looks! I love the 2 tones of grey and beige and like to mix them throughout my home, being such a neutrals-lover. I styled it, below, with pillows and lighter decor on top and can’t wait to change out everything on it for each holiday and season. Let’s look at it one more time, shall we???
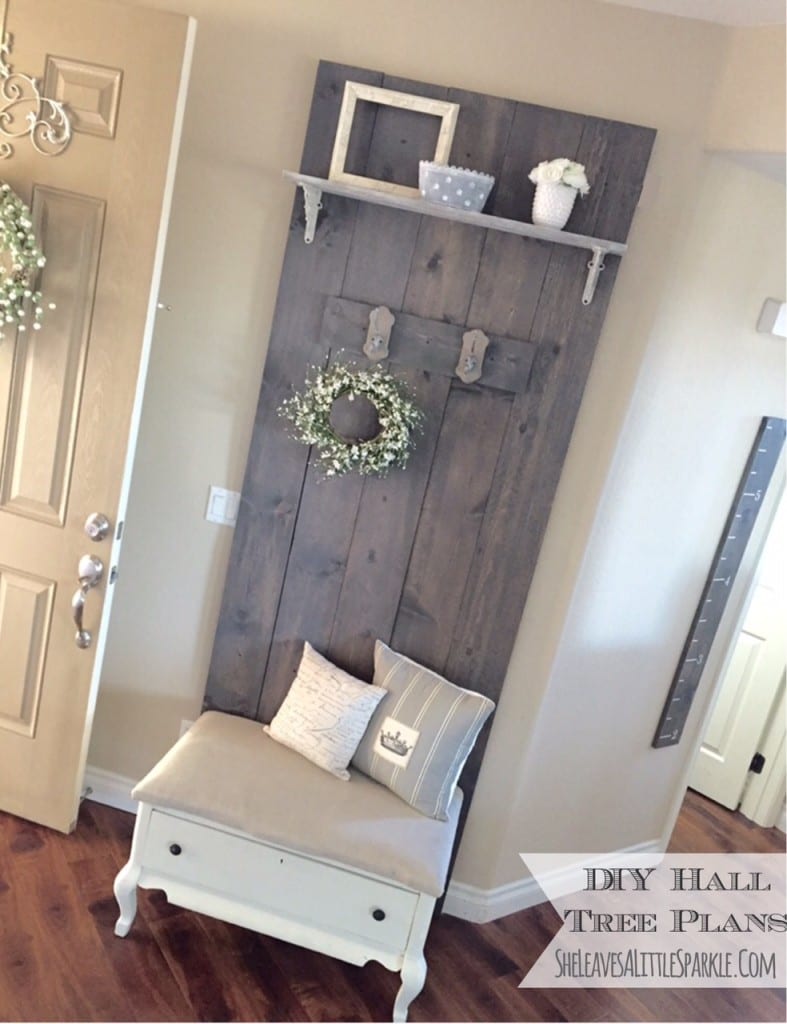 Aaaaaaaaahhhhhhh….I just LOVE it!!! {{{squeal}}}
Questions? Leave them below in your comments or email me! Don’t forget to follow me on Periscope as @ sheleavesasparkle and of course Instagram as @sheleavesalittlesparkle for live tutorials and finished projects! Don’t forget to share your project with me! I want to see!! 🙂 Thank you for stopping by and taking time to share in the fun!
xoxo, Summer
Leave a Reply