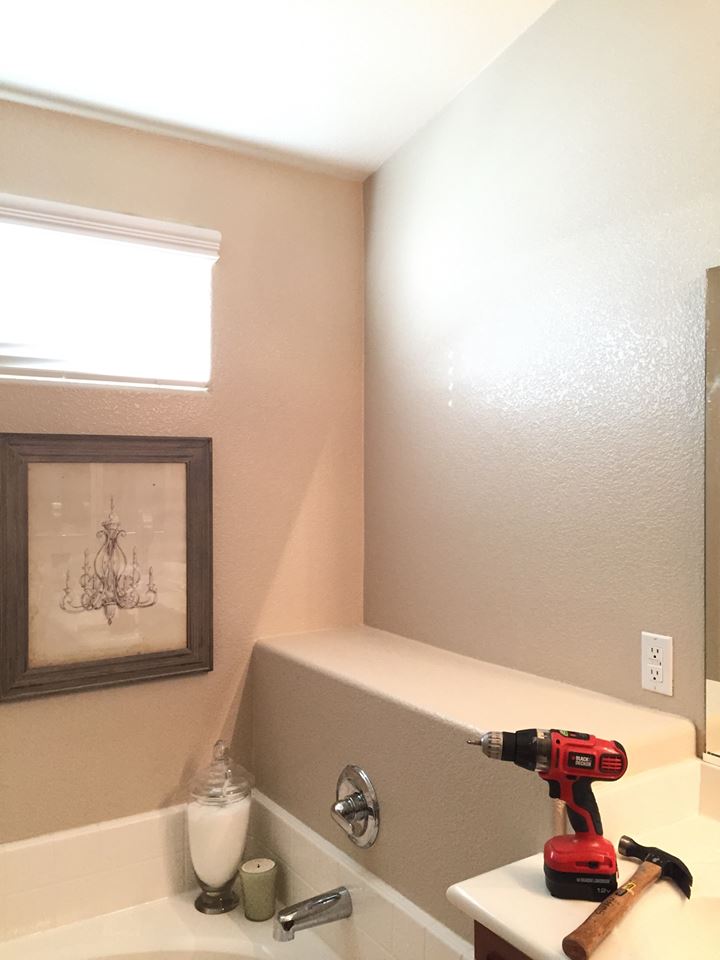
Have you ever moved into a home and asked yourself, “What am I going to do with this little awkward space?” I have had one of those moments in every home we’ve moved into. Unless you have a custom home that you designed, you most likely will encounter this. This one in my bathroom, however, I just knew would be fun to do. But WHAT to do?
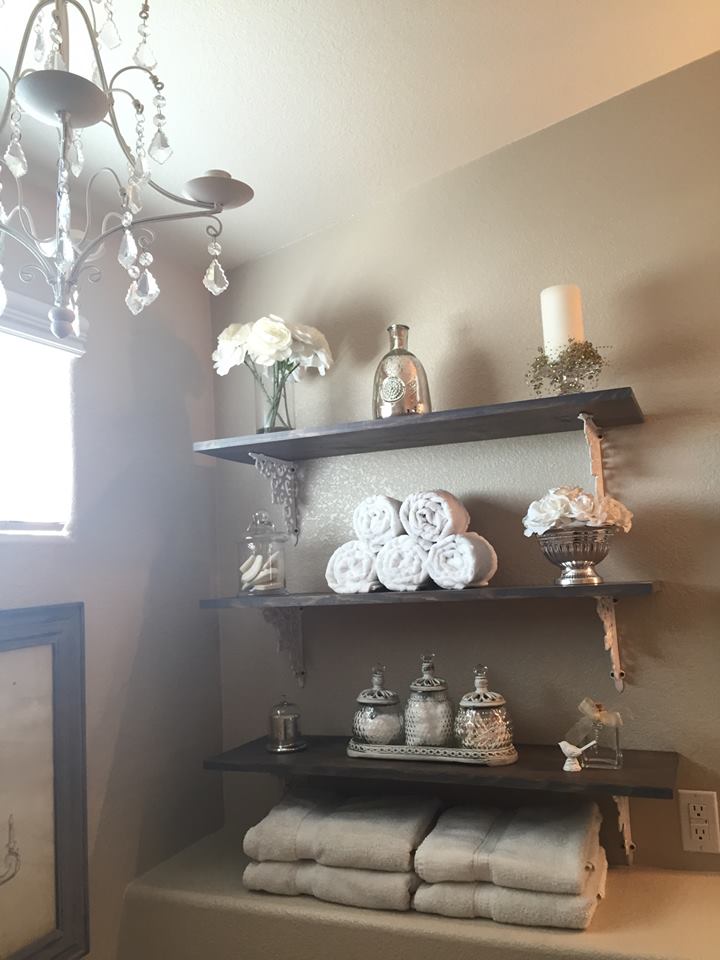
I had a few different ideas and wasn’t sure which direction I wanted to go. At first, I hung a gorgeous, tall print I loved and then had some cute pieces of decor and towels sitting on the shelf. Uh uh, no. I wasn’t feelin’ it at all! And then it came…..this easy and gorgeous AND inexpensive, might I add, shelving display.
Here is what I did:
1- Went to the home improvement store and bought (1) 1″x12″x10′ whitewood plank. Will cost you around $25-$30.
2- Cut in to (3) 3′ pieces with my saw (but home improvement store will do this for you and probably easier to take home in car). I’ll save the leftover piece and make a sign out of it or something.
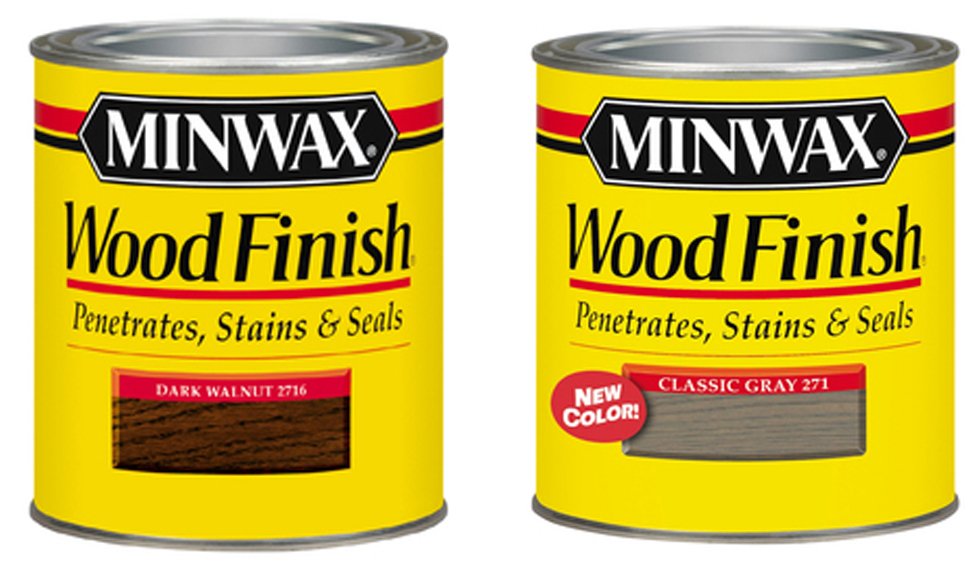
3- Lightly sand and then stain the wood. I love these 2 stains. I apply one coat of the Dark Walnut and then a coat of the Classic Grey. (I use this combo on almost everything in my home…i just love it!) You can seal it with a coat of polyacrylic but I did not. Let dry overnight. Less than $10 for both small cans.
![172148_1[5]](https://summeradams.com/wp-content/uploads/2015/09/172148_15.jpg)
4- I purchased these 8″ decorative iron brackets from Hobby Lobby (here) and spray painted them white. At 1/2 off, they were only $3.50 each, totaling only $21 for all 6 brackets.
5- Measure and (use your leveler) to mark where you want the wooden shelves. I started 8″ up from the bottom (the height of the bracket) and then I spaced the brackets 12″ apart. Screw them into the wall and then screw the wood shelves onto the brackets. NOTE: Use your stud finder and if you are not screwing into the stud, make sure to use a wall anchor as the iron bracket + wood shelves + decor will get heavy.
6- Here’s the fun part…DECORATE!! See? Easy peasy! I grabbed some pieces from around my home and moved things around. Then I bought a couple of other things from Home Goods (a.k.a. my home away from home).
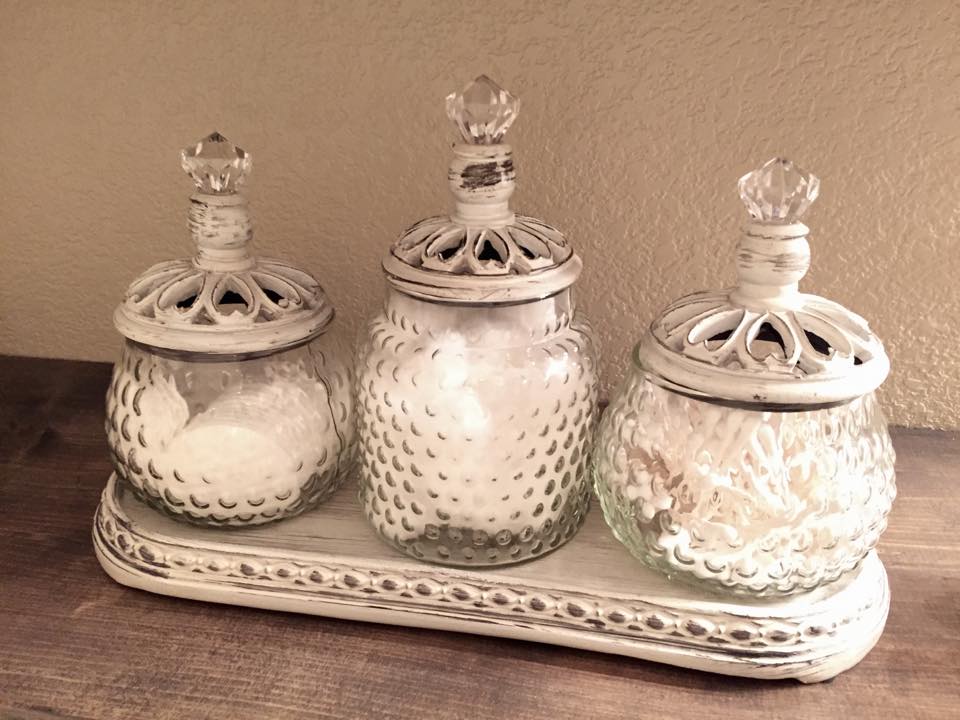
I found this darling bathroom jar set at Kirkland’s on clearance for $20 last week. The distressing, the jewels on top, the hob knob jars…it was calling my name from across the store!!!!
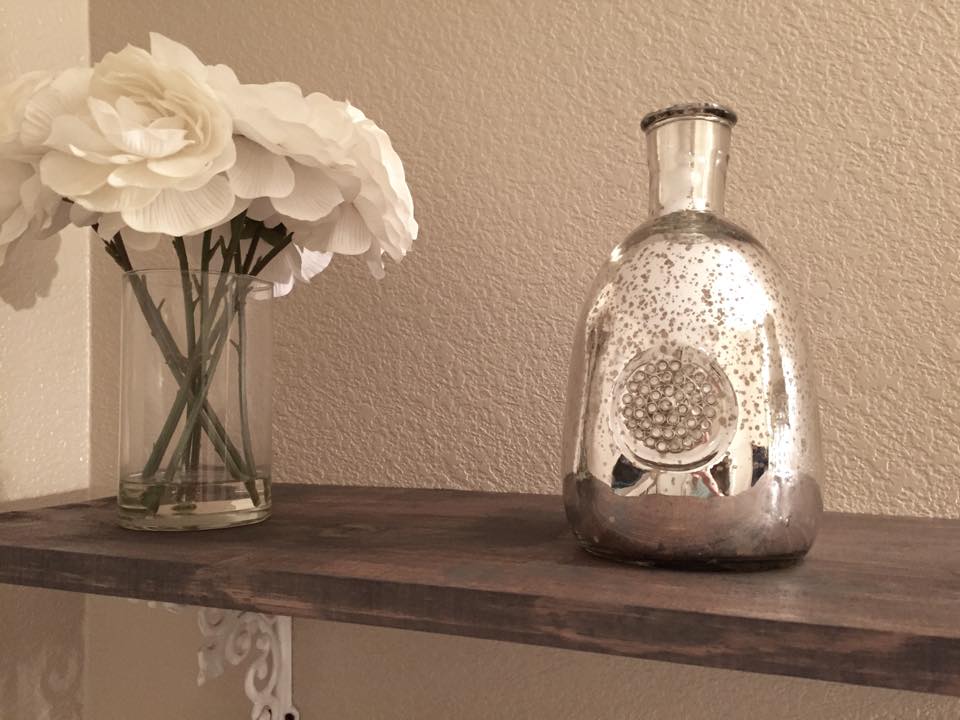
I love mercury glass! It has that vintage look and also so pretty! I found this beautiful vase and the flowers at Home Goods a while ago.
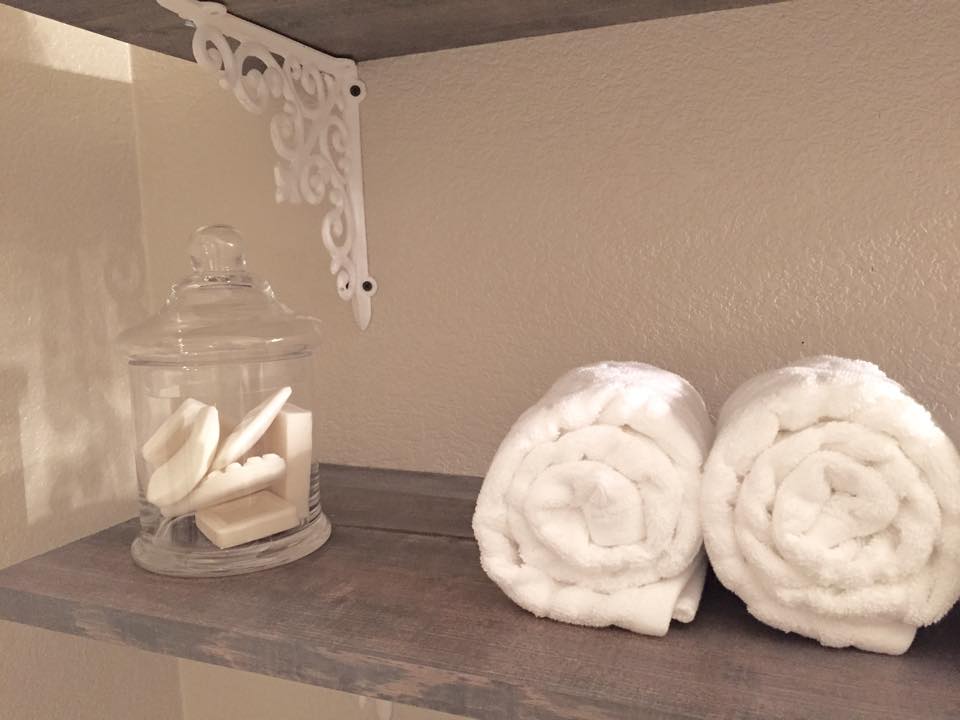
I love rolling hand towels. I especially love the textured ones. Make sure to roll them all the same way and face the open ends to the back.
You know those weird ladies that save all their hotel soaps? That’s me! haha! I love to keep them in my Guest Linen Closet in a special basket. I also thought it would be cute to unwrap them and put them in this apothecary jar to display on my shelves.
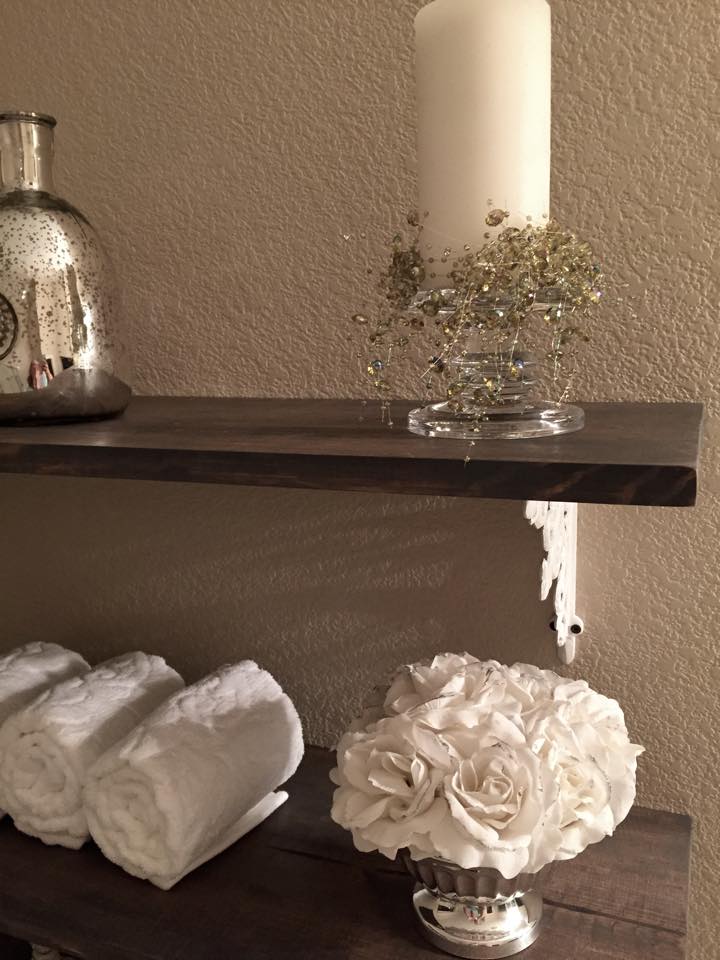
This cute sparkly strand around my candle is from Rod Works. It looks green but it’s a taupe color in person and so so pretty! And I also found this cute small potted faux rose arrangement there too for $7 on clearance. Woot woot! The glittery ends of the roses really add such a glamorous touch!
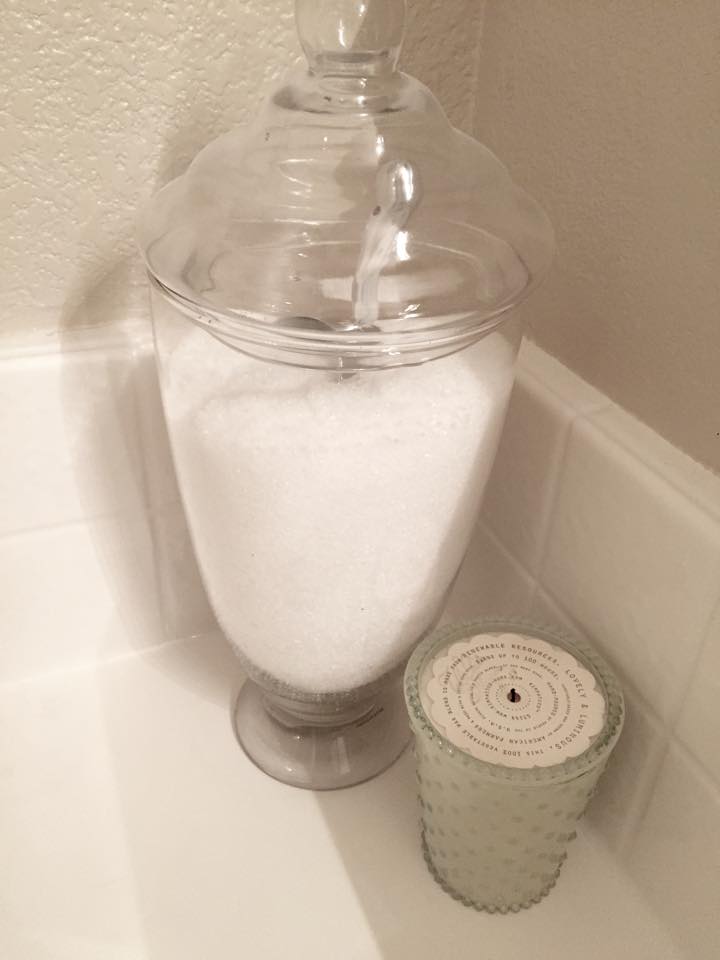 Along the side of my tub, I not only have one of my favorite candles (so cute in this hobnail jar) but I have a large apothecary jar full of Peppermint Epsom Salt. I like to take a hot bath with that in it twice a week to detox (will share my fave recipes soon.)
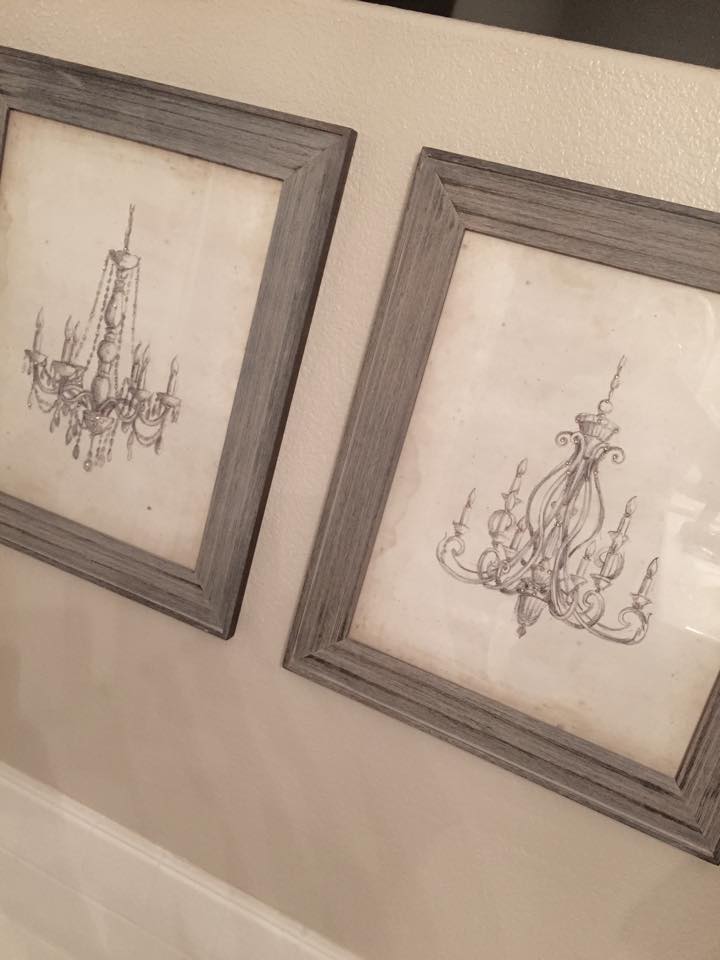
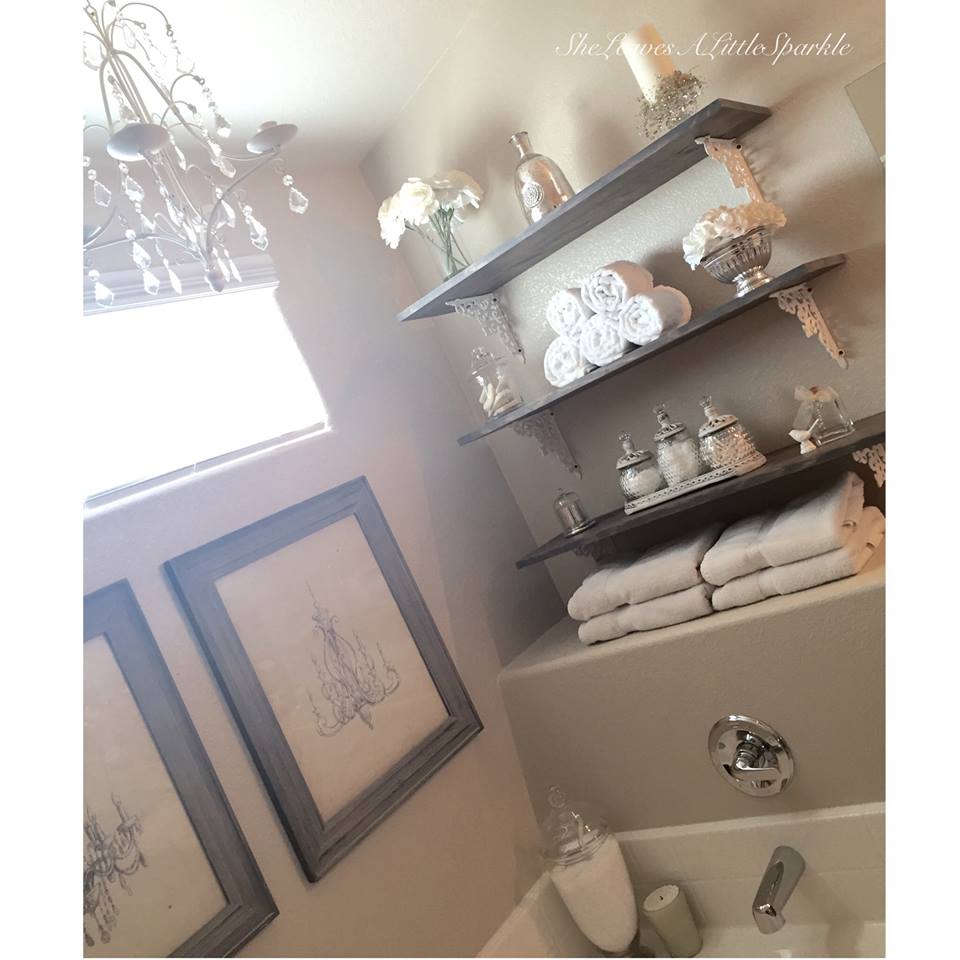
How gorgeous are these chandelier prints?! It’s hard to tell but they have some swarovski crystals that I added before framing them. They look so pretty in the daylight.
How fun is this chandelier?!! I “shopped my garage” and found it in this mismarked box (thanks movers…grrr) and was black. I removed and washed the crystals, which was very easy, and then spray painted it white and added the crystals back on. Night and day, I tell ya! I am soooo thrilled with this space!
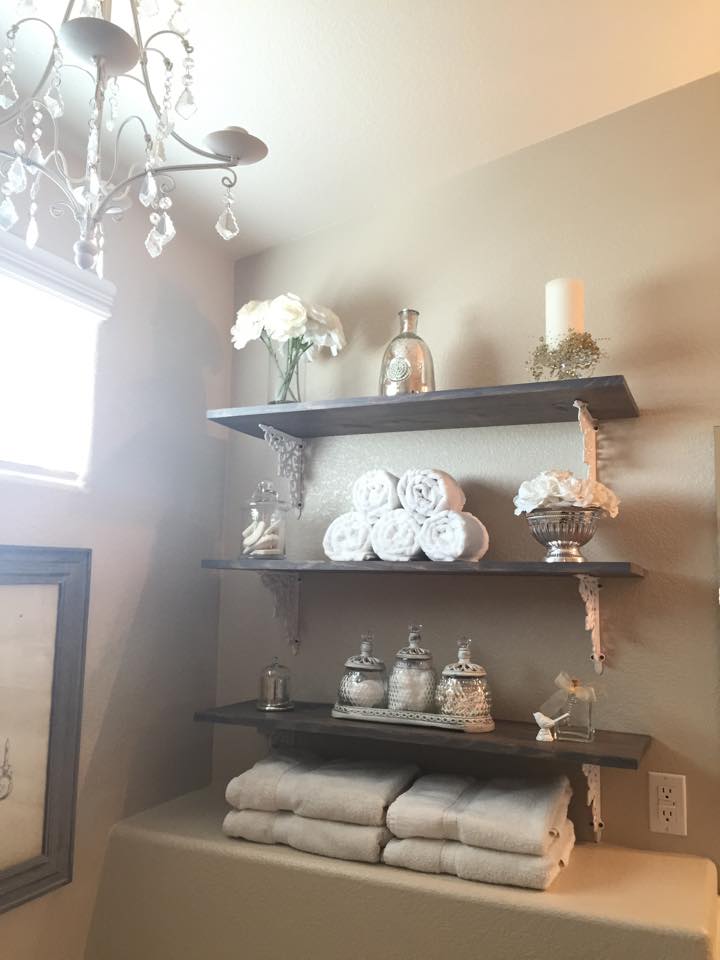
Taking a bath now TRULY feels luxurious!!! On that note, I think I’ll take one right now and read a good book!
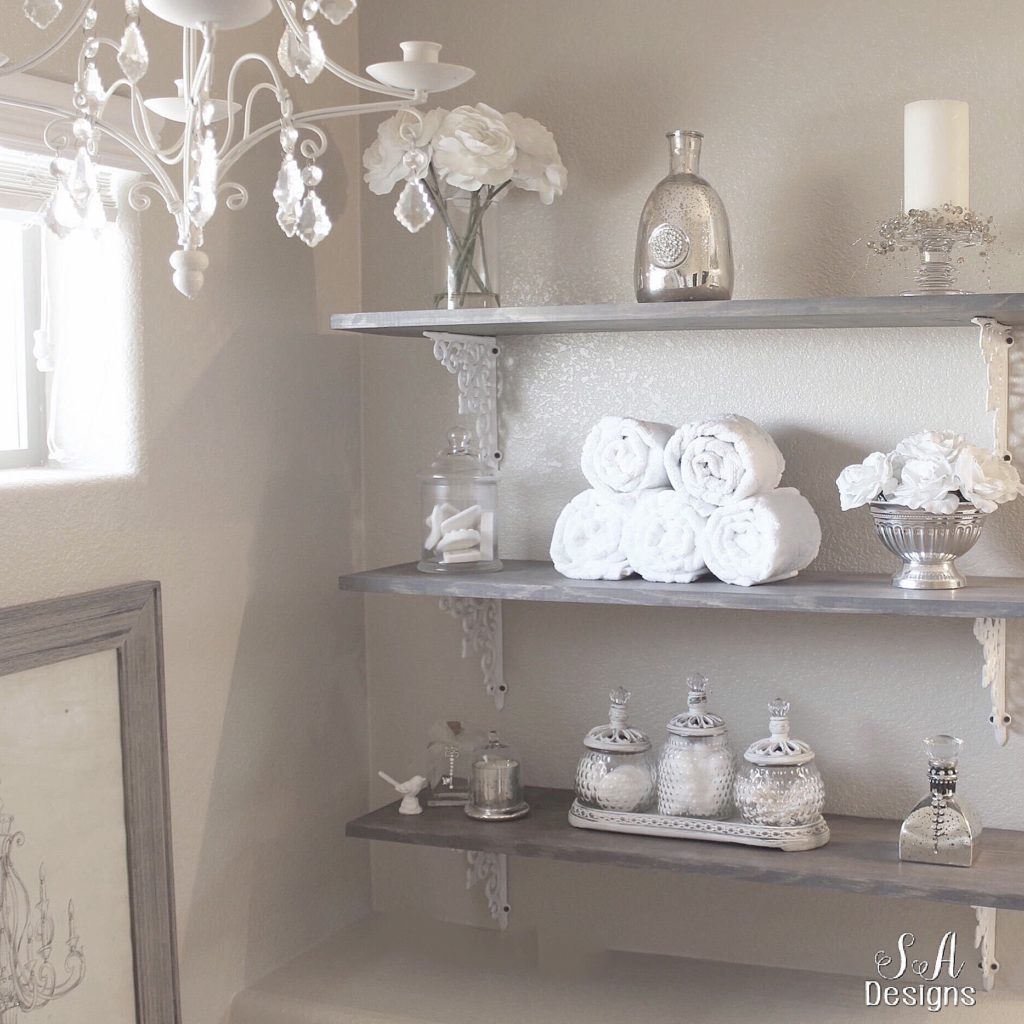
xoxo, Summer
This is so pretty! I did not know that bathrooms could feel fancy, but yours does so much! I like the stain color for the shelves.
Thank you so much, Emily! It has made such a huge difference and I’m really pleased with it. Such an easy thing to do 🙂
Love your talent! Are you open to sharing the wall color used in this pretty bathroom?
Thank you for sharing the photos!!
Julie
Hi Julie! Yes, it’s Botany Beige by Frazee! Thanks for stopping by and so glad you love it! It’s been a fun addition to our master bath 🙂
Thank you so much!! ?
Hi! Where can I find those chandelier frames? Gorgeous!
Love!!! Just found this on Pinterest and I can’t wait to try it!!!
Oh good! Thanks so much! Xoxo
Really lovely.. Love the nic nacs….. But do I spot black screw heads on the white brackets or is it my old eyesight.
But otherwise looking great