
I’m so excited that the Seasonal Simplicity series is back again; and this time it’s to celebrate Summer! Today I’ve joined up with a talented group of bloggers to kick of this series by sharing a beautiful DIY or Craft project with you all! I’m inviting you to the entrance of my home…my front porch! I’ve created a very simple but lovely green asymmetrical wreath to show you and also my new planter boxes I received this spring! Enjoy the inspiration and ideas and pin away! You can always hover over any of my images and click the “pin it” icon on the top left corner.
This post contains affiliate links for your shopping convenience.
Click here to read my full disclosure policy. All opinions are my own.
This is our first official spring here in the Pacific Northwest and it is quite different than spring back in Texas. In 3 words I’ll just say…..
It is glorious!!!
The weather is absolutely perfect! Everything is green and flowers are blooming, birds are chirping, it’s mostly sunny but a rain here and there to cool things off, we’ve been playing and gardening outside and taking walks and picnic-ing. It’s truly been lovely! I just shared the very beginning stage of my backyard last week and the French-inspired back patio (that’s already had a bunch of new changes). So now it’s time to work on the front and share it with you!
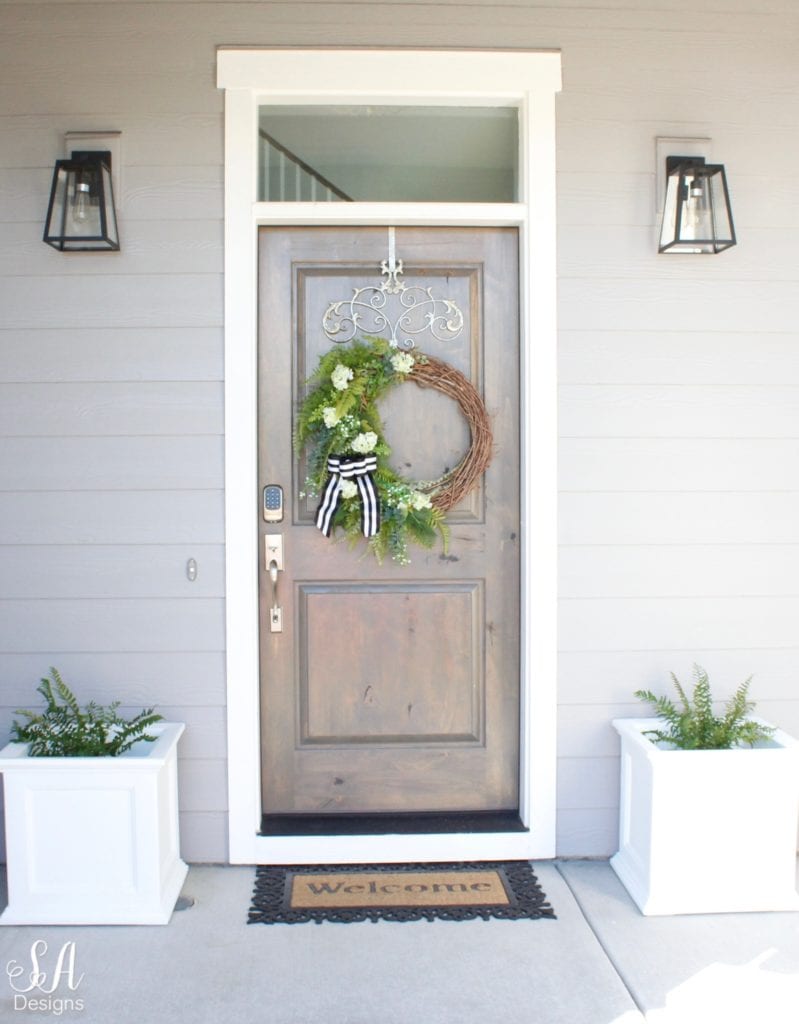
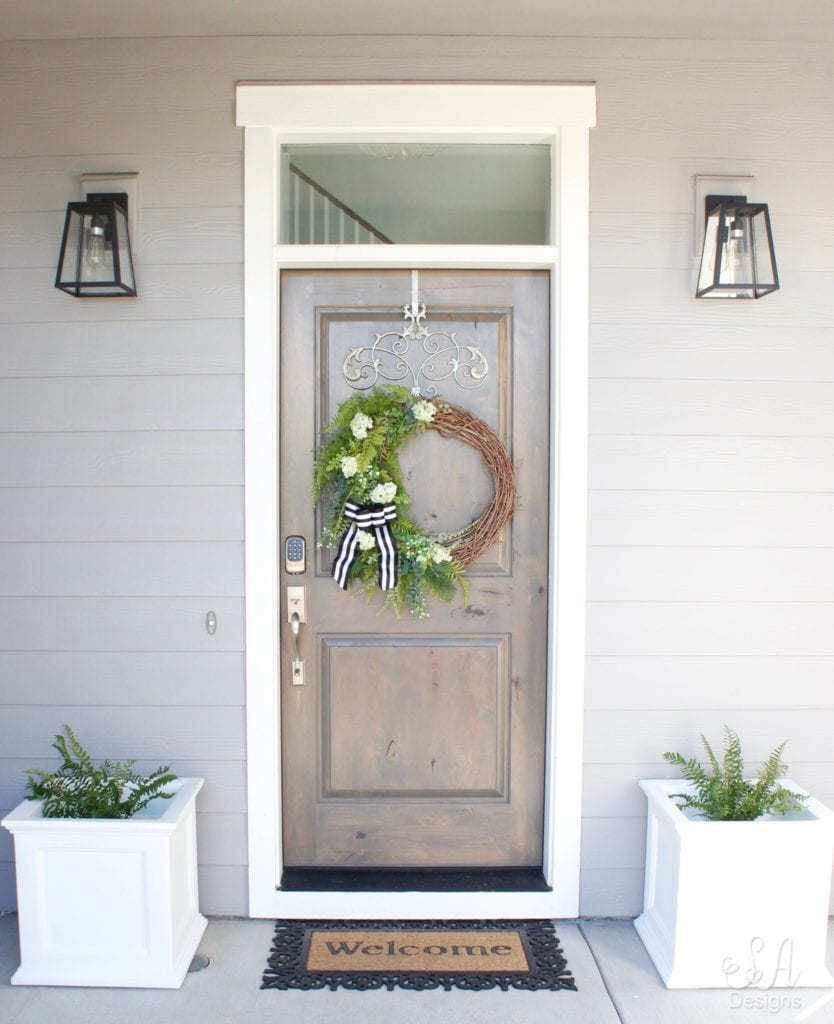
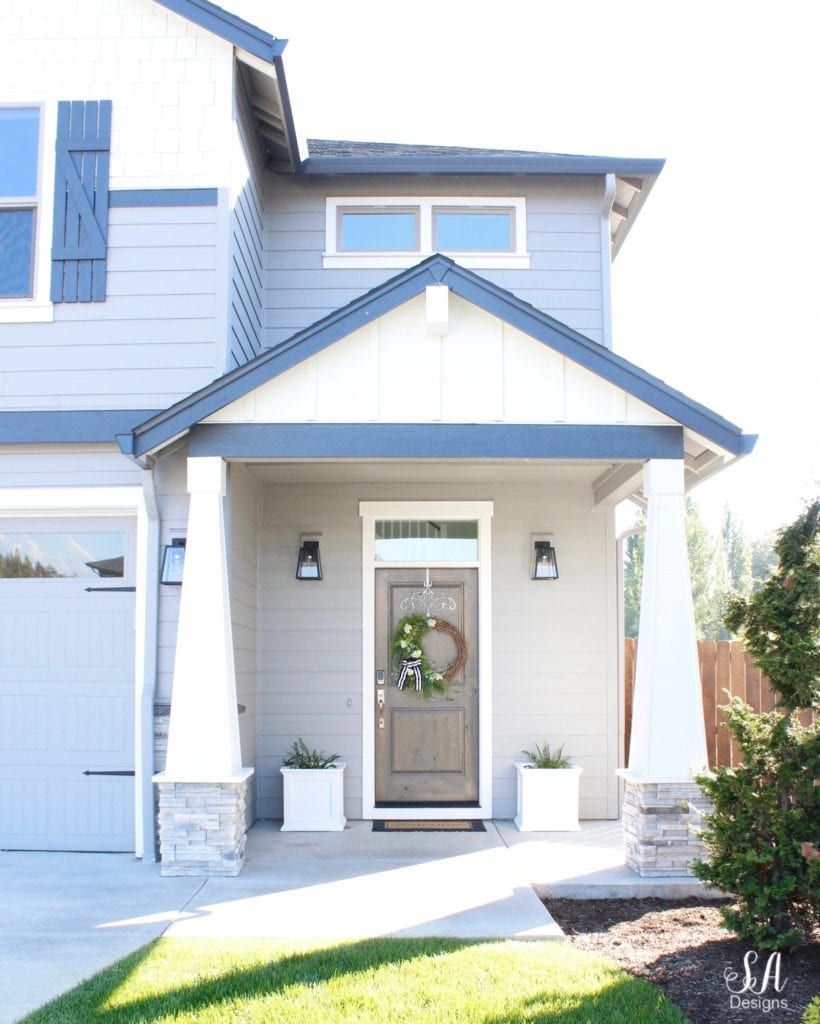
For the front door of our Craftsman-style home, I wanted to create a wreath for the spring and summer that was full of greenery to compliment the new white planter boxes and ferns I planted.
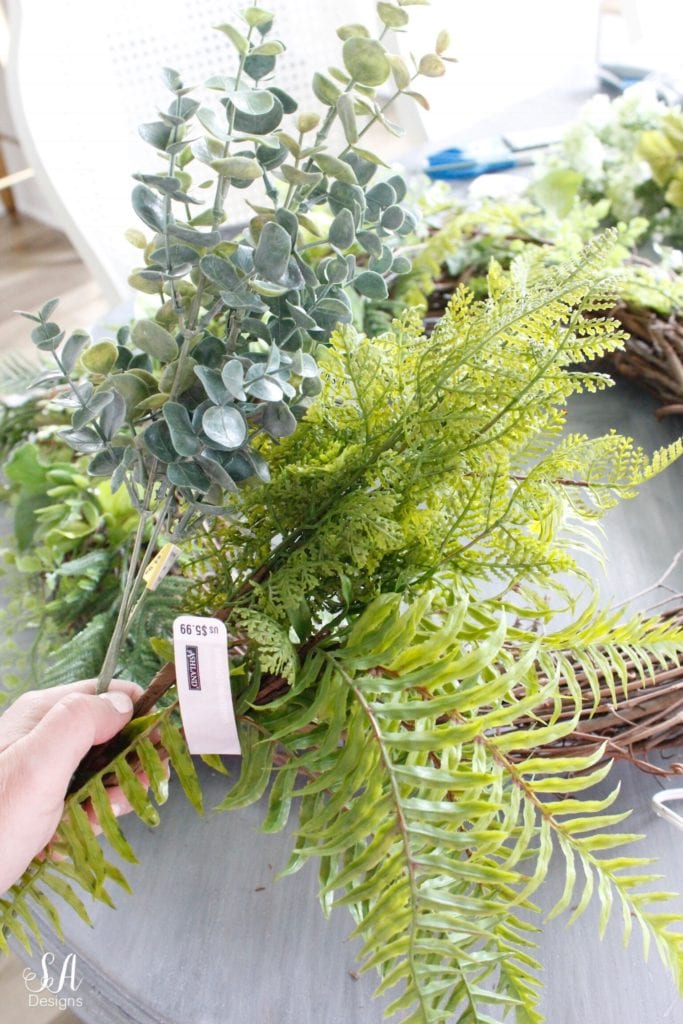
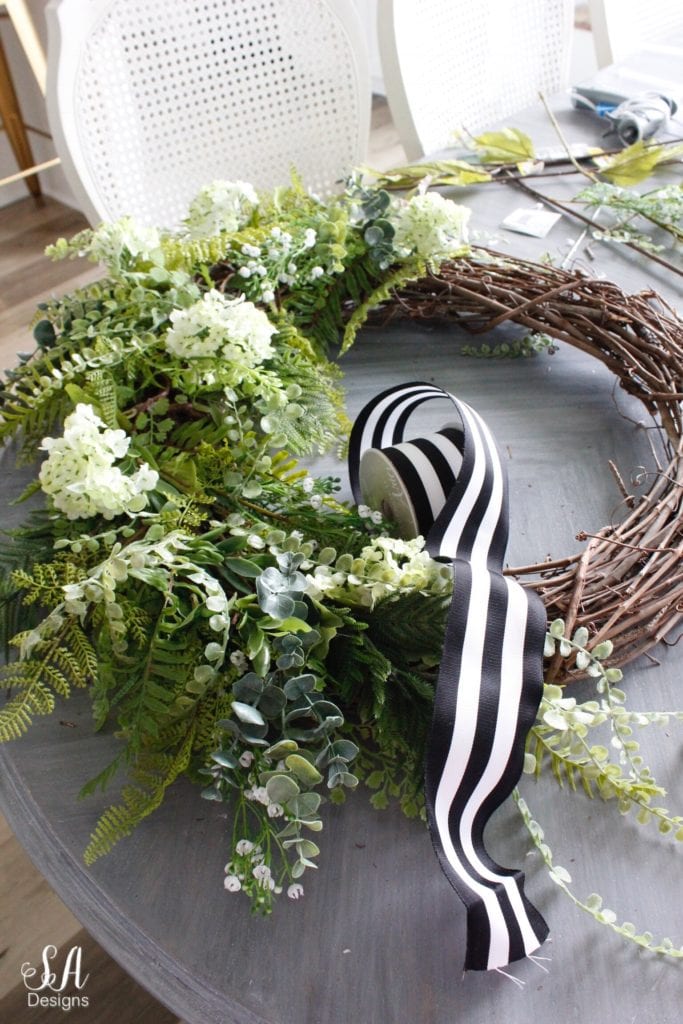
I ran to my nearest craft store, which was Michaels, and grabbed a grapevine wreath that was on sale for about $10. I also grabbed a variety of spring faux greenery stems that were 50% off. I can’t really tell you how many stems to get because it’s up to you and how full you want to make it.
I would just say to grab a few of each variety and then do like I did and take back what you don’t use. I grabbed a few different varieties of faux fern stems, eucalyptus, and boxwood.
Now, I made a DIY Boxwood & Magnolia Wreath back in Texas a couple of years ago and had to use twine and floral wire to start securing those stems to the grapevine. That’s because it was sooooo hot in Texas that if I had used hot glue, it would have melted off the wreath on those hottest summer days and fallen apart.
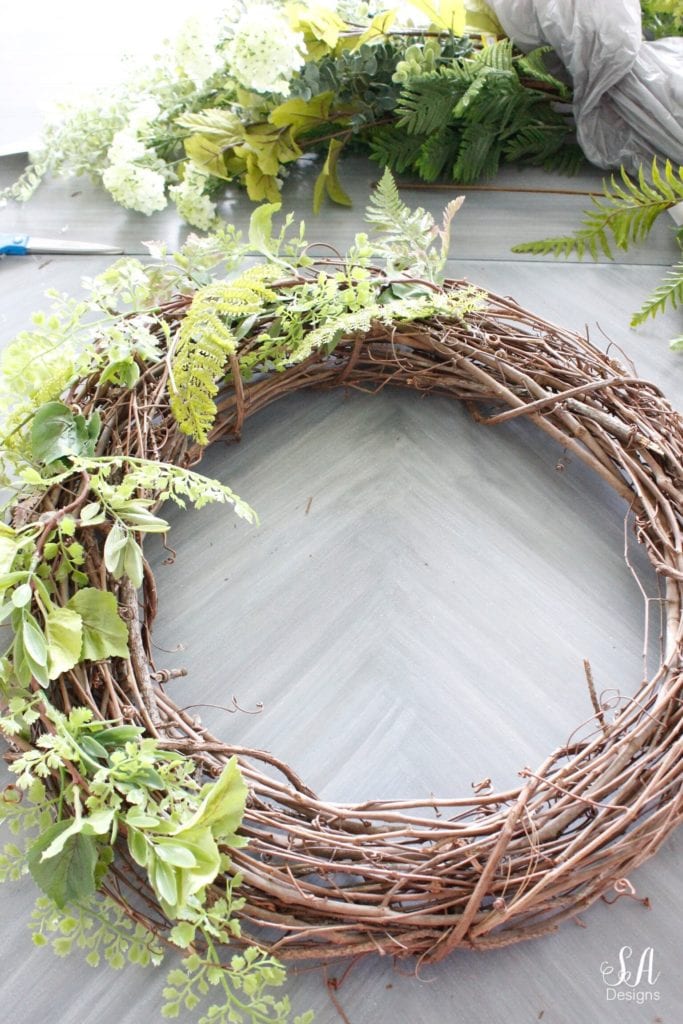
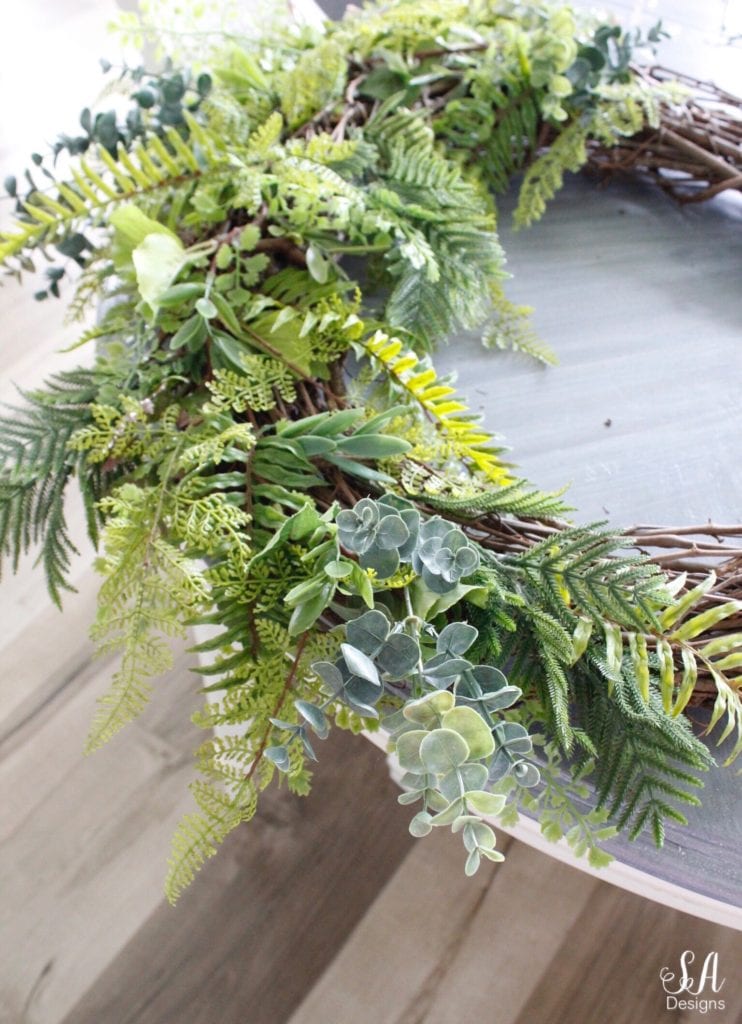
But now that we’re in the Pacific Northwest, and since our door is shaded and not directly in the sun, I went ahead and clipped stems and started hot-gluing them on to the wreath like crazy. A month later, with heavy rain and wind here and there, it’s holding up perfectly fine.
For the asymmetrical look, just choose one side you want cover and which direction you want to go and then work around, piece by piece and top to bottom.
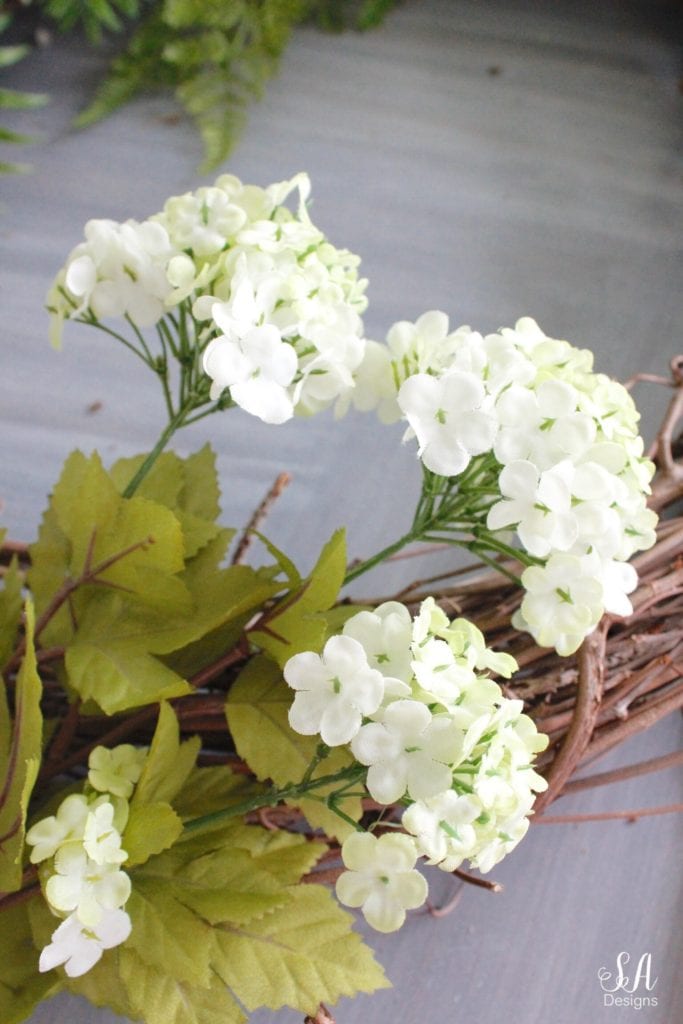
I also grabbed a few little bunches of faux snowball stems and other little greenish-white flower stems and added a few touches on there. I had to add some floral but I didn’t want to go overboard on this particular design and take away from all the pretty fern varieties and other stems.
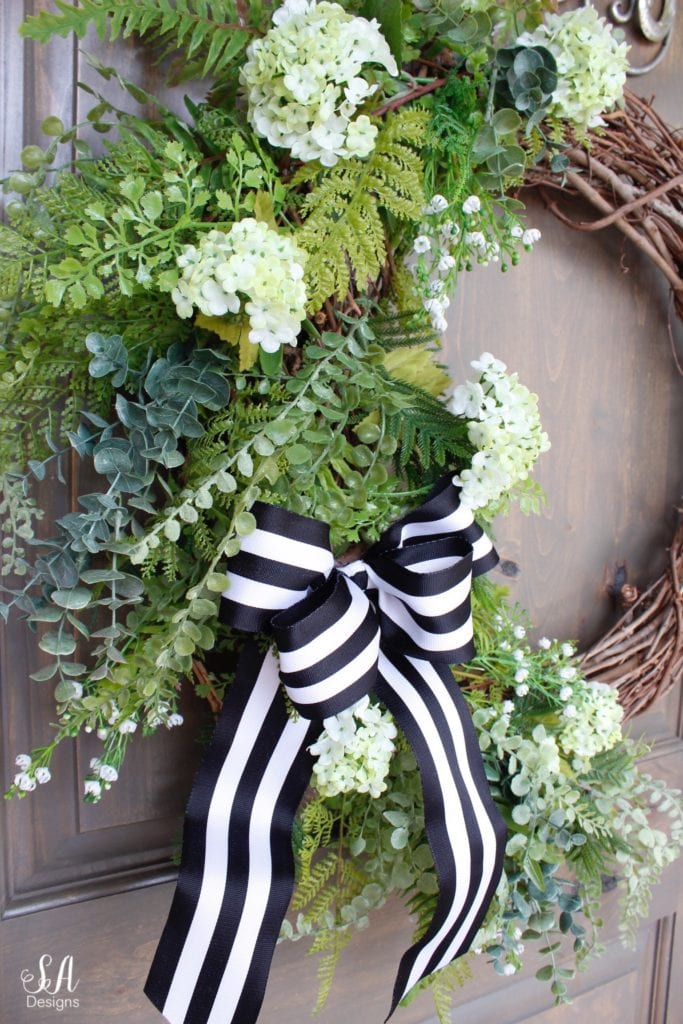
Since I have black on my front porch door mat and black metal porch lights (see more on those here), I wanted to tie that all in with some thick black and white striped wired ribbon. So I created a big bow and fastened that on with floral wire.
I really like the way that looks! I think it turned out nicely and I’m really loving the asymmetrical look. It’s definitely different than my last DIY wreath but still green and fresh-looking!
I ordered these white Nantucket-style planter boxes for my front door and drilled a couple more holes in the bottom and they’re perfect! I love the look! I chose to plant ferns in them because A) they’re inexpensive B) will grow quite a bit and look nice and full C) you water them a lot the first week and then they are totally easy maintenance after that and D) they tolerate all that shade really well.
I still have more flowers to plant in the front yard this week, as I’ve been giving so much attention to the backyard. And wait until you see what I’m adding in between my garages! But anyway, I love the way this simple DIY wreath looks with the planters on my front porch. What do you think?
Please make sure to visit my friends today and their fabulous DIY wreath ideas!

The Happy Housie / The DIY Mommy /Confessions of a Serial DIYer / Zevy Joy

Finding Silver Pennies / Happy Happy Nester / Tidbits / Vinyet Etc.

A Pretty Life / Artsy Chicks Rule / Town and Country Living / Newly Woodwards

Southern State of Mind / Craftberry Bush / Summer Adams
Thanks so much for stopping by today! I would love it if you subscribed at the top of the page in order to receive my weekly emails of all my latest blog posts and hear about digital printables & freebies, as well as sales or new items in My Online Shoppe. You can also follow me on Instagram, Pinterest, and Facebook to see what I’m up to in creating a home and lifestyle of inspiration!
xoxo,


So pretty, love the green and the black and white ribbon is the perfect touch! 🙂
Nancy, thank you tons! xoxo
Your wreath is so lush and beautiful…just perfect to welcome Summer! XO
Christy, that is the nicest thing!! thank you so much! xoxo
Your wreath looks perfect on your front door…it’s perfect for your home! I LOVE the black and white ribbon…it’s so pretty with all the greenery!
Oh thank you so much, Jo-Anna!! So sweet of you! xoxo
What a beautiful wreath and that ribbon is perfect! I must say that I also LOVE your wreath holder, what a statement piece!
This is so pretty!
This is so pretty! I love the greenery and the striped ribbon, too
Very pretty, Summer! I absolutely love the crisp black and white ribbon mixed with the greenery!! Thanks for joining in on this hop!!