
Welcome to the second week of the Seasonal Simplicity Christmas Series! Today a group of my blogging friends and I are sharing our DIY Gift Ideas to help inspire you for the upcoming holiday season. My closest girlfriends are like me. They appreciate pretty things with sparkle and bling. I love adding special ornaments to gifts at Christmas time. I made these DIY glam rhinestone bow ornaments and knew I had to share them with all of you on the blog and knew they’d also be the perfect gift idea too!
Affiliate links are included in this post. Click here to read my full disclosure policy and here for my privacy & cookies policy. All opinions are my own.
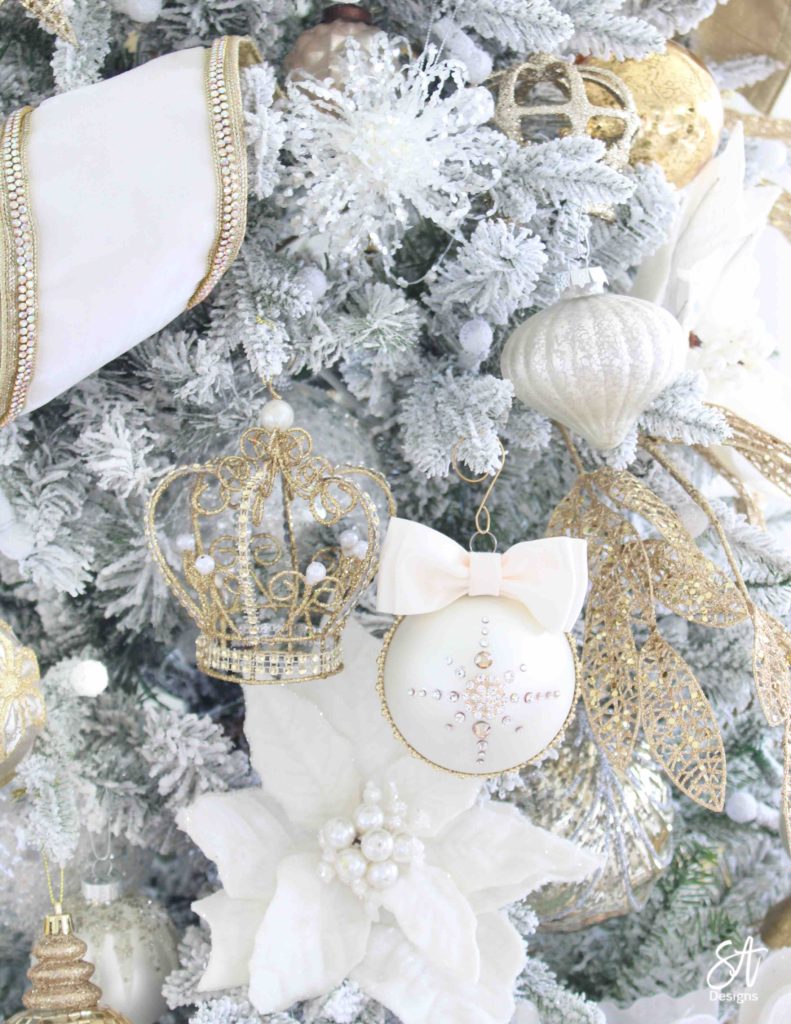
I’ve always thought that there needed to be someone who made big pretty sparkly ornaments with big bows. I saw some on Etsy last year but they were really expensive with high shipping prices from Eastern Europe so I knew this year I would just finally sit down and make my own like I’d planned on.
They were so easy and fun. They just take some patience because there are a few parts. This is where you make some tea or hot cocoa and turn on some of your favorite Hallmark Christmas movies and craft away.
Supplies:
•Box of ornaments (I chose these matte ivory ornaments. Buy online and pick them up.)
•Double face satin ribbon 7/8″
•Scissors
•Hot Glue Gun
•Tweezers
•Needle and thread
• Small Rhinestone Center (can’t be very heavy, keep it light)
•E-6000 Glue
•Simplicity Gold Apparel Rhinestone Trim (from JoAnn Fabric but this, this, and this could be great alternatives)
•Hand towel doubled over (and then again on the back half) to work on
•Gold Shadow Flatback Swarovski Crystals 34ss
•Clear Flatback Swarovski Crystals 16ss and also 20ss
•Gold ornament hooks
Instructions:
First, cut a desired amount of ribbon to make a double-layered bow. Use your needle and thread to stitch it through the center and wrap around and pull it tight and tie it off. I make them all at once and set aside.
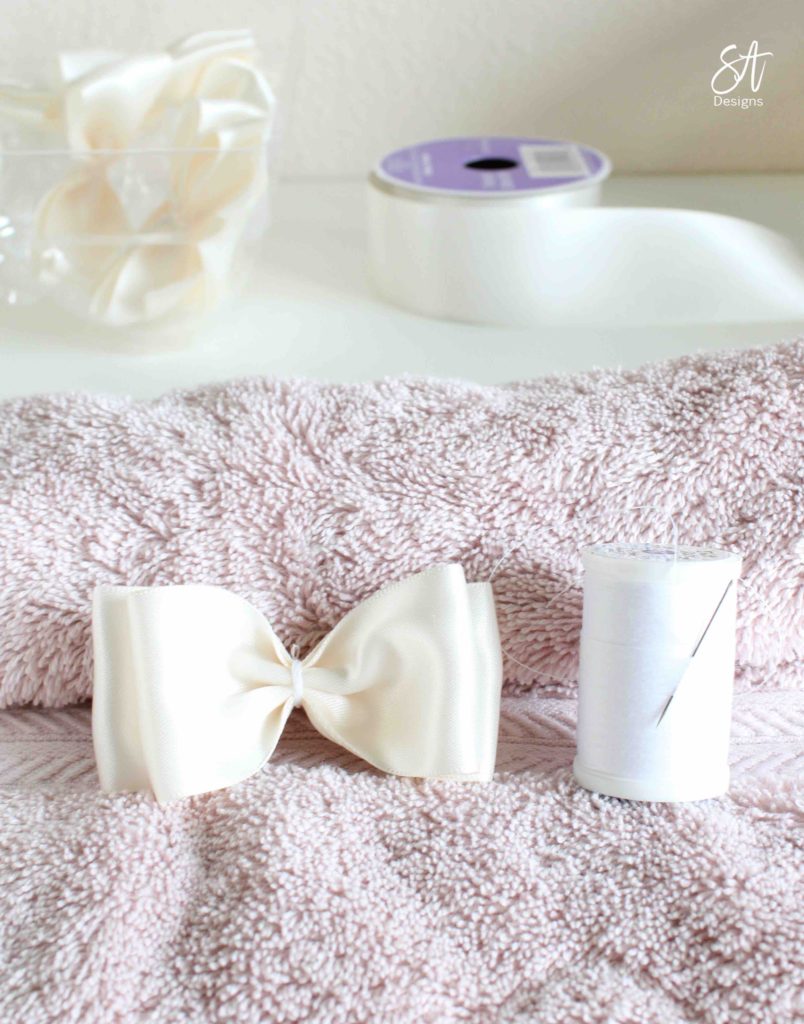
Next (and forgive me but I forgot to photograph this part) cut a small inch of ribbon and fold the outsides toward the center, putting the raw edges in back. Lightly hot glue against the bow and wrap ends around the back of bow and hot glue as well. Then center and hot glue back of bow against silver top of ornament.
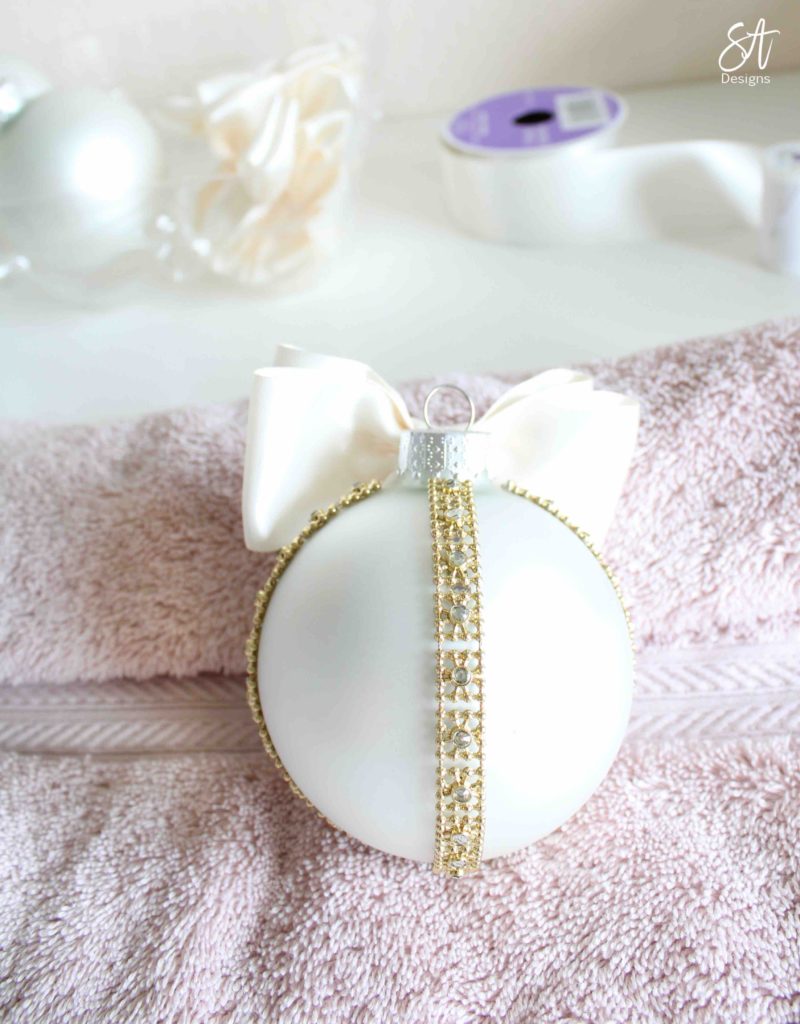
Cut piece of rhinestone trim and hot glue from top side of ornament and down the side, center of the bottom, and up the other side until it meets the silver top again. Make sure it’s pulled tight.
Then, face down, cut a piece of trim and hot glue from the bottom of the center up to the top.
Find the very center, from top to bottom and side to side, and softly put a dot there.
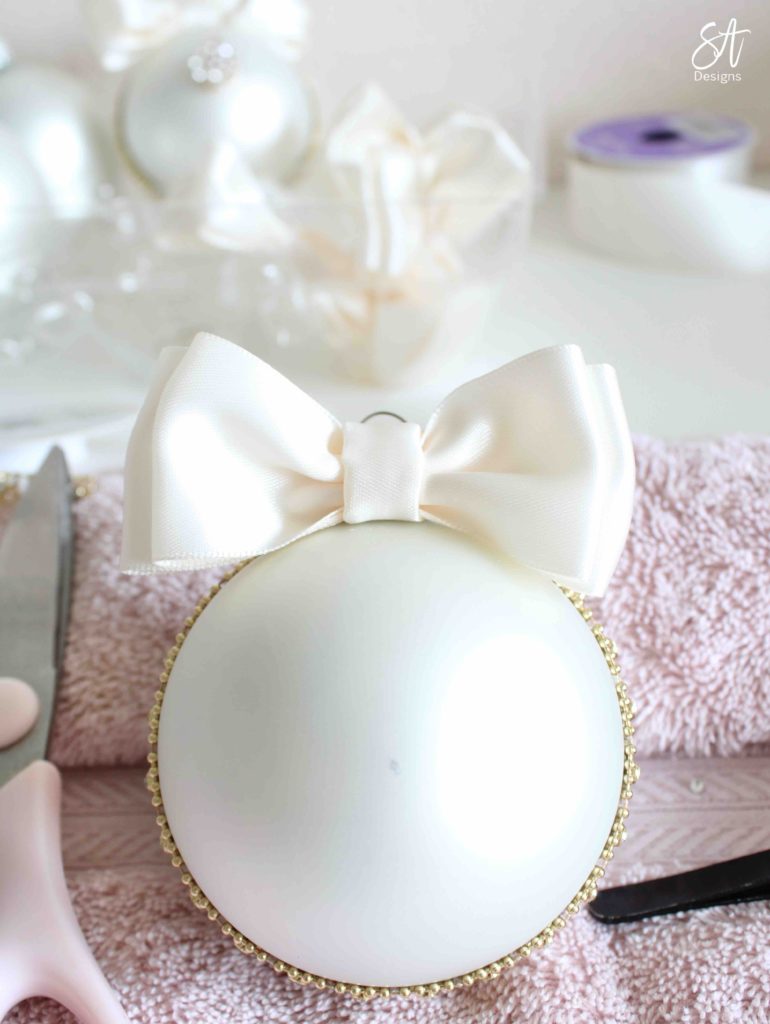
This is where you’ll hot glue your rhinestone gem/bead.
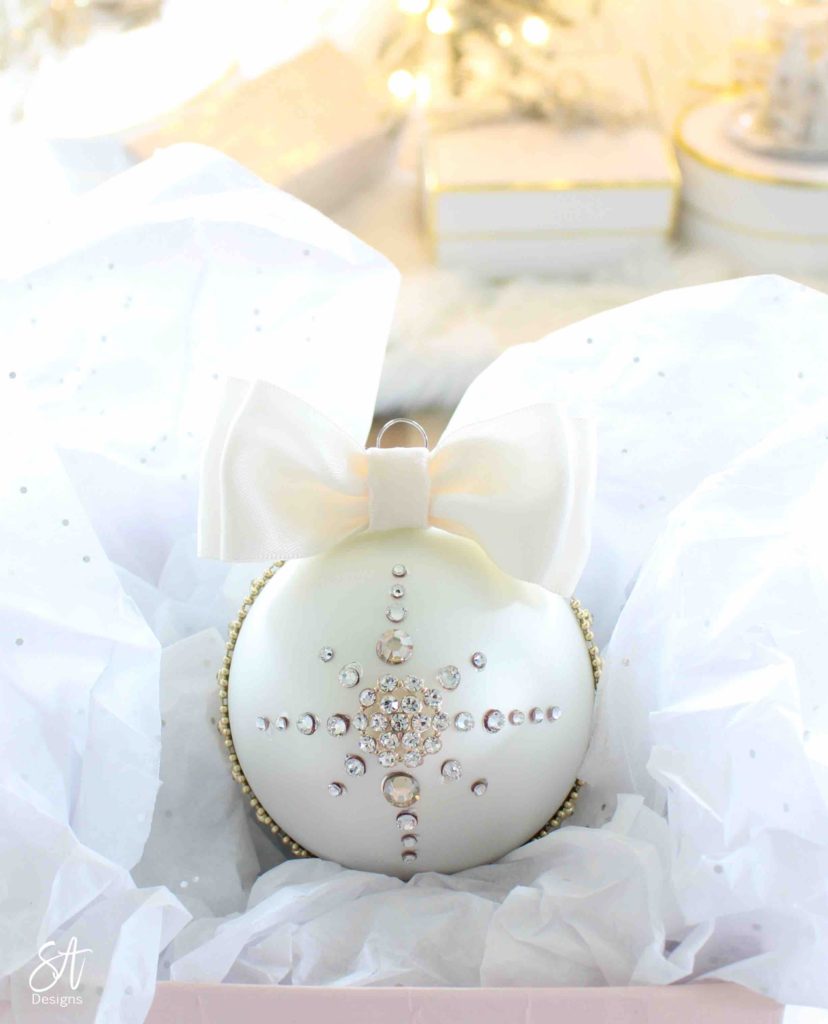
Once the hot glue is dry and you know the center piece won’t shift and slide, use your tweezers to grab the golden flatback crystals and lightly dip them in the E-6000 glue. Carefully place one on the top and bottom of center rhinestone piece. Then add the crystal 20ss size and then the 16ss size on the outer edges of that one.
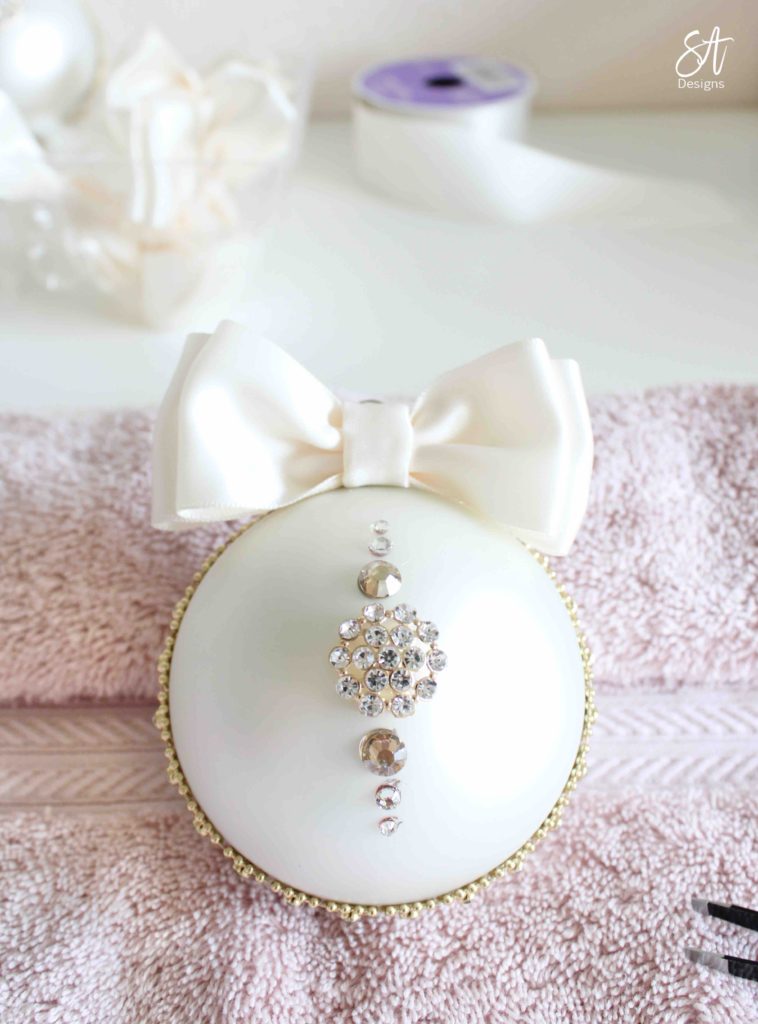
On the sides, you’ll just use the clear crystals, 2 larger and 2 to 3 smaller. Then place one of each in descending order in the corners.
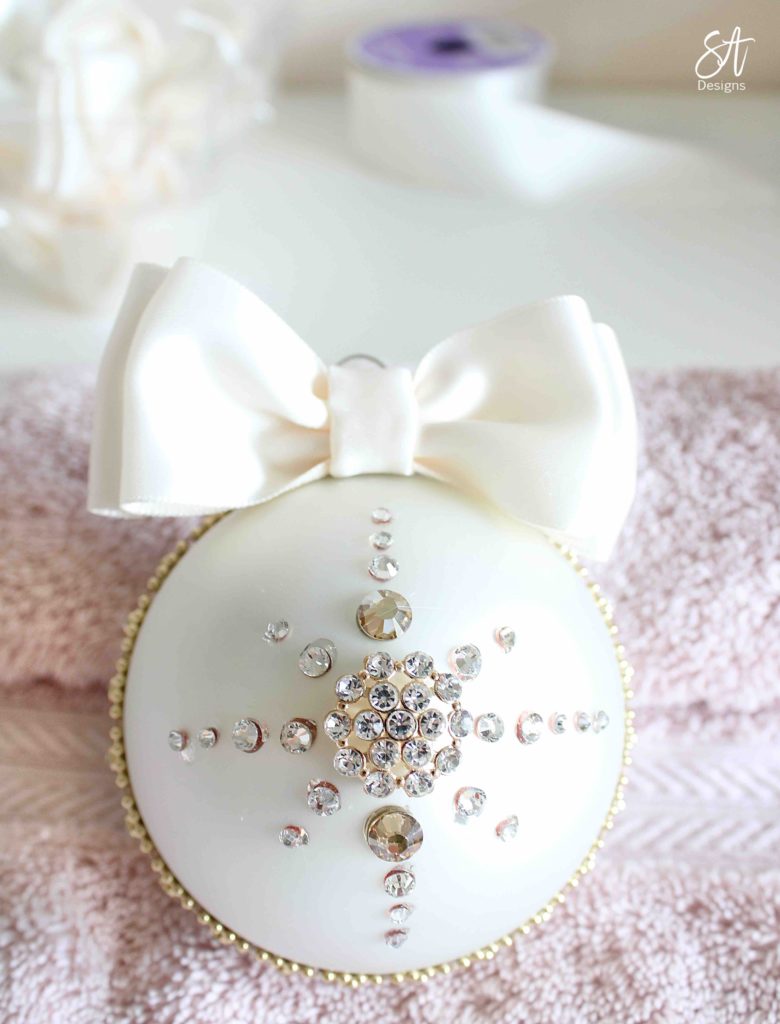
It’s super easy but isn’t that beautiful?!!!!
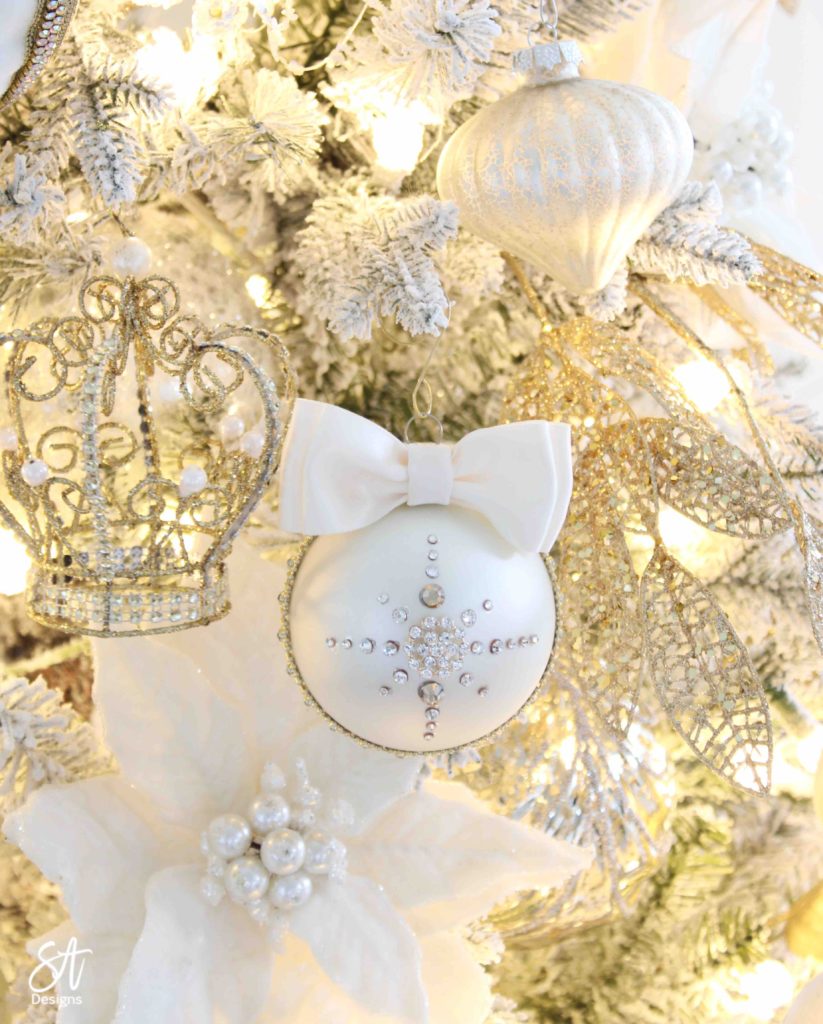
It looks so pretty hanging on a Christmas tree or sitting by itself in a box. So here’s the question….
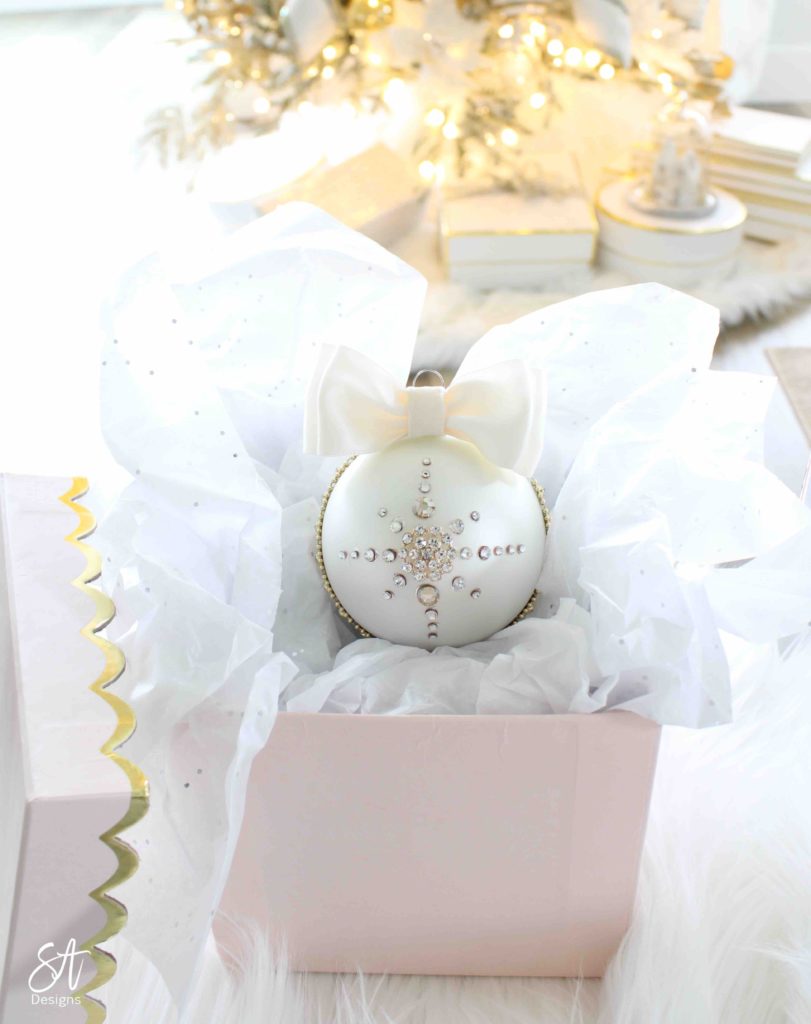
Will you keep them all for yourself or give them away as gifts? Haha! It’s hard to part with them…they’re soooo pretty! So do what I do. Make a set to give away, and one to keep!
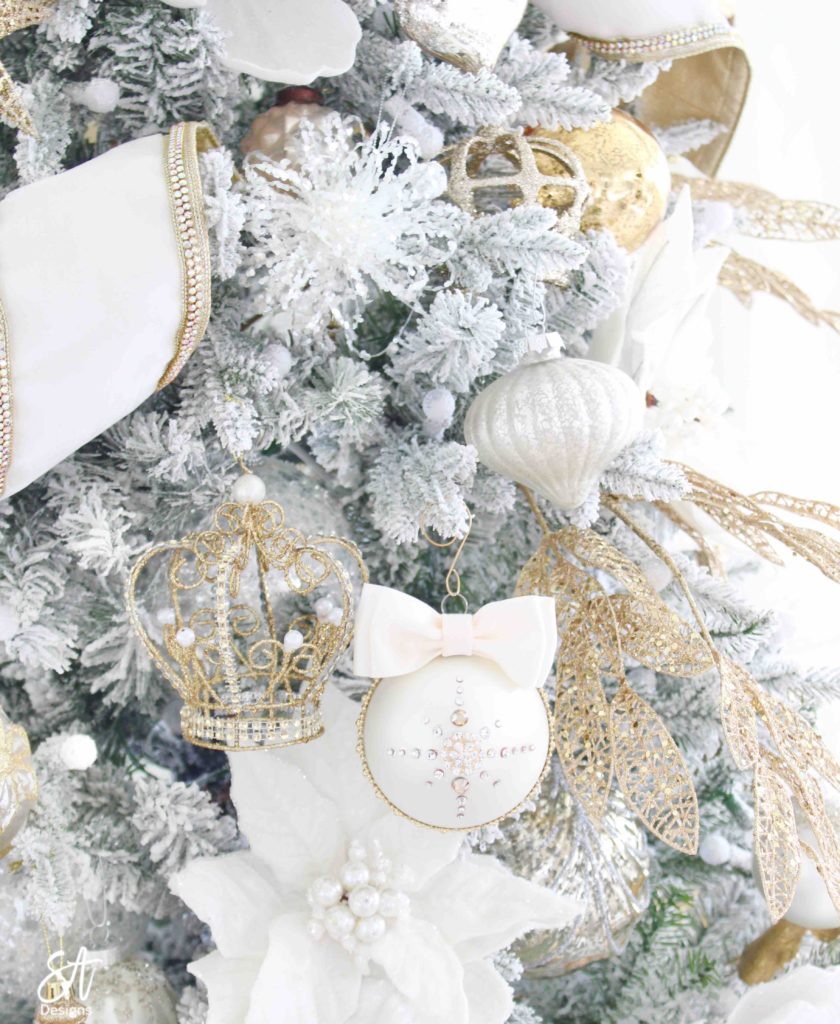
You can give an entire set to a friend or you can break them up and give a few at a time or even just one in a single box (maybe along with some other gifts too). I’m thinking this would be the most beautiful ornament to bring for an ornament exchange, wouldn’t it?!! The girls would DIE!!
Ok, happy crafting, ladies! Now, there are lots of other fun ideas from my friends below and I also have all the shopping links for you here in one spot as well.

Click on the links below each image to be taken directly to the different posts.
Free Printable Coffee Gift Card Holder at The Happy Housie
White Chocolate Covered Pretzel Rods at She Gave it a Go
Chunky Hand Knit Hat and Mittens at The DIY Mommy
How to Wrap Baked Goods for Gifts 2 Ways at Modern Glam
Cinnamon Sugar Scrub at A Pretty Life

2020 Free Printable Calendar at Clean & Scentsible
Homemade Vanilla Hostess Gift at My 100 Year Old Home
Coal Rice Krispie Cookies at Life is a Party
Homemade Christmas Potpourri at Cherished Bliss
DIY Wood Burned Spoons at Cassie Bustamante

Mini Bread Loaves for Gifting at My Sweet Savannah
Peppermint Sugar Scrub at My Uncommon Slice of Suburbia
DIY Wood Slice Holiday Wrath at Jenna Kate at Home
Easy Christmas Snack Mix at This is Our Bliss
DIY Deconstructed Stamped Books at Lolly Jane

Petite Christmas Bouquet at Craftberry Bush
DIY Bath Bomb Ornaments at The Turquoise Home
Gold Detailed Candle Votive at Zevy Joy
DIY Glam Rhinestone Bow Ornaments at Summer Adams
DIY Christmas Centrepiece at Place of My Taste
I’m so glad you could stop by today! I would love it if you could subscribe at the top of the page in order to receive my weekly emails of all my latest blog posts and see everything I’m working on! You can also follow me on Instagram, Pinterest, and Facebook to see what I’m up to in creating a home and lifestyle of inspiration!
xoxo,
![]()
Want to shop my Instagram posts? Click on any square below!

WoW! So glamourous Summer. Those would be the hit at the ornament exchange for sure.
Thanks so much, friend!! xo
I love the combination of silver and gold colors. I might decorate my tree this year with these type of ornaments and colors.
These are SO beautiful Summer! Anyone would be lucky to get these ornaments as a gift…they’re stunning!
Jo-Anna, that’s sooo sweet of you! Thank you so much! They were really fun to make! Xoxo
Thank you soo much for this post. I have a lot of pretty single sided ribbon and I could not figure out how I was going to make bows with it. Now, thanks to you, I know how to do just that.
So glad to hear it! Thanks for stopping by, Steve!
They look lovely my dear… very nice DIY idea for the Christmas