I know you have heard me say it over and over, but we are in a rental home until our final and permanent move this next year. This may not be my dream home but it’s a great rental and I try to leave rentals in even better condition than I found them and take care of them like my own. Renting can be fun, and whilst you may need renters insurance, it offers greater flexibility than buying with a mortgage can. Sure, I can’t knock walls down, but I can still give things a lick of paint. So, in decorating my home, I also want to be respectful of the structure. This house has a fabulous staircase from the front door and I knew it would be so fun to deck it out at Christmas with garlands of green, I also wanted to make sure I didn’t damage the banister at all and leave it with holes and dings. I found the perfect solution and had to share it! So, here’s the best way to hang garland on your banister this holiday season and I’m going to show you step-by-step.
I did a happy dance when Home Depot finally got in their lovely fresh Christmas garland the other day. You get 15′ of cypress and pine branches to make one long garland for only $10. Pretty amazing, right?! So I grabbed 2 of them and it was perfect and I used every bit of it for my banisters. Bare with me because this was a late-night project and took several photos at night with darker lighting.
You will need:
Fresh or faux green garland
Zip ties
Wire cutters
Floral wire
Scissors
Ribbon & Ornaments if desired
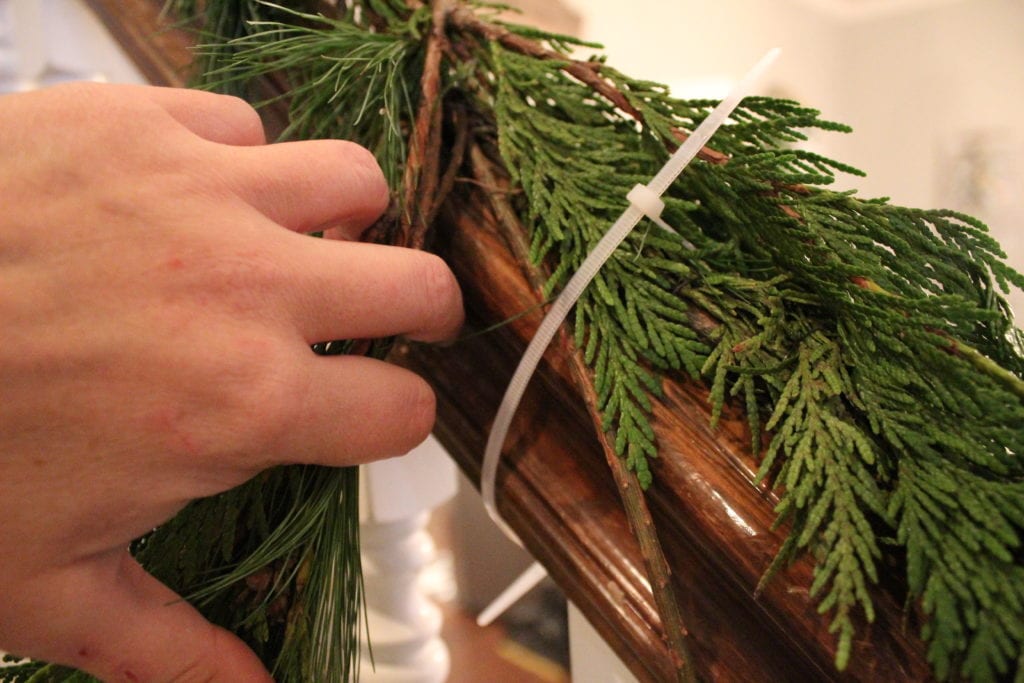
Measure the length of your banister and the garland so you know what you’re working with and how much you’ll need. Start with one end of the garland and ask someone else to hold the other end, while stretching it down part of your banister and seeing how far it will go. You just need an idea. Grab one end of the garland and a zip tie (whichever color works best for you…I used clear). Strap it around the banister and the garland and pull it nice and tight. Clip the excess part of the zip tie.
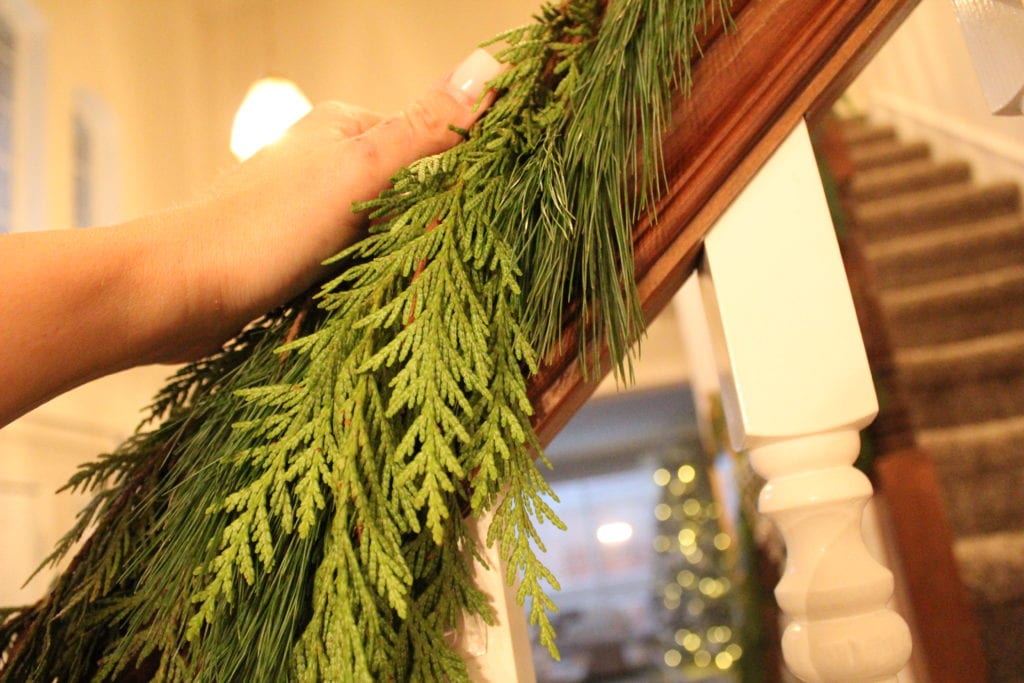
Arrange the greenery above and below the banister railing to cover the zip tie. If needed, use a little floral wire to keep a branch in a particular place to cover the zip tie.
Continue down the railing doing the same thing. I used zip ties every 2 feet to keep the garland tight and in place, exactly where I wanted it. Again, use any floral wire needed to keep zip ties hidden. I only had 2 spots I needed to do this to. The branches naturally fall and should {mostly} do this on their own.
Cut off any excess garland if needed but make sure to use floral wire, if necessary, to keep any loose branches together.
Let’s decorate this gorgeous garland, shall we?! Now, it is gorgeous on it’s own and ribbon isn’t necessary BUT if you know me…..more is more! I’m all about making a statement and adding something sparkly. So grab some ribbon and ornaments. I only wanted to add them to the ends and one space in the middle.
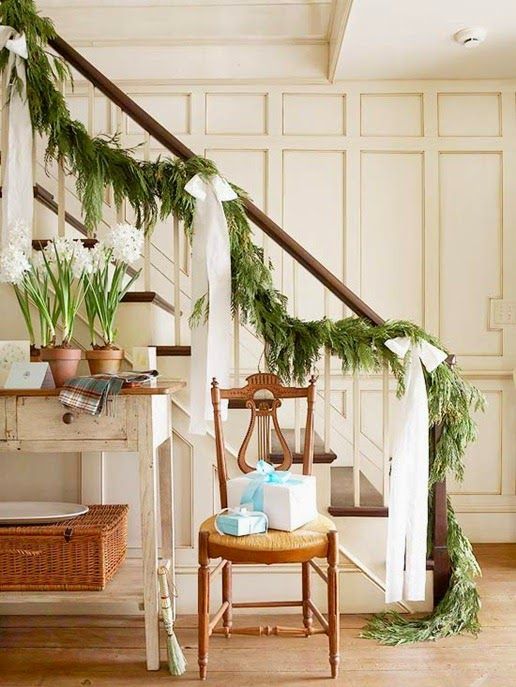
You can use pretty double-sided satin ribbon and let the ends hang super long like Jenny Steffens did.
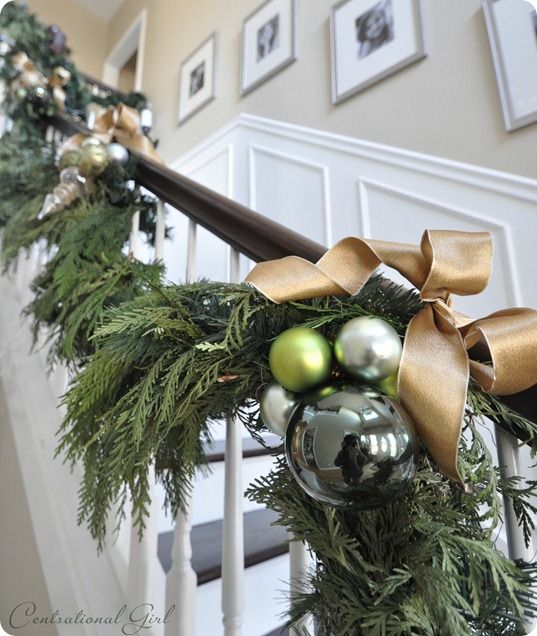
I also like how CentsationalGirl used wired ribbon and ornaments to adorn her garland.
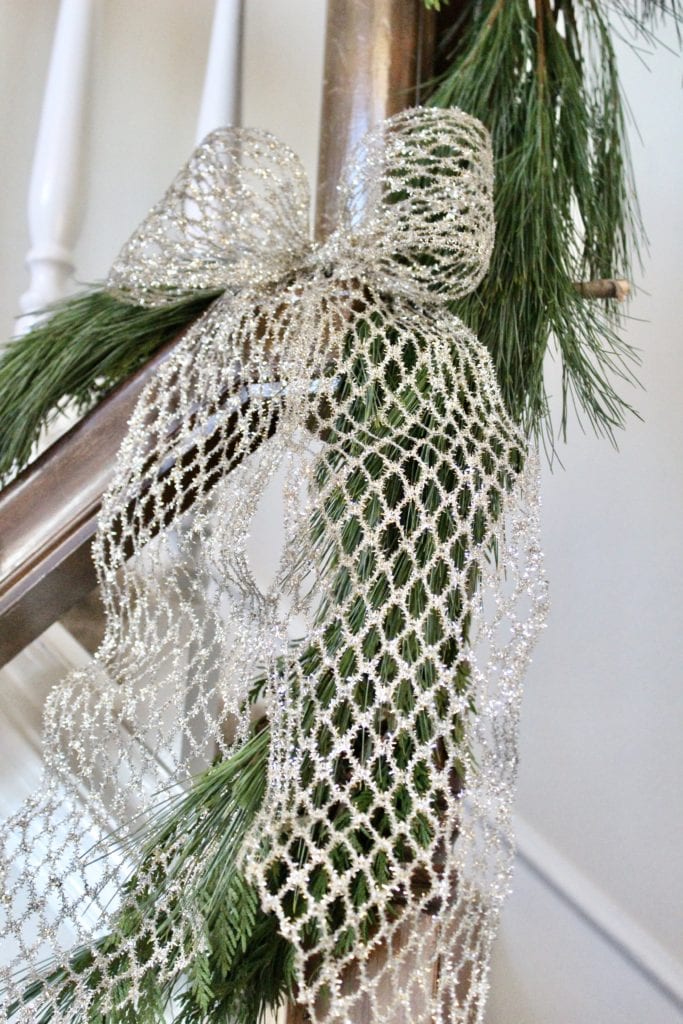
I loved the garland by itself so much but, in keeping with my true nature, I had to add a little sparkle and a bow or two (or 3 or 4). So I used this expandable, sparkly metallic wired ribbon I found at Michael’s this year and made a handful of large bows and attached them with floral wire.
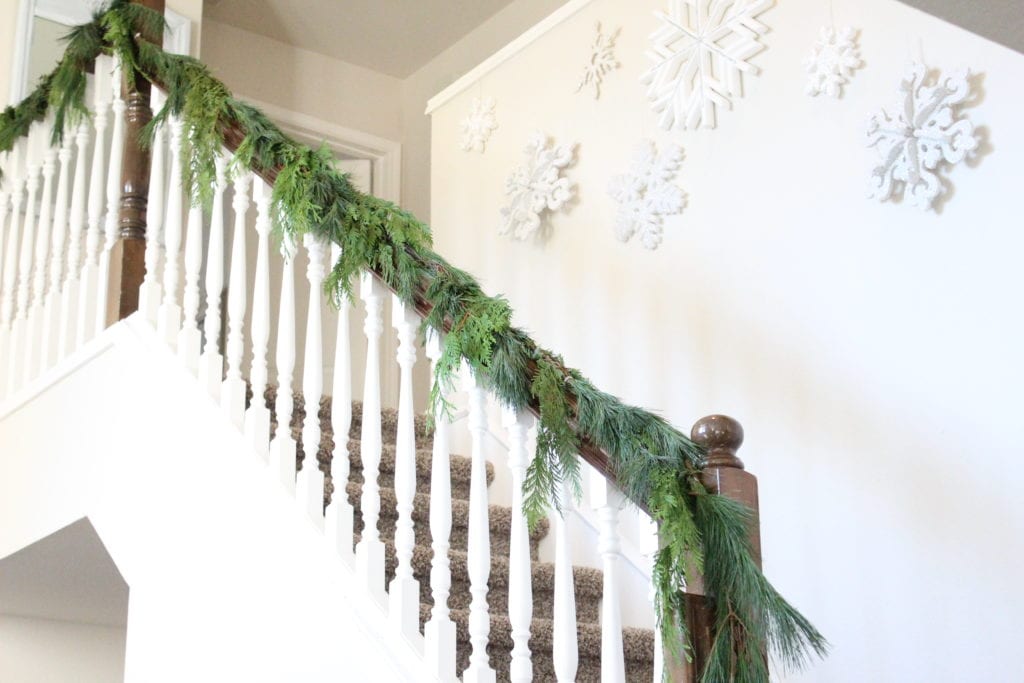
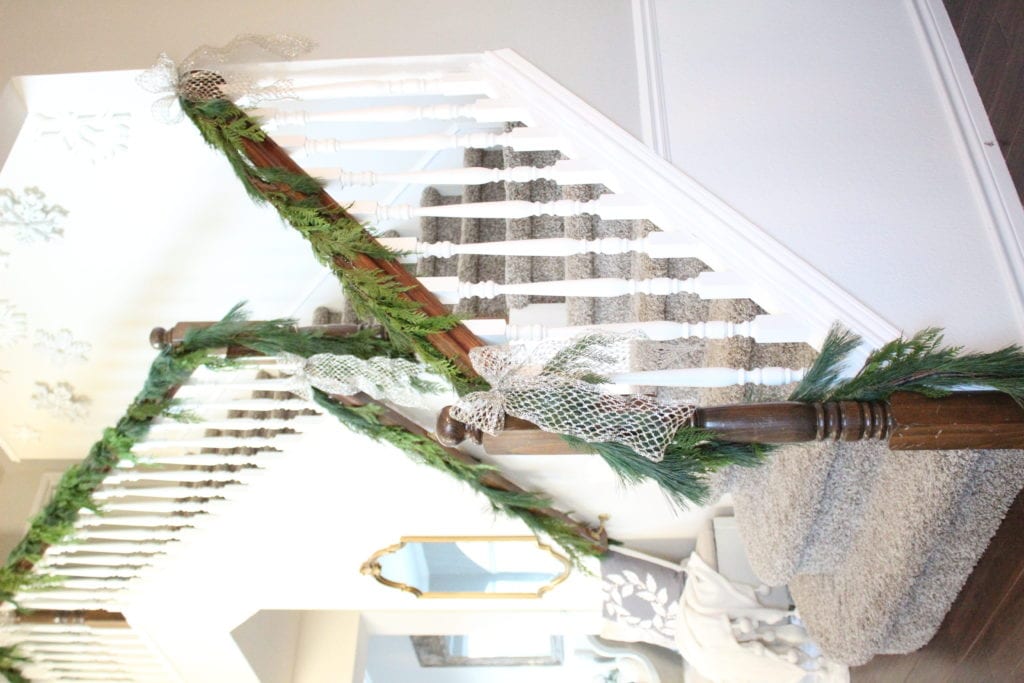
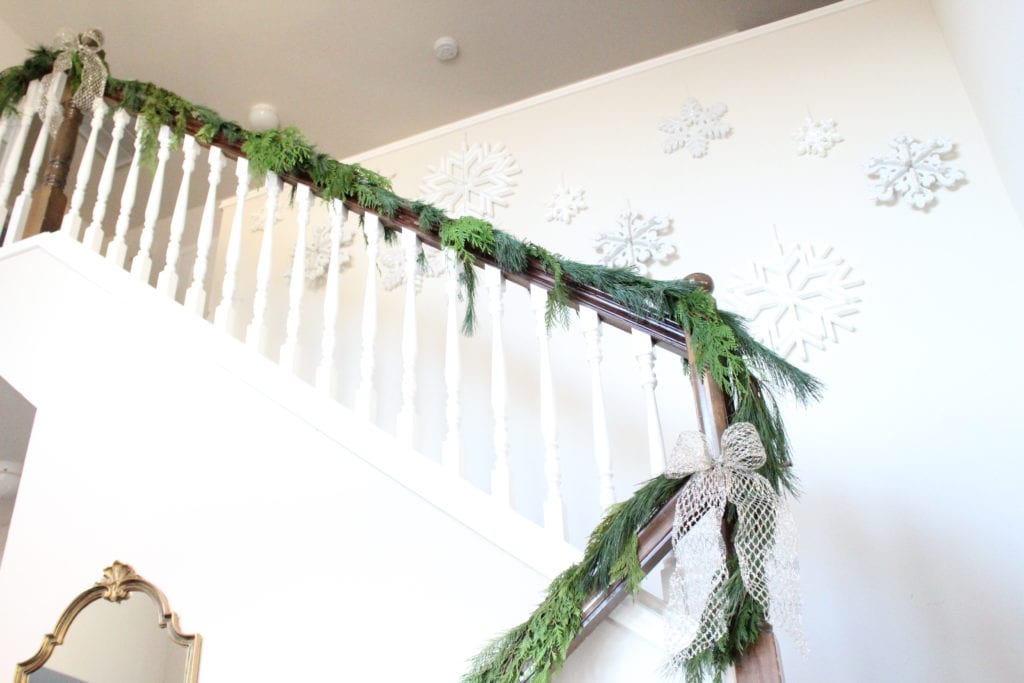
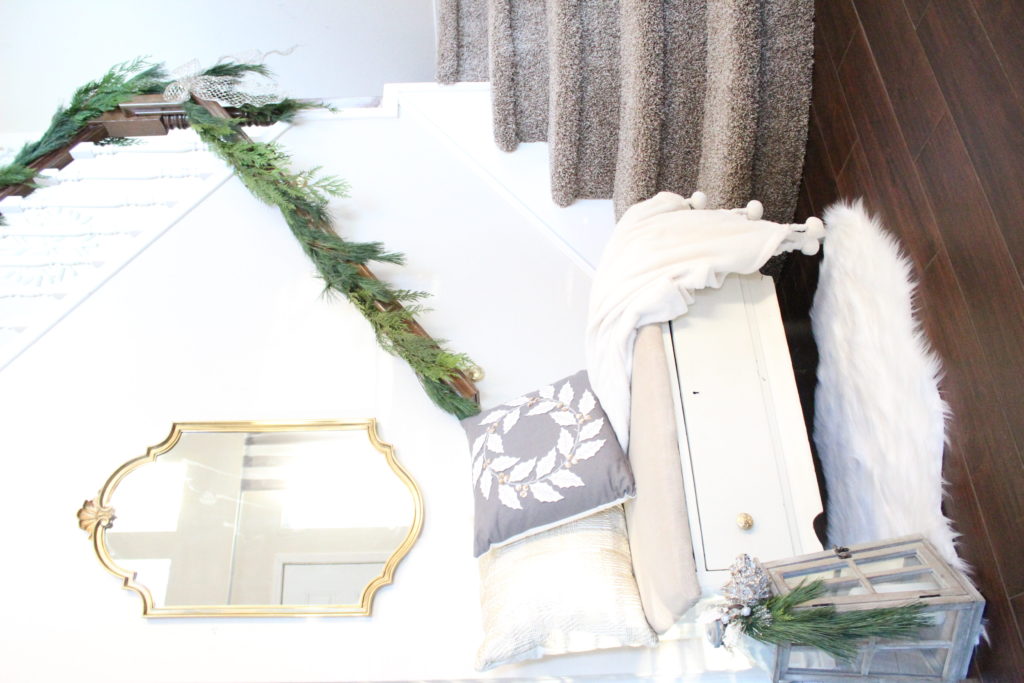
So here’s how it turned out…..Ta-Daaaaaa!
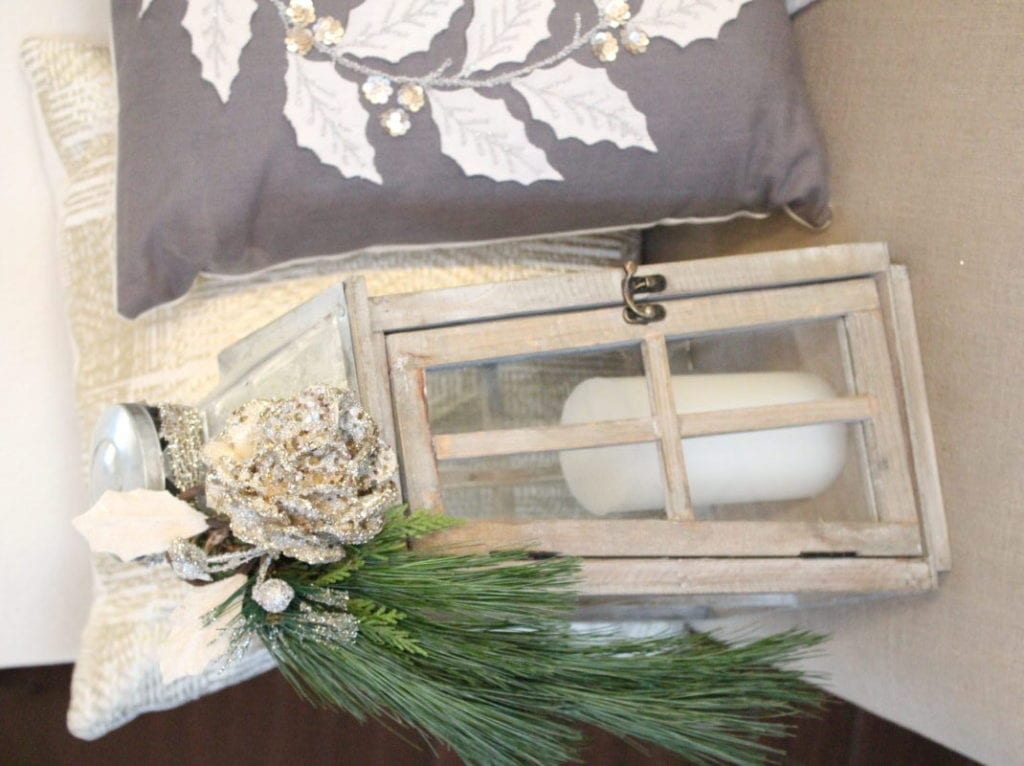
I love this vintage mirror I found recently and switched it out for the other one that was here. I added a fur rug and some fun holiday pillows and even embellished my lantern with those 6 inches I trimmed off of the garland hanging on the floor and one of my sparkly pinecone napkin rings from ZGallerie.
Well……
Wasn’t that easy?! I hope these step-by-step instructions helped you hang your garland on your banister with ease. It is not as daunting as it seems. The hardest part is the clean up. Good luck getting all the goo off your hands and the pine needs off your stairs and floor haha! It’s really not that bad, you’ll be fine!
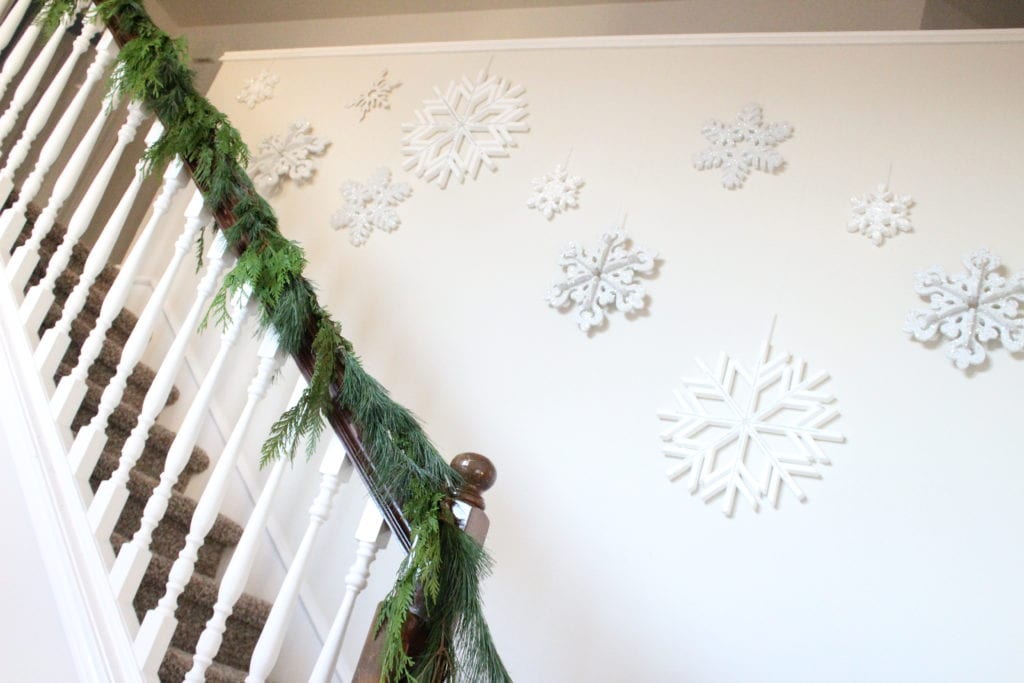
Oh! While I have you looking upwards….Did you see the snowflakes I hung down the side of my staircase wall?
It’s so fun! I just bought a ton of sparkly white snowflakes and hung them at different lengths with clear fishing wire and tied a double knot around the 3M hooks. They are such a pretty “winter wonderland” addition to our entry and stair case and the hooks come right off after Christmas without damaging the trim.
Here are the shopping links for your convenience to help you recreate this look.
Wishing you the Merriest Christmas and Happiest Holiday Season!







I love fresh garland!!! Yours is beautiful! Thanks for all your wonderful ideas! !!!
Oh this is stunning. Great tutorial and I love the fresh greens. So pretty. Happy Thanksgiving to you and your family.
Oh I love this Summer! Makes me wish I wouldn’t have bought my faux prelit garland because I love the natural beauty of fresh! And of course I like love your sparkly embellishments!😍🎄
You, Kim! I love it too but I’m so worried it’s going to die before Christmas. I have never used fresh before. I am spraying it every other day hoping it will help. 💋
So I’m curious, how long did your fresh garland last? I want to decorate my stairway and mantel with fresh greenery this year and I’m looking for tips on how to keep it fresh and how long it keeps so I can figure out when to hang it.
Hi Angell! Great question. I would say it lasted a good 4 weeks, while I was diligent at spraying it with a spray bottle. Unfortunately, being a blogger, I started hanging it super early at the beginning of November to get this post up and it was dry and dead by Christmas. So next time I do it this early, I’m going to have to replace it the beginning of December so that it stays pretty until Christmas. But truly, if you spray it a little every couple of days…it will last 4 weeks. Let me know how it works for you. Now that we’re in December, you’ll be fine to put it up and have it looking lovely at Christmas still. xoxoxo
Thanks so much for sharing! It’s beautiful!