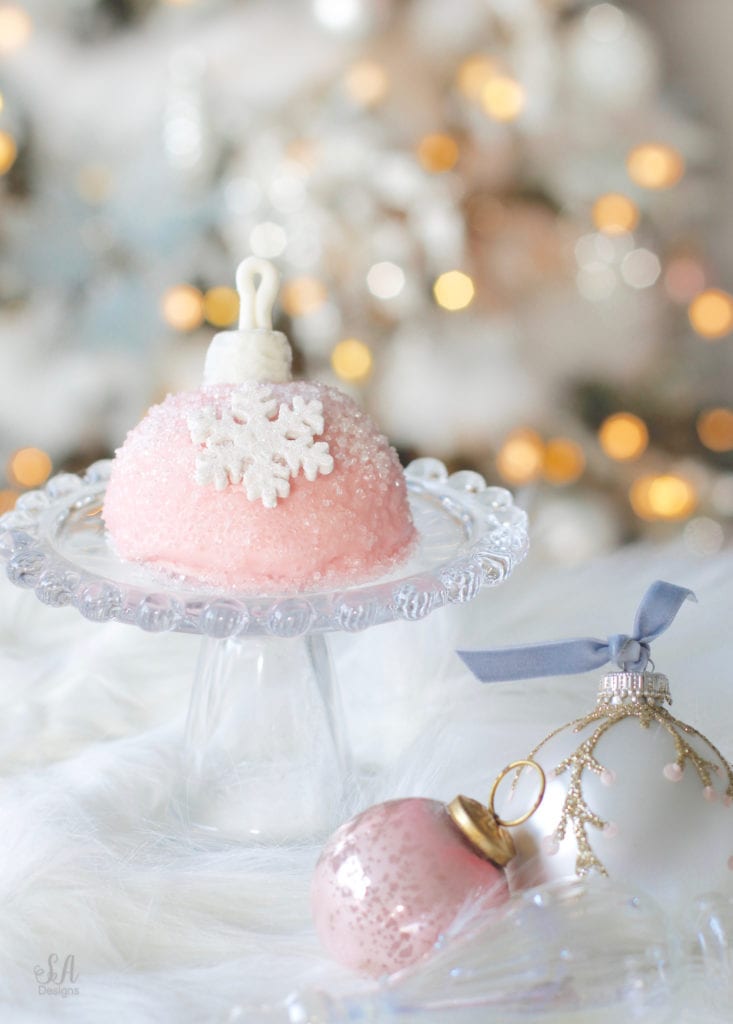
We’re back! My talented friend Kristen from Ella Claire has brought a group of us bloggers back to share some more holiday treats! We shared Christmas cookies last month with you, like my Ooey Gooey Chocolate Marshmallow Cookies, but today we’re sharing non-cookie treats. I’ve been so excited to share with you my adorable individual ornament cakes! I have the recipe and instructions for you today and it’s so delicious….you’re going to love it!
This post contains affiliate links for your shopping convenience. Click here to read my
full disclosure policy and here for my privacy & cookies policy. All opinions are my own.
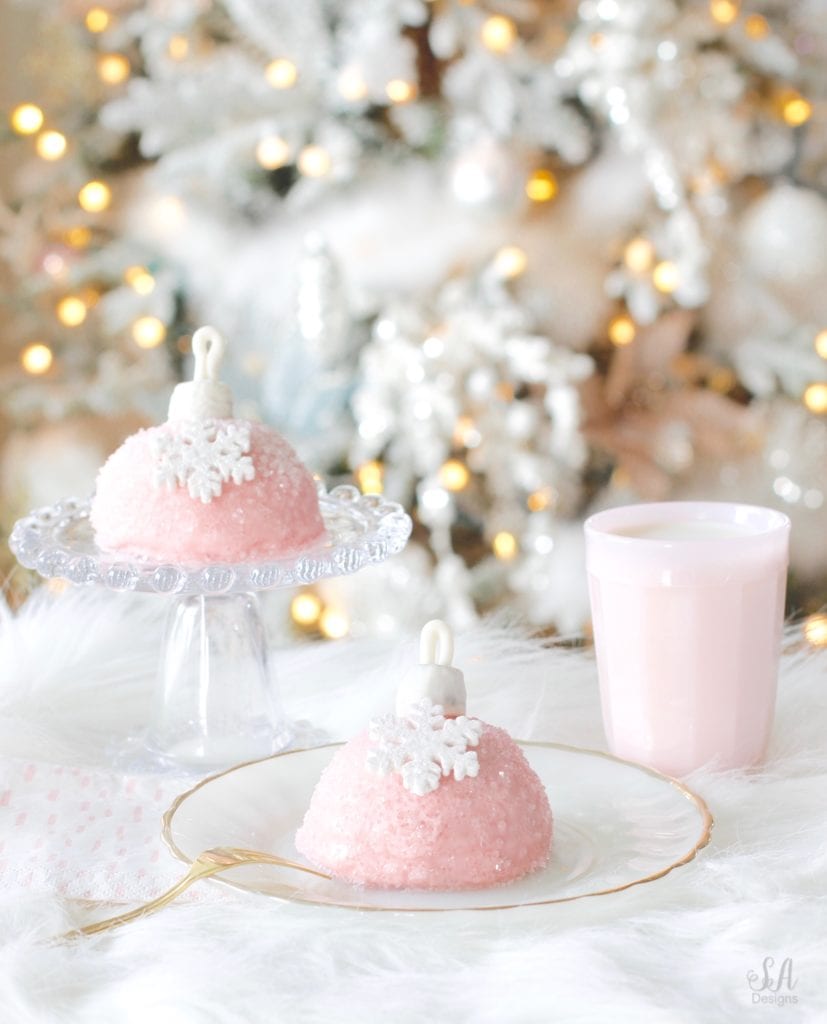
While we aren’t huge fans of any kind of cake in our family, we do love a nice dense chocolate cake, as well as some other unique cake recipes. This delicious recipe below is used to make these delicious and darling ornament cakes. It’s a perfect idea for a fun dinner, luncheon, party or gift at Christmas time! They are different from any other dessert you will see served this time of year and they are SO CUTE that your friends and family are sure to swoon over them!
*NOTE: I will link the items from this post used (and/or suggested items) at the end of the post in the “Shop The Post” section.

- 1 box (18 1/4 ounce) Devil's Food cake mix
- 1 box (4 ounce) instant chocolate pudding mix
- 1 cup sour cream
- 1/2 cup vegetable oil
- 1/2 cup water
- 4 large eggs
- 4 cups powdered sugar
- 1 cup softened butter
- 2-3 tsp vanilla
- 1-2 tbsp milk
- 1 bottle sparkling sugar
- 1 small tub white fondant
- 1 bag white candy melts
-
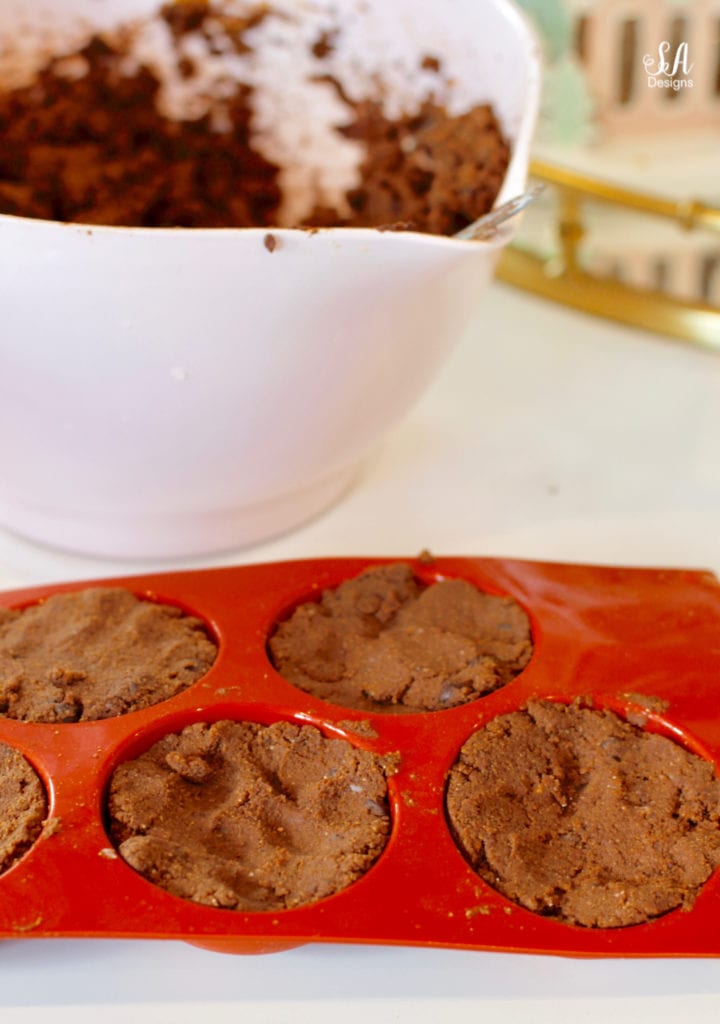
Preheat oven to 350˚F. Place the cake mix, pudding mix, sour cream, water, oil, and eggs in a large mixing bowl. Blend with an electric mixer on low speed for 1 minute. Stop and scrape down the sides of the bowl. On medium low speed, continue to blend for 2-3 minutes more. The batter will be very thick and should look well combined. Pour into silicone mold, filling each cavity 3/4 of the way with cake batter. Place into oven and bake for 20 min and then check by sticking a toothpick in each one. If it comes out clean, it is done and you can remove and let cool. If it is still wet, return to oven for another 3 min at a time.
-
Once removed from oven, allow to cool for 5 min and then flip over quickly (onto smooth surface or parchment paper) to allow them to cool completely.
-
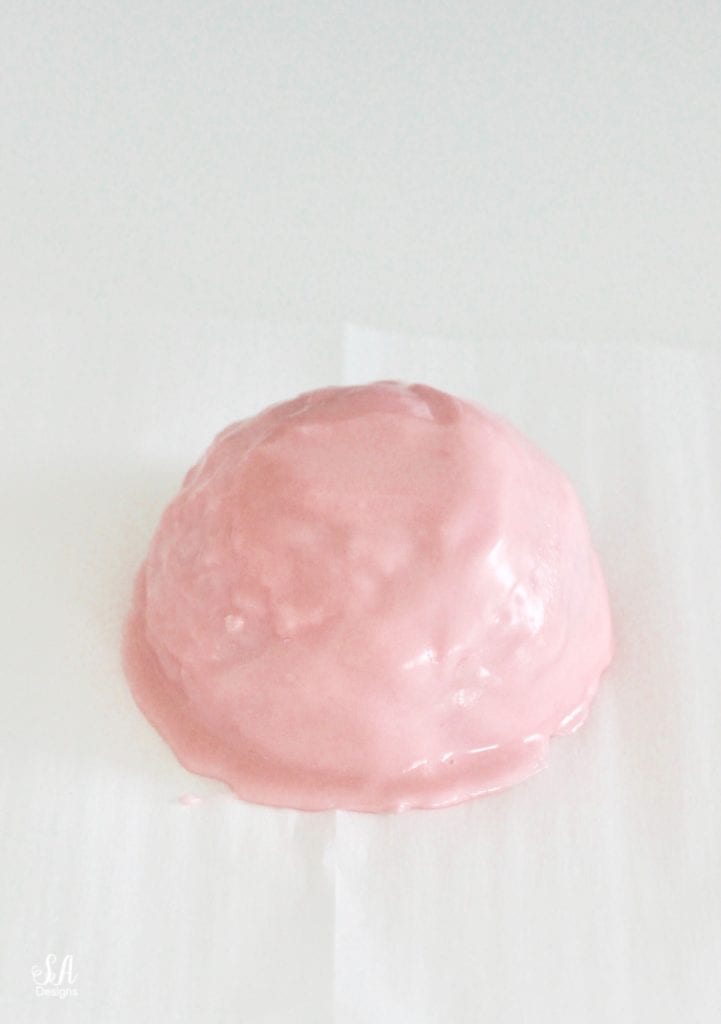
Add softened butter and vanilla to the mixing bowl and mix until completely combined. Add Powdered Sugar and beat on low until it is incorporated. Then move mixer up to medium-high speed. Scrape sides and bottom of bowl often. When completely mixed the frosting may appear dry. Add milk a little bit at a time until frosting is the proper consistency. Add food coloring of color that is desired. Keep thick. Frost the cake half-spheres once cooled. (I like to make the frosting and the top of the ornament (below) while cake is baking in the oven.) *Tip: Freeze cakes for 1-2 hours before frosting, to avoid crumbs from being spread all over.* Then, immediately sprinkle with sparkly white sugar.
-
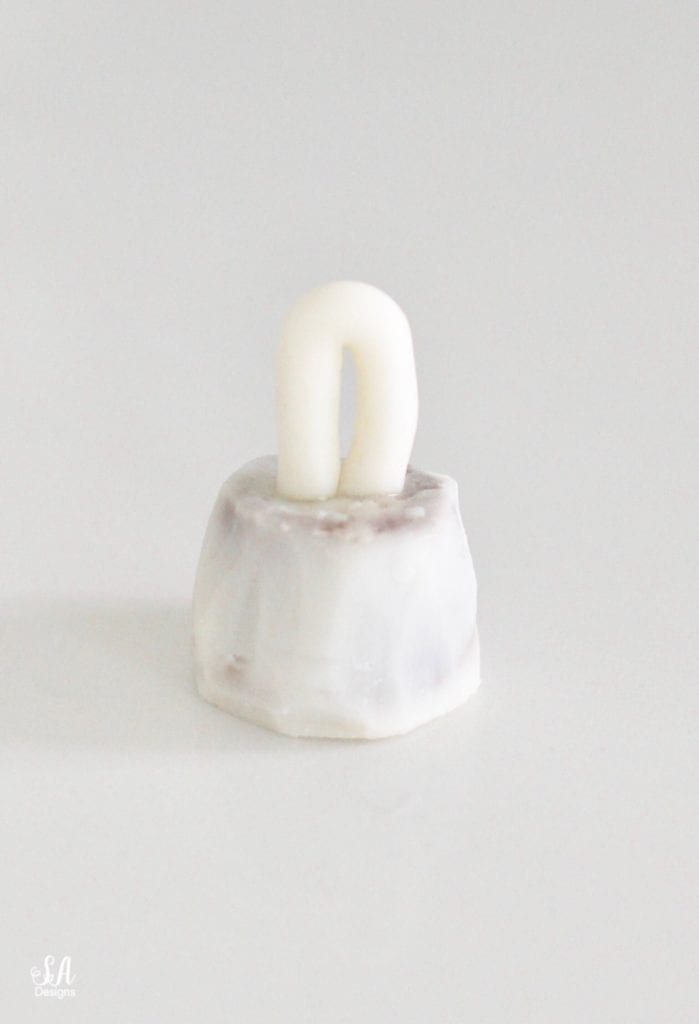
Melt half a bag of white candy melts by following instructions on the bag of contents. Pour into small peanut butter cup candy molds and let harden for about 20-30 min. I prefer doing this while the cake is baking.
-
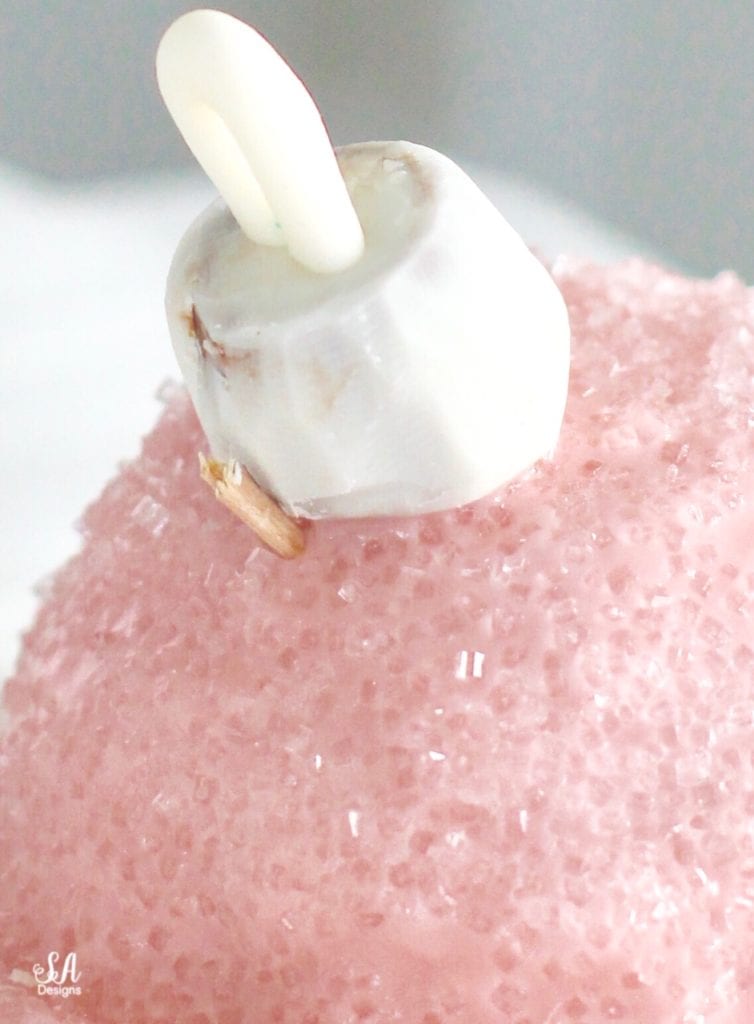
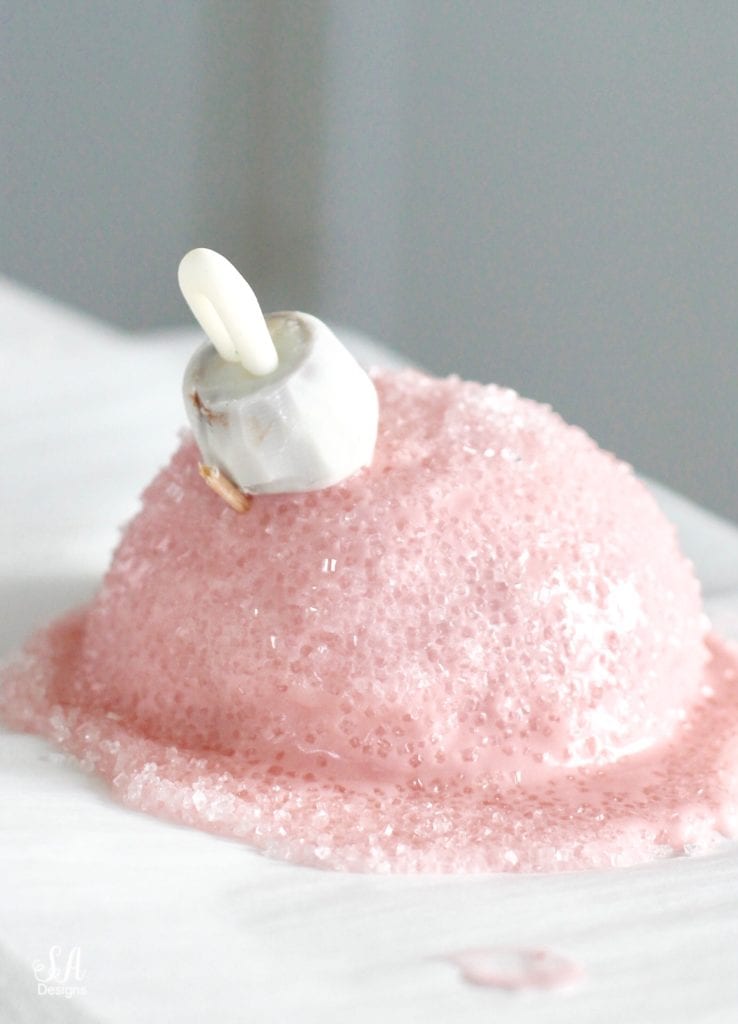
Roll out a small bit of the fondant in your hand until it's skinny and long. Cut 1 1/2" to 2" sections (whichever you prefer) and fold over, pinching ends together. Set and let dry for at least 30 min. Attach with a small dab of melted candy melts onto white mini cups and hold for a minute. Now, place the candy cup and marzipan loop that you've made for the top of the ornament cake and place it on the ornament cake (as shown) with some more of the melted candy. Instead of holding it there for a few minutes, I just took pieces of tooth pics and stuck them into the cake with the ornament top resting against it until it dried/hardened.
-
You can either use a mini cookie cutter of a snowflake or other shape to cut out fondant for a decoration on the top of the cake. OR You can buy small candies that are used to decorate cakes. They have snowflakes and other things also.
Confession: I started eating a low-carb diet recently and cut out sugars so while I made the regular cake recipe for my family, I then made the most amazing Keto low-carb chocolate cake (shown above in molds) that I’m going to share it also on the blog this next week. It is really fabulous too!
I frosted the cakes on parchment paper and then added the sparkly sugar. Frost it as smoothly as you can but imperfections are fine and will be covered by the sparkly sugar.
While the recipe calls for you to melt the melting candy chips and pour into the smaller molds, I just happened to have Rolos from Beckham’s leftover Halloween candy (haha) that I wanted to get rid of. So I froze them first and then poured the white candy melts over them and let them harden. I took a knife and quickly shaved off a few sections to make it look more the shape it should.
While there are several little parts to this individual ornament cakes recipe, I promise that it goes quickly and is really quite simple.
As mentioned in the recipe instructions, I rested the top of the ornament (candy) against the toothpick on top of the cake until it hardened in place.
Once the frosting hardens, you can use a cake server to remove each individual ornament cake from the parchment paper and onto a pretty cake stand or plate.
When you serve these individual ornament cakes, make sure to also serve a cup of milk because, like brownies, they go perfectly together. Yummy!!
Please visit my friends and their blog posts, full of yummy holiday treats, below!

4 Minute Decadent Microwave Fudge by Ella Claire | Gluten/Dairy Free Rice Krispies Christmas Trees by Zevy Joy | Dipped Marshmallows by My Sweet Savannah | Individual Chocolate Souffle by Town and Country Living | Santa Munch Christmas Popcorn by Tidy Mom

Mini Skillet Cookie Cakes by Inspired by Charm | Cinnamon Buns by So Much Better with Age | Peanut Butter Fudge by Anderson + Grant | Peppermint Brownies by Nina Hendrick Design Co. | Deconstructed Apple Pie Bites by Taryn Whiteaker

Christmas Energy Snack Bites by Nest of Posies | Peppermint Bark by Boxwood Avenue | Gluten Free Chocolate Peanut Butter Truffles by Tidbits | Keto Cinnamon Sugar Pecans by Home Stories A to Z | Candy Cane Pretzels by My Uncommon Slice of Suburbia

Caramel Popcorn Crunch by Shabby Fufu | Individual Ornament Cakes by Summer Adams Designs
*****
Thanks so much for stopping by today! I would love it if you could subscribe at the top of the page in order to receive my weekly emails of all my latest blog posts and see everything I’m working on! You can also follow me on Instagram, Pinterest, and Facebook to see what I’m up to in creating a home and lifestyle of inspiration!
xoxo,


How fun. This would make a perfect dessert for when I entertain my friends during the holidays. Thank you for sharing.
Cindy
Such pretty little cskes. Yum!!!
So sweet of you. Thank you so much! xoxo
Oh my goodness, Summer! These are adorable and too cute to eat. I love your tips on how to make them. Merry Christmas!
Hugs, Jamie
These look so pretty and so delicious!
Kristin, I’m so glad you like them!!! Thank you! Merry Christmas! xoxo
These are so cute! I can’t wait to see the low carb version!
Thanks sweetie! I’ll share very soon! xoxo