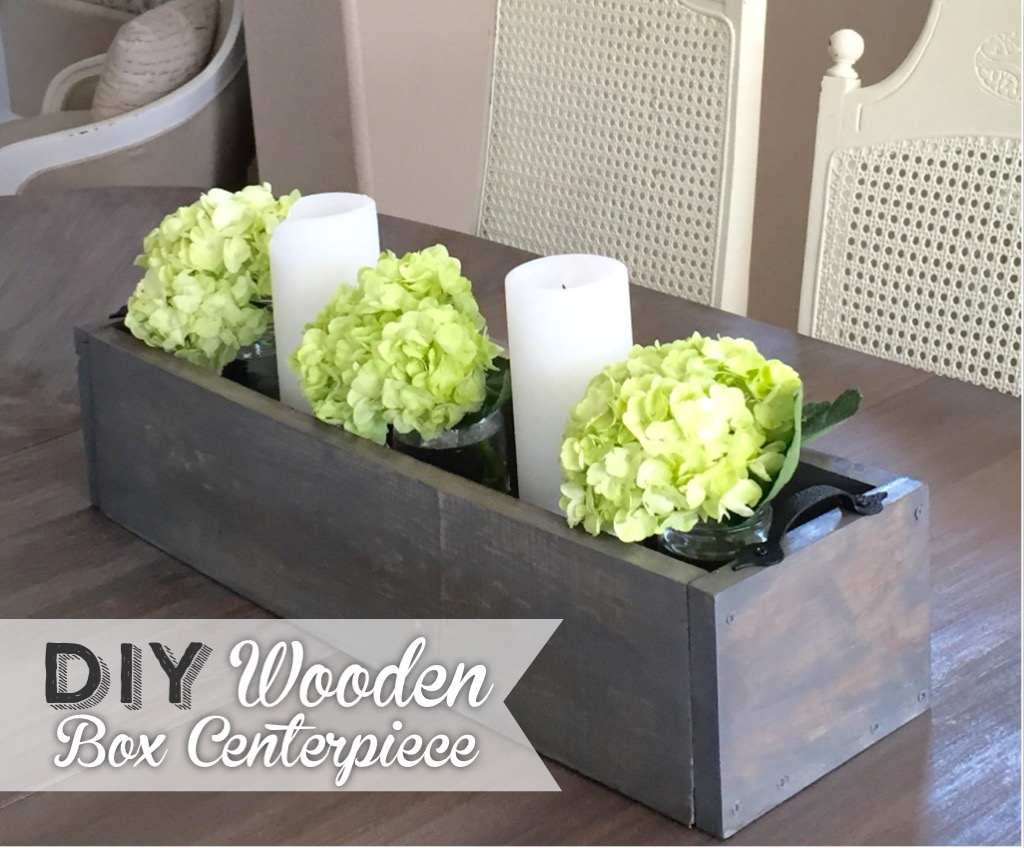
Do you ever wake up and think to yourself “I want to build this today!”??? I do it all the time and if I have other things to do, I just make room in my schedule and squeeze it in somehow. Today I woke up and said, “I want to build a wooden box centerpiece to put flowers and candles in!” So I dropped off the kids at school and headed to Lowe’s. I prefer Lowe’s because they know me by name and are always so helpful 🙂 .
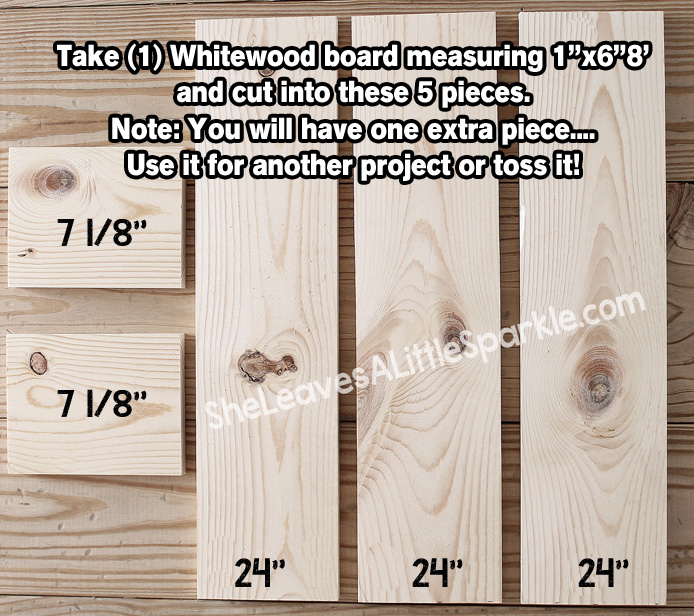
I grabbed ONE piece of cedar whitewood for the entire project, measuring 1″x6″x8′ and then pulled out my measuring tape (I probably have over a dozen but 1 always stays in my purse) and then sat down in the store and planned out my box. After some quick measurements and calculations, these are the dimensions I came up with. ***If you own a saw, you can do this at home. If not, ask one of the employees authorized to saw wood at the store and they will do it quickly for you.
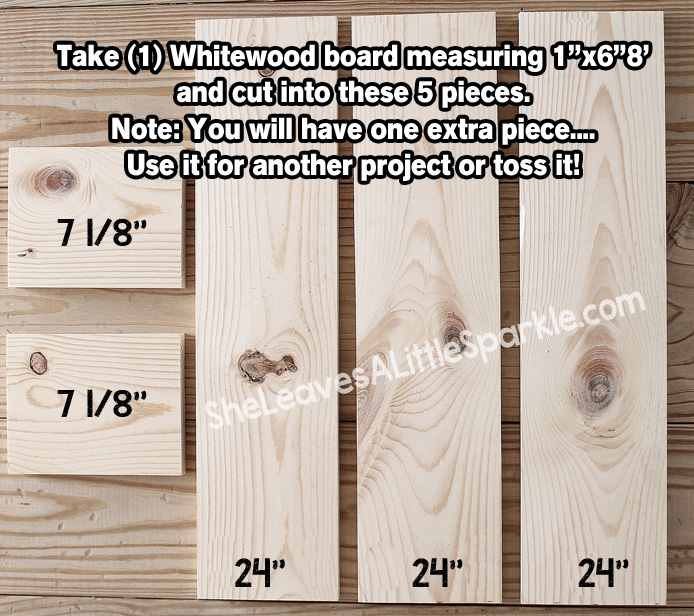
Now….you have 2 options from here….
1) You can use wood glue and put it together and clamp it with 2 clamps and leave it over night. No hardware would be needed to assemble.
OR…
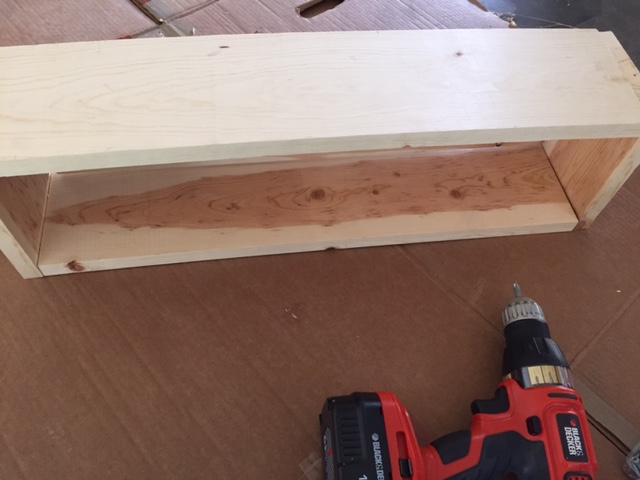
2) You can add a little wood glue, put it together and then take wood screws (I did this because I was impatient) and screw the pieces together. I used 4, one on each corner, and then 2 additional on each side to screw into the bottom piece.
The wood naturally bows so you might have a slight gap and unevenness but that’s ok! You’ll never see it or notice it!
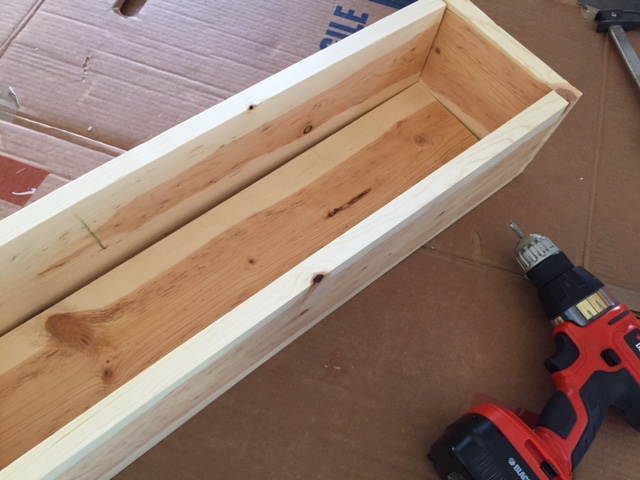
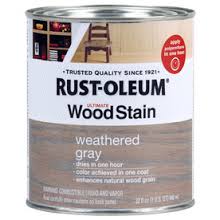
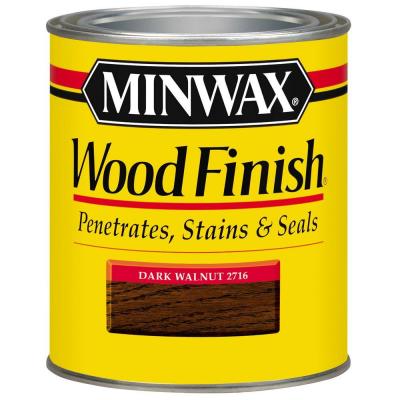
I gave it a very quick sand because the wood was already so soft and then just stained it! I used these 2 stains that I love and always have on hand. I applied the gray stain and then the dark walnut stain over. No drying in between needed. They are both small cans and just a few dollars a piece. You won’t use much of the cans.
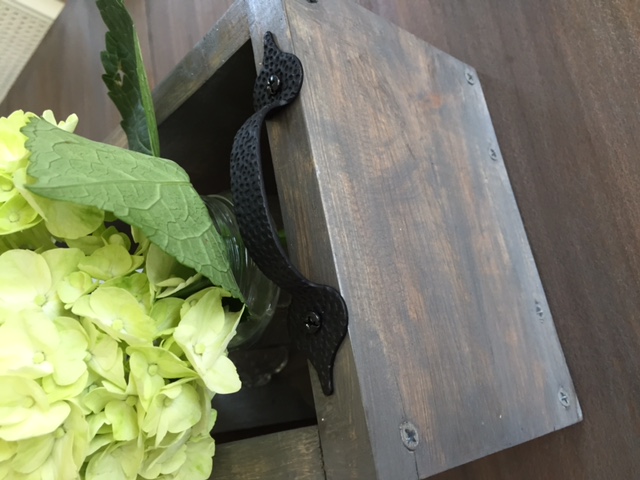
As soon as the box was even slightly dry (I’m very impatient….ha!), I applied to 2 distressed black drawer pulls that I bought at Lowe’s for $1.38 each. They have that farmhouse look that I love.
And that is it! You’re done! Add jars of fresh or faux flowers, candles, herbs, fruit…whatever you want! I not only love how it looks but I love how SIMPLE it was!
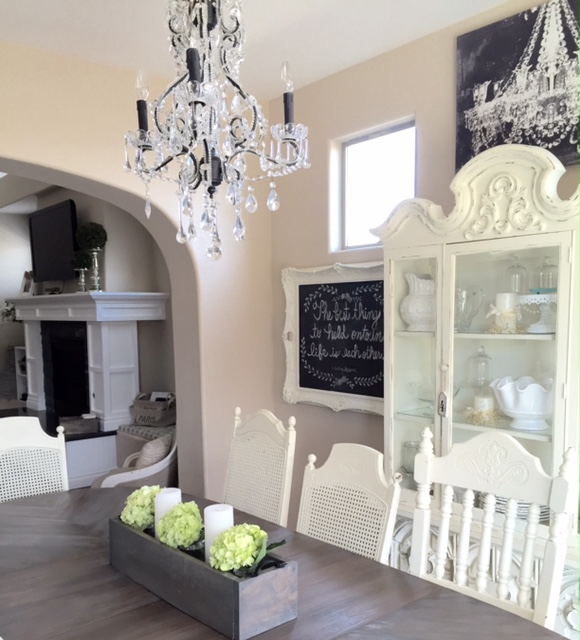 Doesn’t it look so pretty on my table? I just need a linen table runner and I’m good to go! It would even work to put it on my kitchen window seal with all my fresh herbs that I grow! I might just need to make another one.
Hi Summer. I love this planter box and am hoping to make my own soon. It is beautiful! Just wondering why you added the extra 1/8″ on the end pieces? Did you find it lined up better that way? Thanks!
Hi Brianne! Yes, it gives you the extra space you need because the blade will naturally take off 1/8″. So glad you love it! Good luck and have fun! LMK how it turns out! 🙂
xoxo
I need something like this for centerpieces for my daughter’s wedding but I specifically need it to hold 3 quart sized mason jars. It looks about the right size but I can’t tell from the pics. Do you know if they will fit? I want to get the lumber cut at Lowe’s but I need to give them the measurements to do it. Any help would be greatly appreciated!!
Hi Angi! So glad you like it! I don’t have a 3 quart mason jar so I couldn’t tell you but I would measure the bottom of it and then I would measure the width of the bottom wood piece lying flat (as the bottom of the box) and subtract the width of the side panels standing up on their sides. Does that make sense? Then you will know! Xo 😘