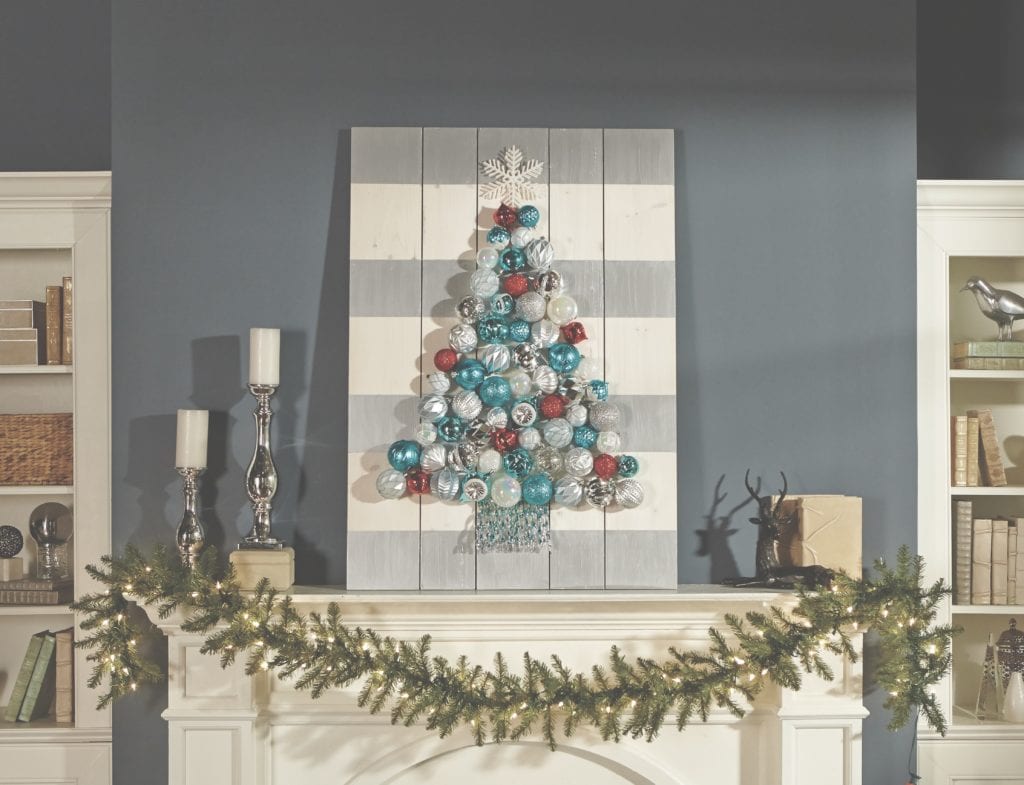
Last week I announced in THIS POST that I was teaming up with The Home Depot again to do another DIH (Do It Herself) Workshop Challenge. I just LOVE creating and building and making decor or art so this is always fun for me. In last week’s post, we announced our project, a Holiday Ornament Display. This is the picture we received from Home Depot and given the measurements and instructions for our project. We try to come up with the same kind of idea but with our own style and take on this challenge.
I think this project is adorable and it was so fun. While I love the idea, I knew immediately who I was giving it to…my mother-in-law. She lives alone and doesn’t like getting all of her Christmas decor up any more but I give her a hard time for not putting up a tree. She works long days and doesn’t have the energy to get all her decor up and set out. The idea of something small and simple was perfect for her. So I think this Holiday Ornament Display would be just the thing she’d appreciate having in her family room to celebrate this Christmas season.
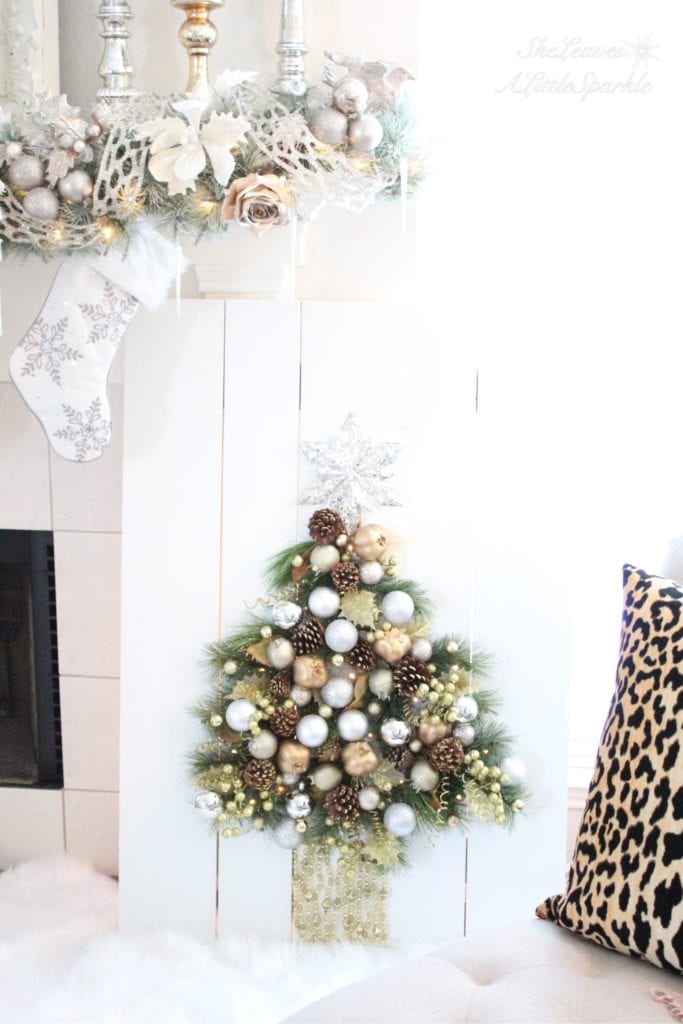
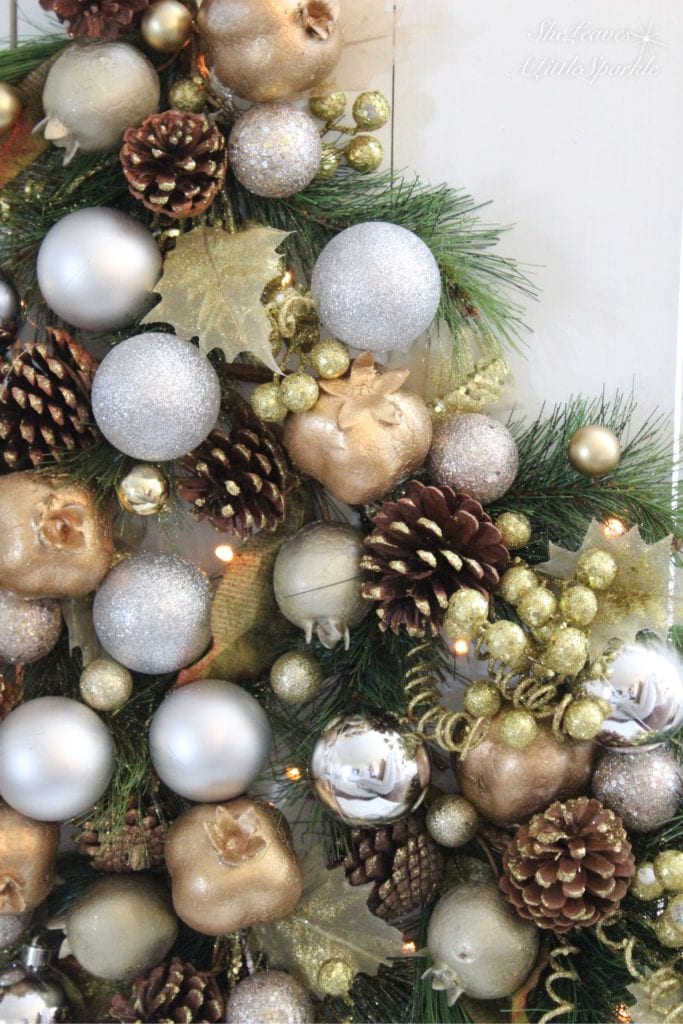
I love golds and silvers at Christmas time. And I knew the pops of gold would be so pretty and classy in her home. After measuring and cutting my wood to make the frame, I painted it white. I wanted the ornaments to really stand out. While I was looking through all of the adorable ornaments at Home Depot, I came across these gorgeous pine stems with pinecones, leaves and fruit.
I immediately saw them layered to make a tree! I knew I would need 5 and there were exactly 5 left on the shelf. It was a sign ha! I put them in 3 rows and glued them on to the board. Then I started placing and gluing all of these beautiful silver and gold ornaments (also from The Home Depot, like all of the materials) on the tree.
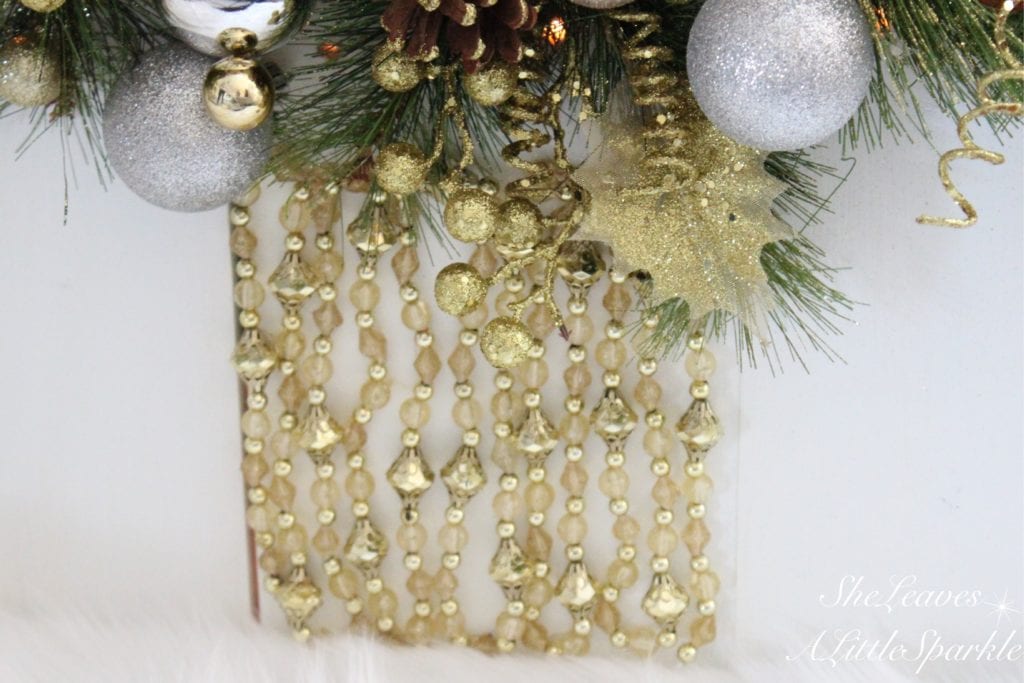
For the trunk of the tree, I found this pretty, sparkly gold garland. I just glued them on in one continuous zig-zag until it formed into a trunk.
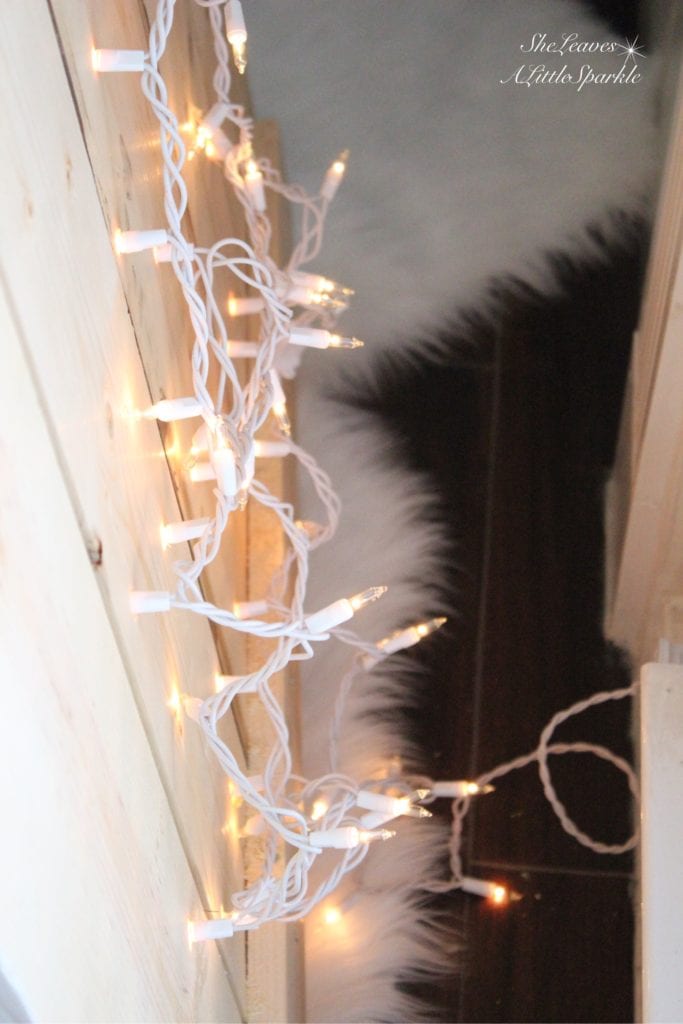
As I was checking out at The Home Depot, I had an idea. I ran back to get a small strand of Christmas lights and a smaller drill bit. I decided to drill holes throughout the tree and stick the small lights through the holes to look like it was lit up. Isn’t that fun?! Using my staple gun, I attached them in place and left enough of the cord at the end to plug into the wall.
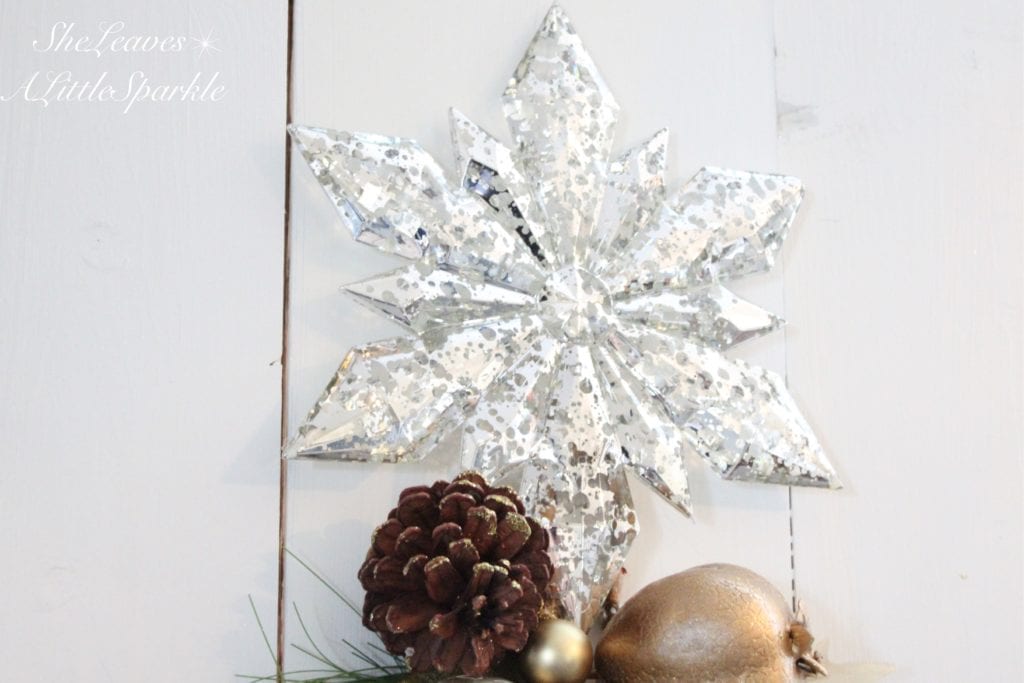
I also found a beautiful snowflake Christmas tree topper that looks like it is made out of mercury glass and knew it would be that perfect amount of sparkle or the top of the tree. I just unscrewed and removed the coil that normally hooks onto the tree.
It can be set above the mantel, on the hearth, or even set on the floor. I can’t wait to give it to my mother-in-law! I just know she is going to love it and it will be the perfect substitution for her larger tree until she is ready to do that again.
Now, are you ready to make one with us? No matter your skill level, they guide you through step-by-step making the process easy and fun.
The next Home Depot #DIHWorkshop will be held in your local Home Depot stores this Thursday, November 17th, 2016 at 6:30pm-8pm. Come join in on the fun!
Click this link HERE to register!
Now, are you ready to see what the rest of the ladies have come up with? There are 25 of us bloggers throughout the country bringing you different versions of this fun Holiday Ornament Display. Please hop on over to each of these creative ladies’ posts and find some inspiration for your own project.


Sumer this is gorgeous! I love that you’re giving it to your mother in law, how sweet of you. And genius idea to use the lights, I love it!
This is adorable Summer! You did a great job and I know your mother-in-law will be thrilled with it! xoxo